
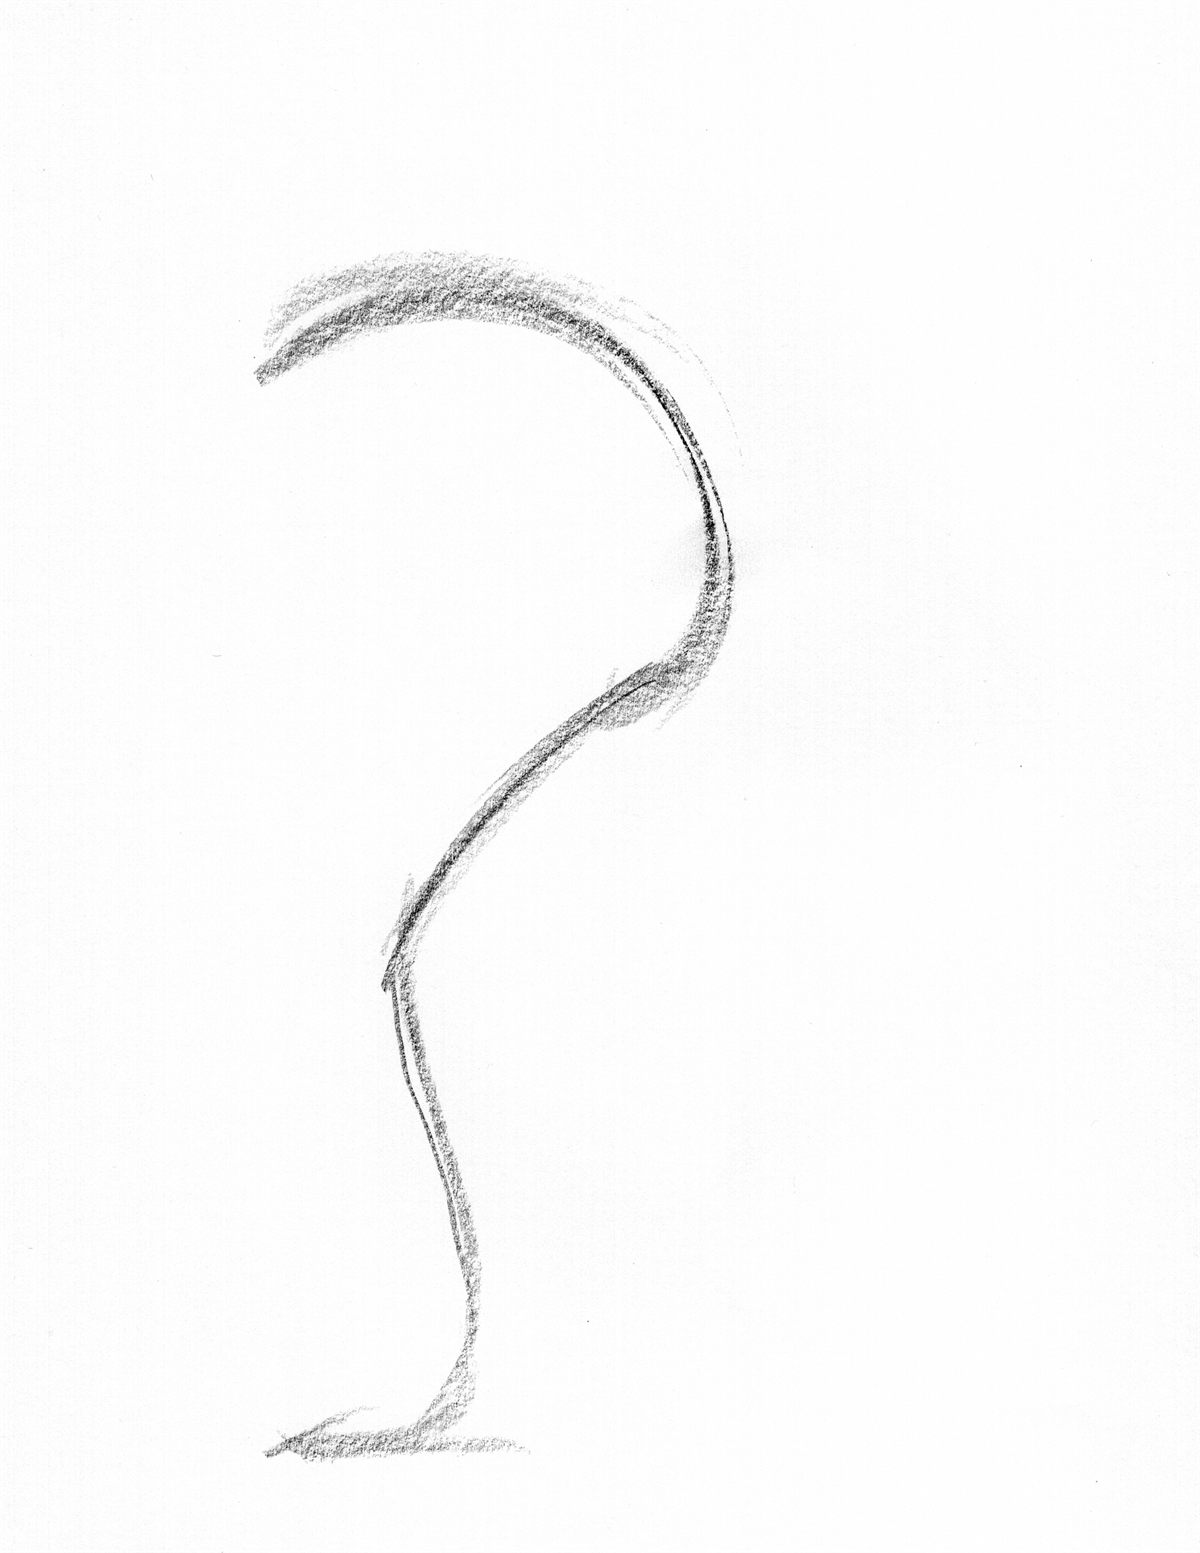
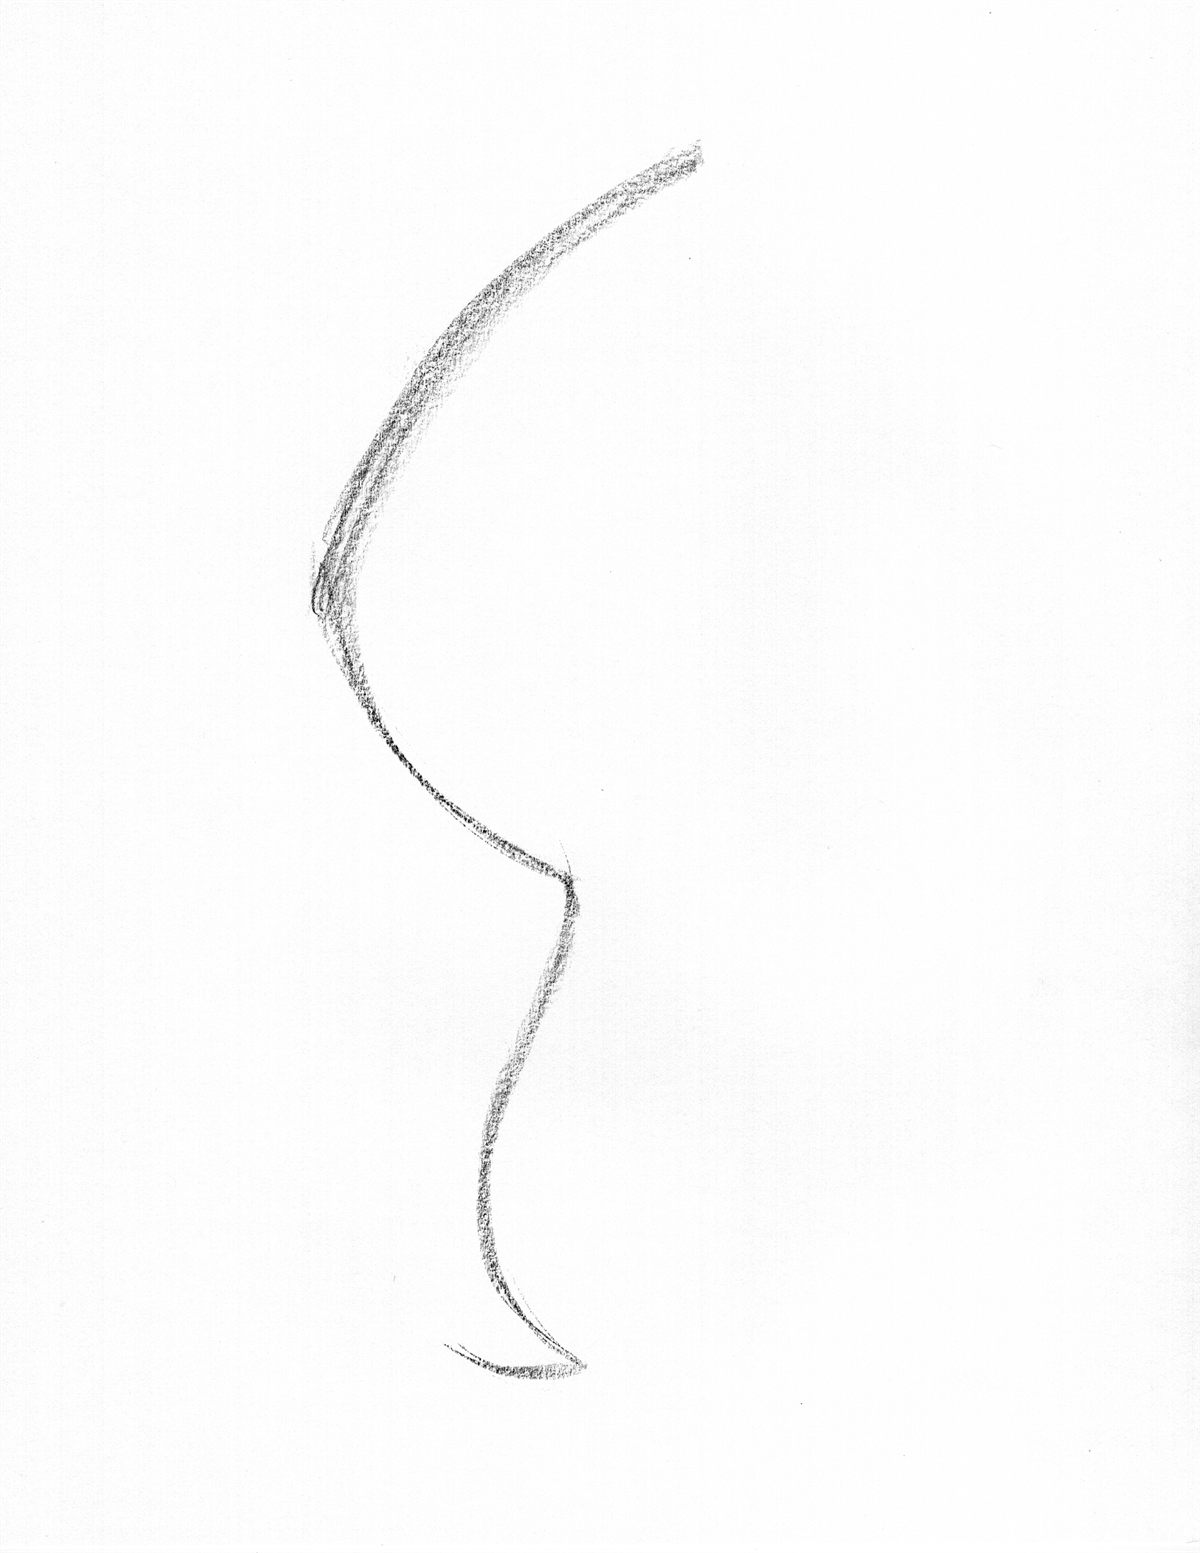
Example 01: Subtle S Curve Through the Body
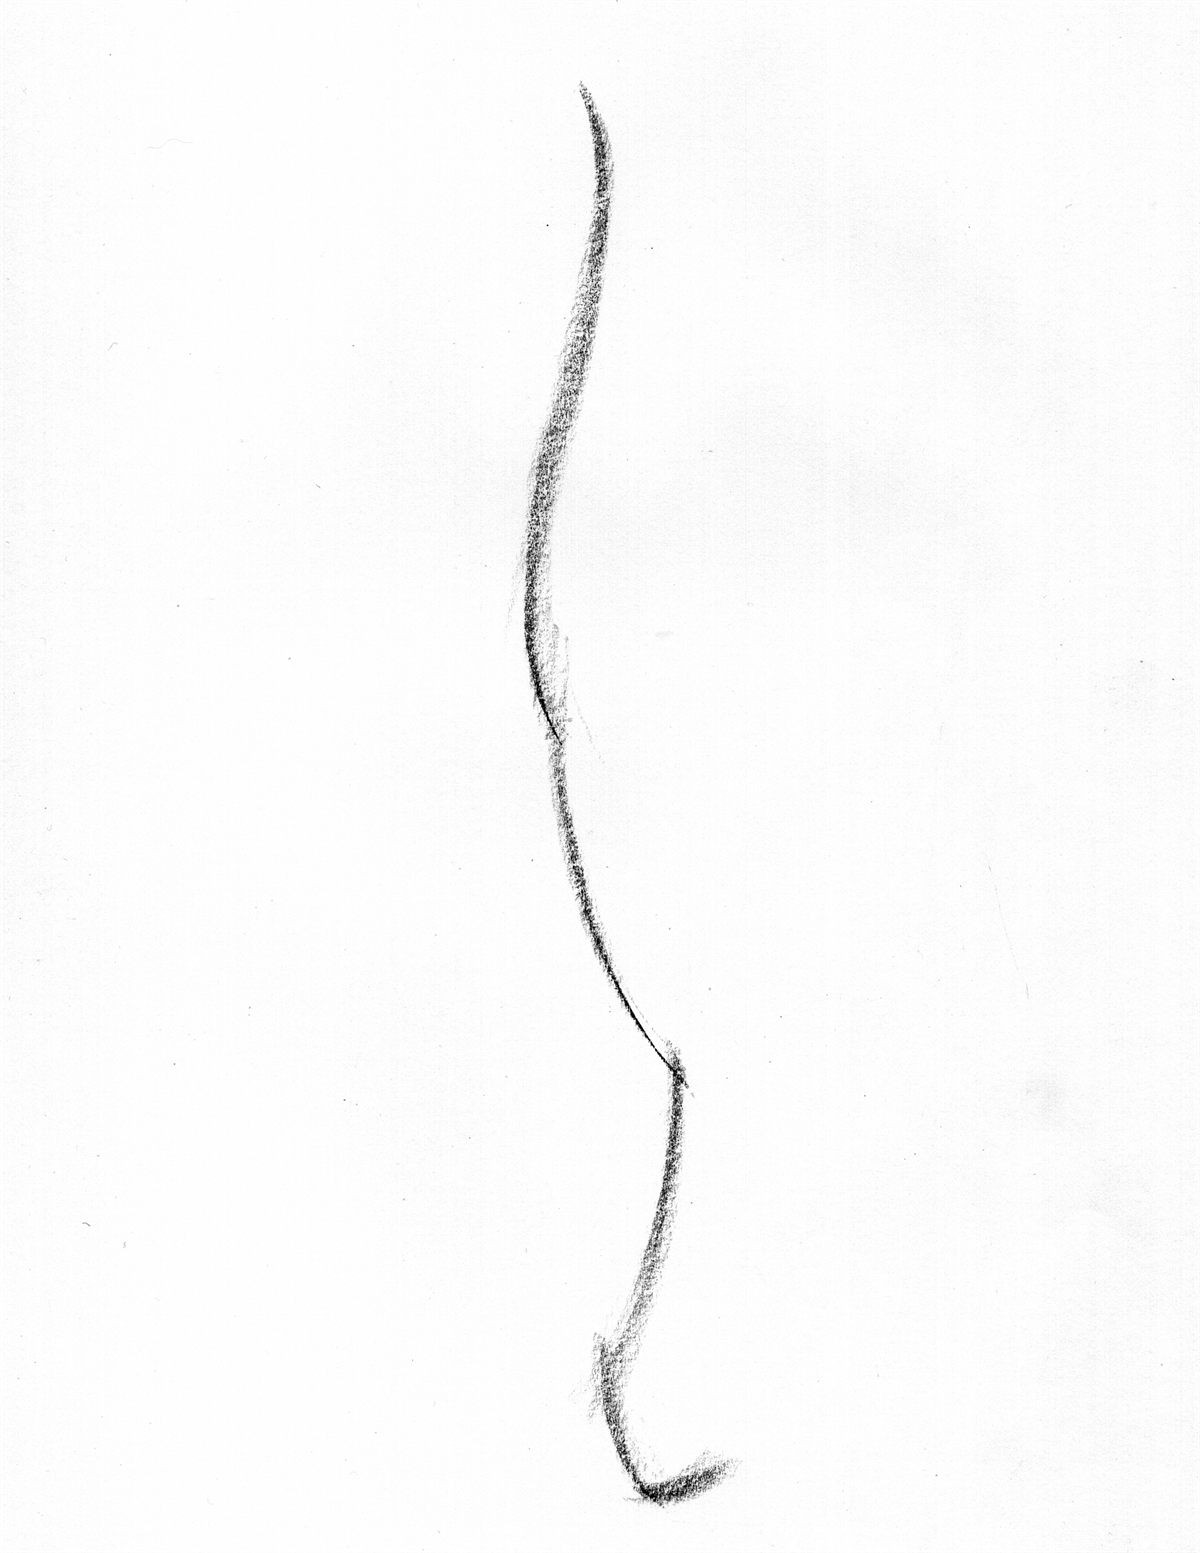

Reference pose with a subtle line of action. The torso may appear mostly straight at first glance, but there is still a gentle shift in the body.
Pose Library Studio is now available. Access the full pose library and custom sessions.
The line of action in drawing is the main directional flow of a pose. It is a simple gesture line artists use to capture movement, rhythm, and energy before drawing anatomy, contour, or details.
If you want a fast visual explanation first, watch this quick walkthrough before studying the examples and written breakdowns below.
The line of action is the main gesture line that captures the movement, rhythm, and energy of a pose before you draw anatomy or contour. This guide explains what it is, how to find it quickly, and how to use it to make gesture drawings feel more fluid.
If your next question is what to add after that first gesture line, read What to Draw After the Line of Action.
If you want a fast result from this page, focus on three things: identify the strongest movement in 5 to 10 seconds, compare it against the examples below, and practice it in short timed sessions.
This page is the main explanation. If your gestures already feel stiff, compare your habits with these common line of action mistakes. If the first challenge is spotting the gesture quickly, use this guide on how to see the line of action quickly.
If standing poses are where your drawings start going stiff, read how to find the line of action in standing poses.
If seated figures are the part that keeps throwing you off, read how to find the line of action in sitting poses.
If you want to practice other compressed pose families, compare that with line of action in reclining poses and line of action in crouching poses.
This line is not meant to outline the body or describe anatomy. Its job is simpler: capture the overall flow of the pose. If that distinction feels blurry, read the difference between line of action and contour drawing.
Because it is interpretive, there is no single correct line of action. Two artists can draw from the same pose and arrive at different solutions. Both can be valid.
If you'd like to see how this idea works in practice, jump to 15 line of action examples from real poses. For more images to practice on, use these reference poses for artists.
Use this page when you want the definition and method. Use the examples page when you want side-by-side pose breakdowns you can study quickly.
The line of action is an imaginary line that captures the primary direction of a pose. It is the movement you feel first, before you think about outlines, features, or details.
It is not always the spine. Sometimes it runs head to toe. Sometimes it is a single sweeping curve. Other times it is a few connected marks. The goal is motion, not anatomy.
The best way to understand this is to try it:
10 quick 30-second poses
Start drawingNo signup required. Just press play and draw.
Before you draw, pause and ask one question: what stands out most about this pose?
Examples:
I like the way the hips push outward.
There is a clear S curve in the torso.
The body makes a strong C curve from shoulder to toe.
Start there. Put that single idea down as one confident action line.
If you are stuck, squint your eyes. Squinting reduces distracting details and helps you see the biggest directional shape.
These three simple options cover most poses. You are not forcing the figure into a symbol. You are choosing the clearest read of the motion.
You can exaggerate slightly to clarify the movement. That is not cheating. It is part of exploration.
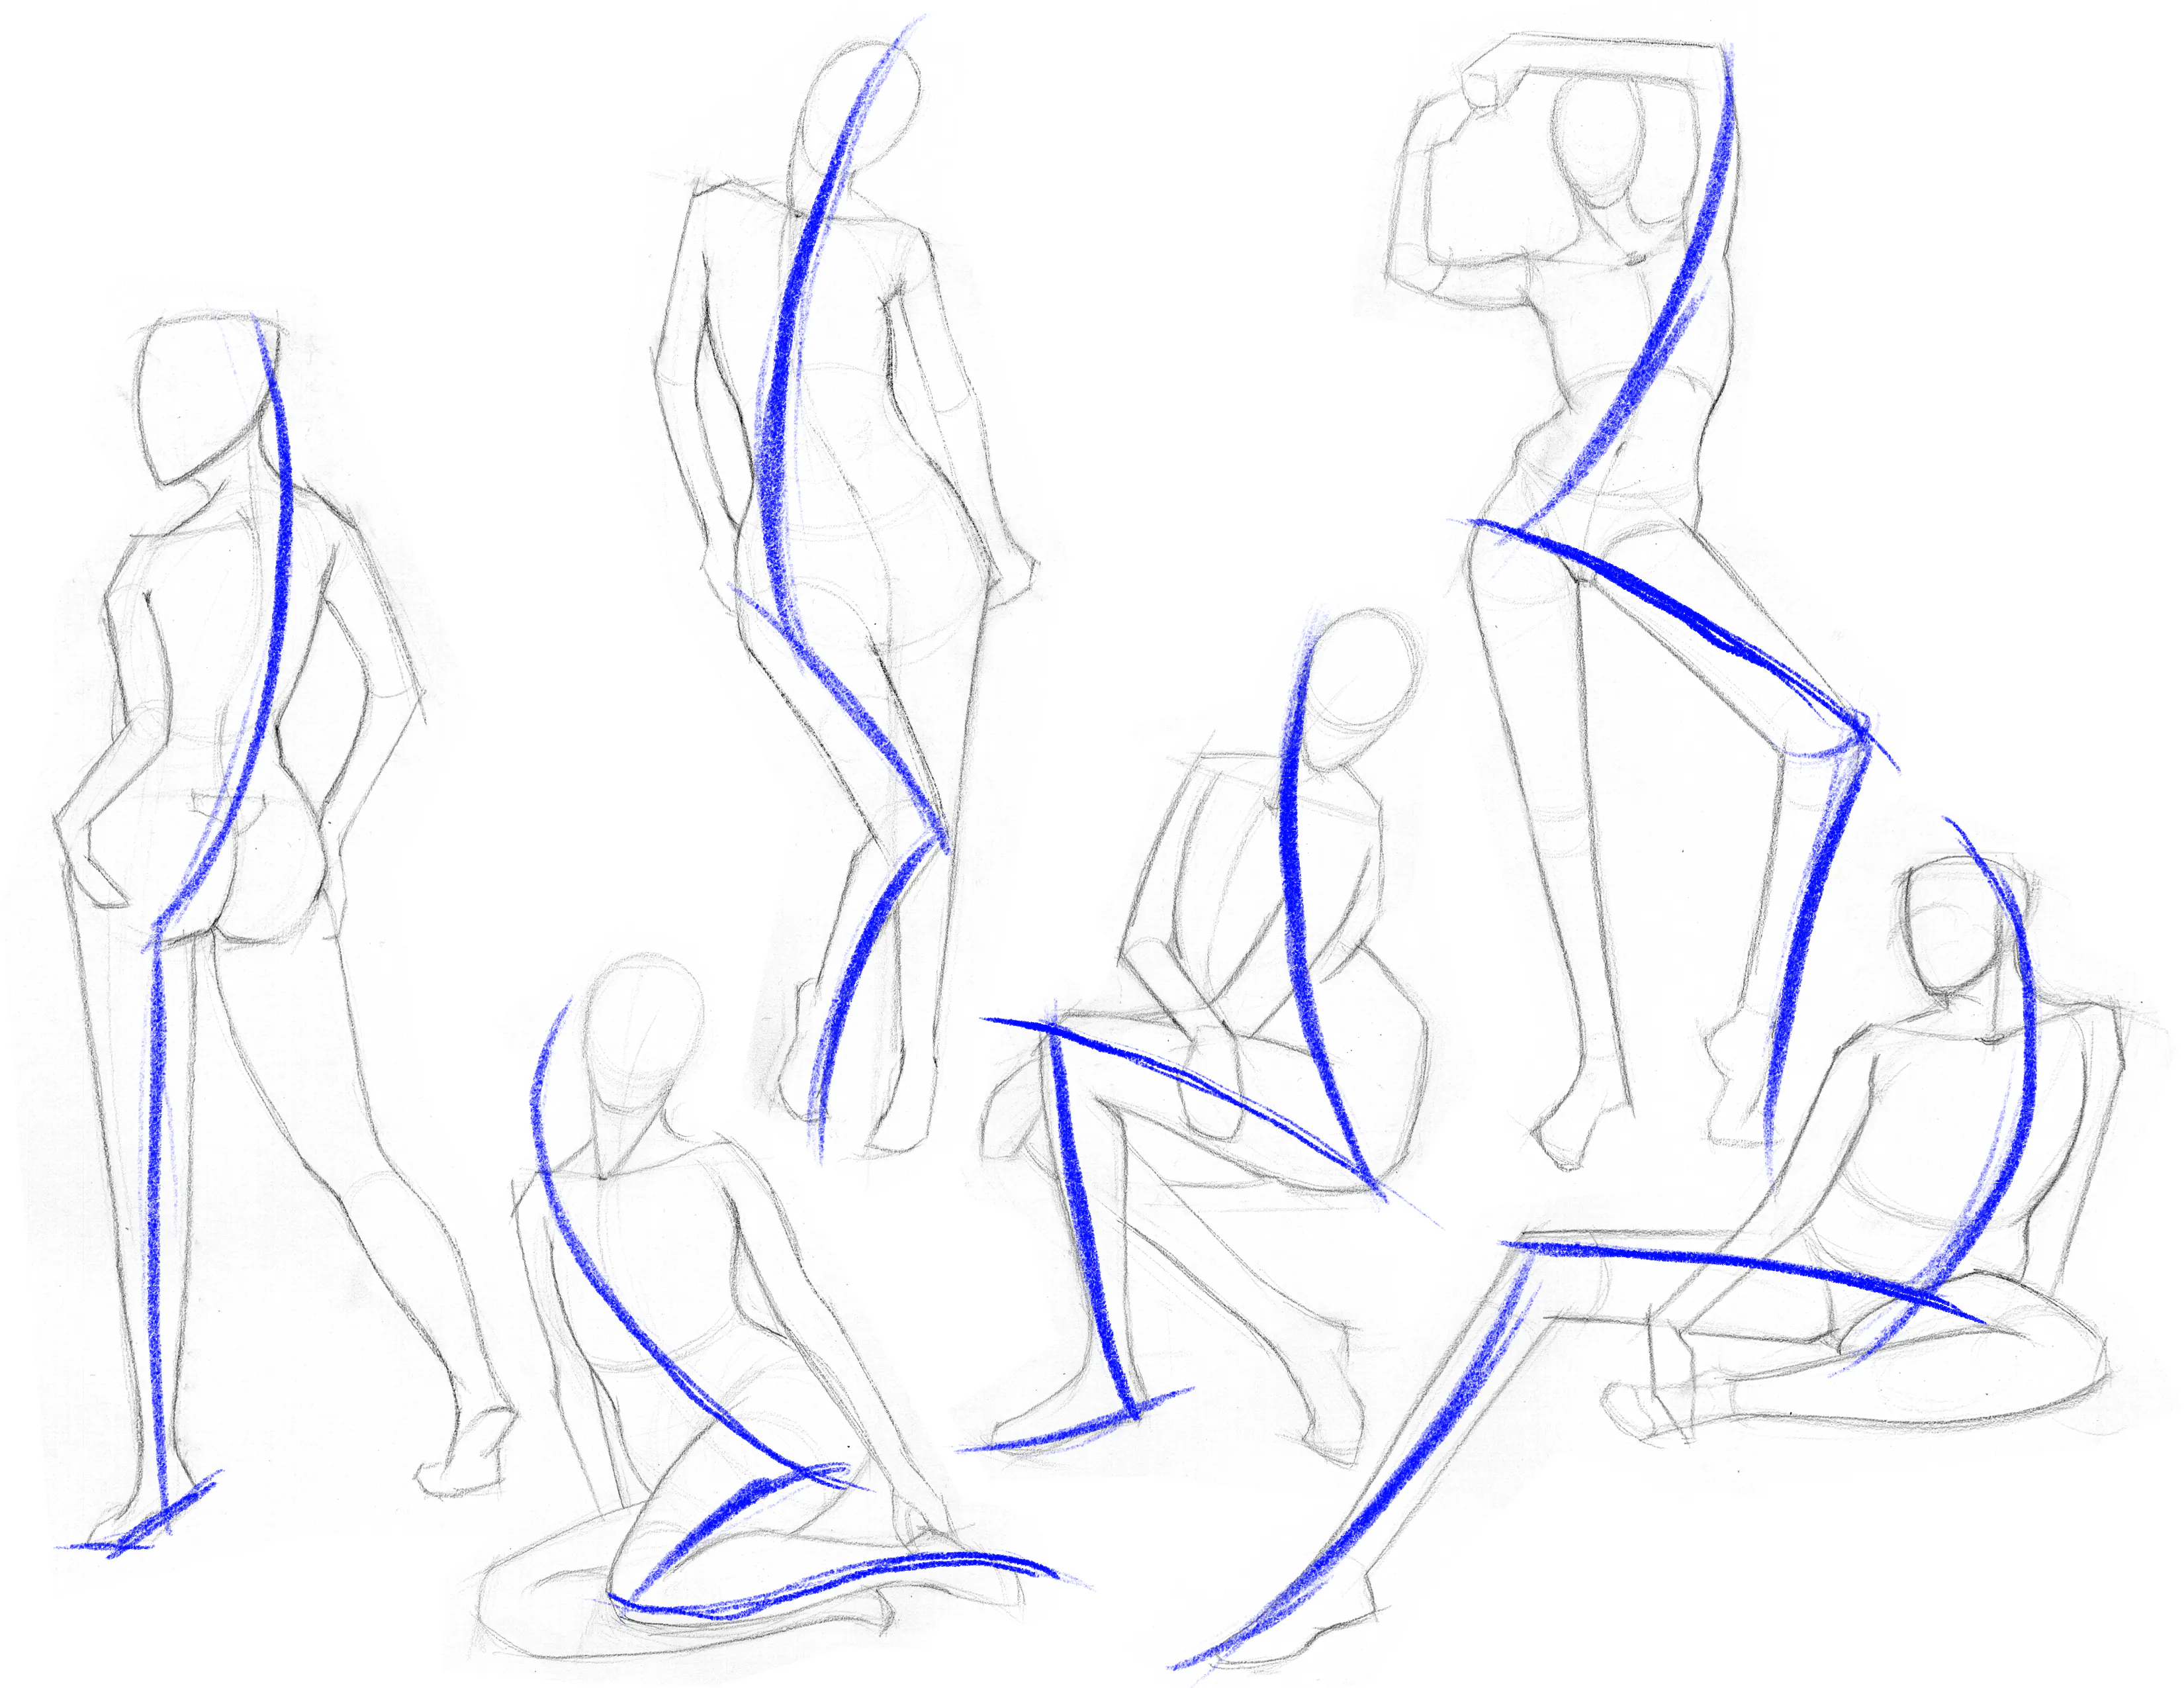
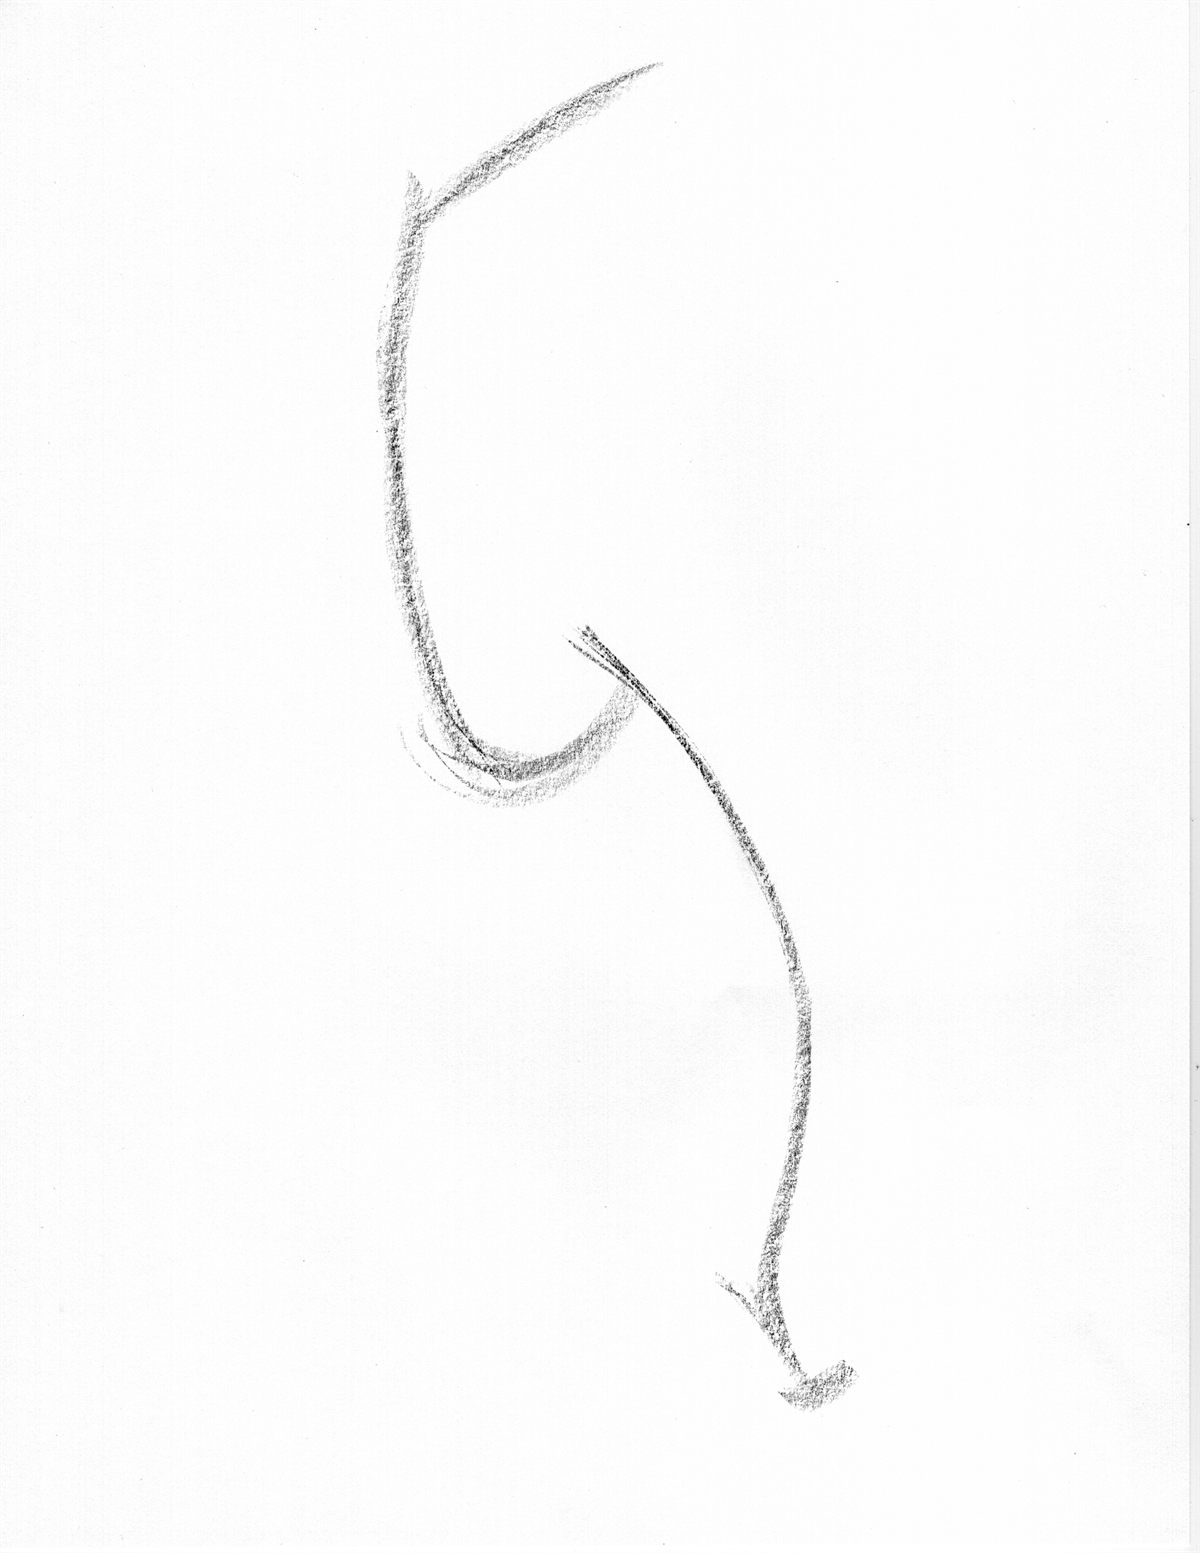
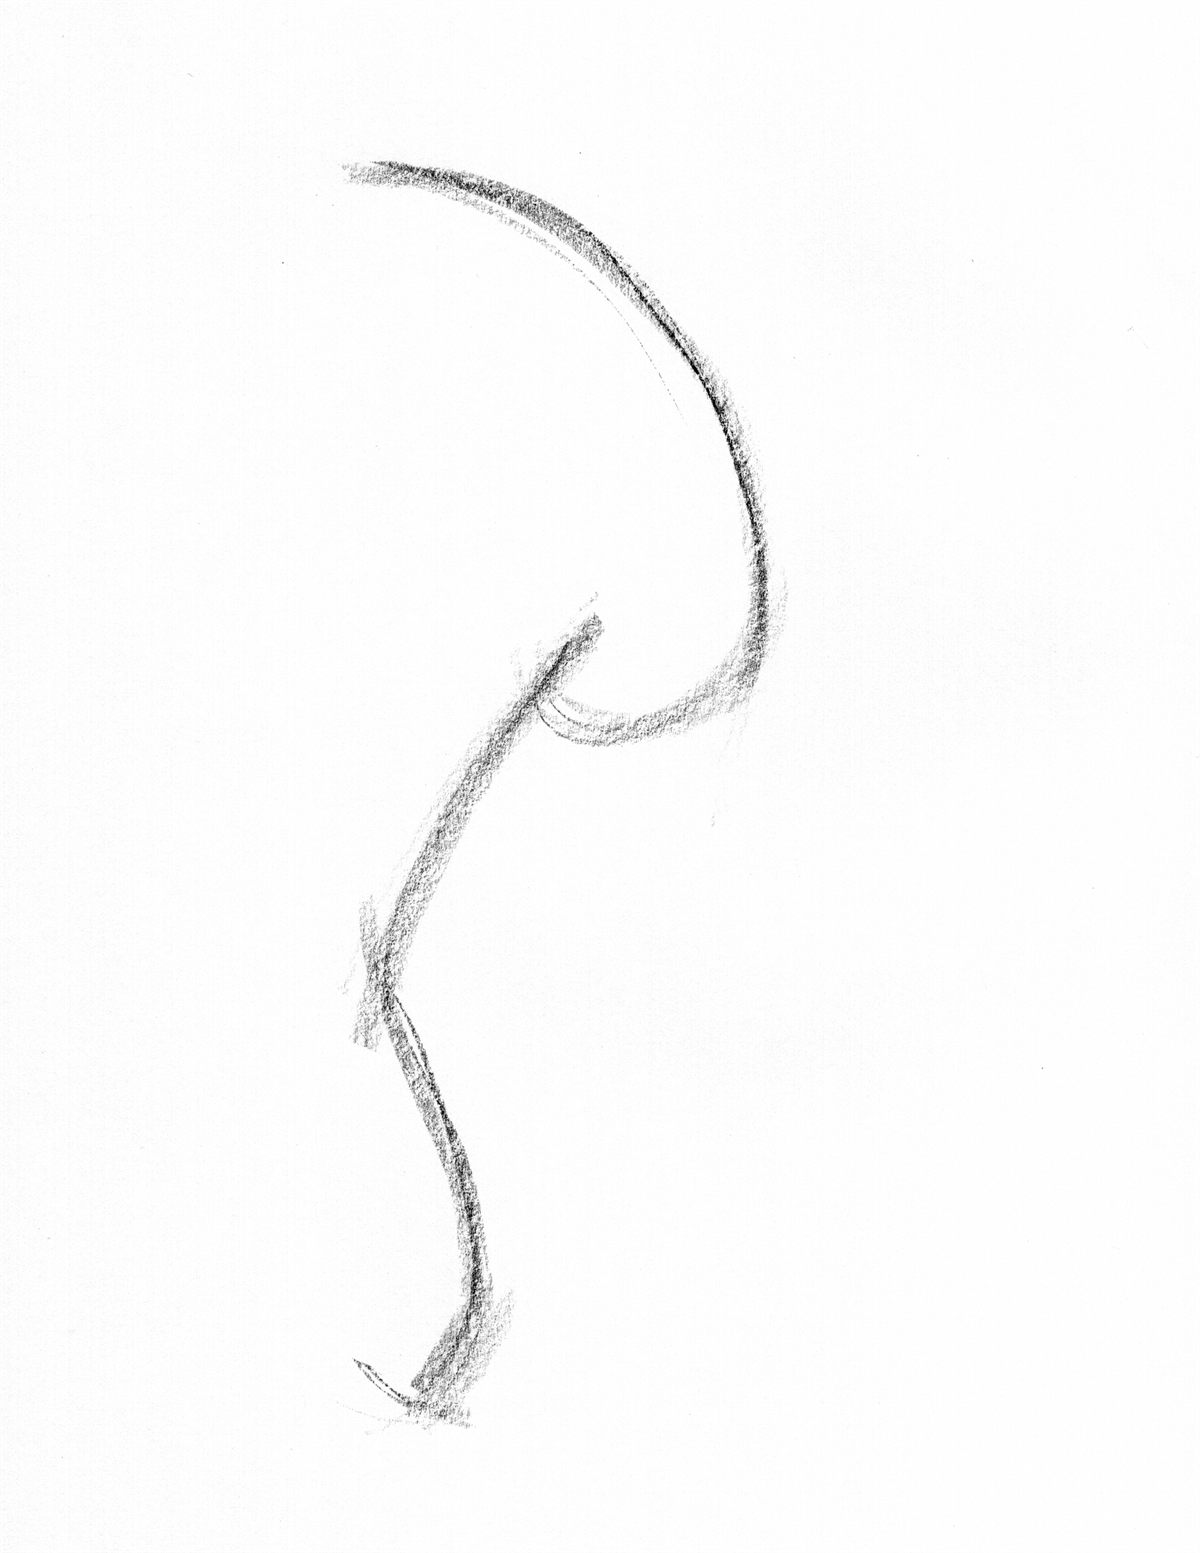
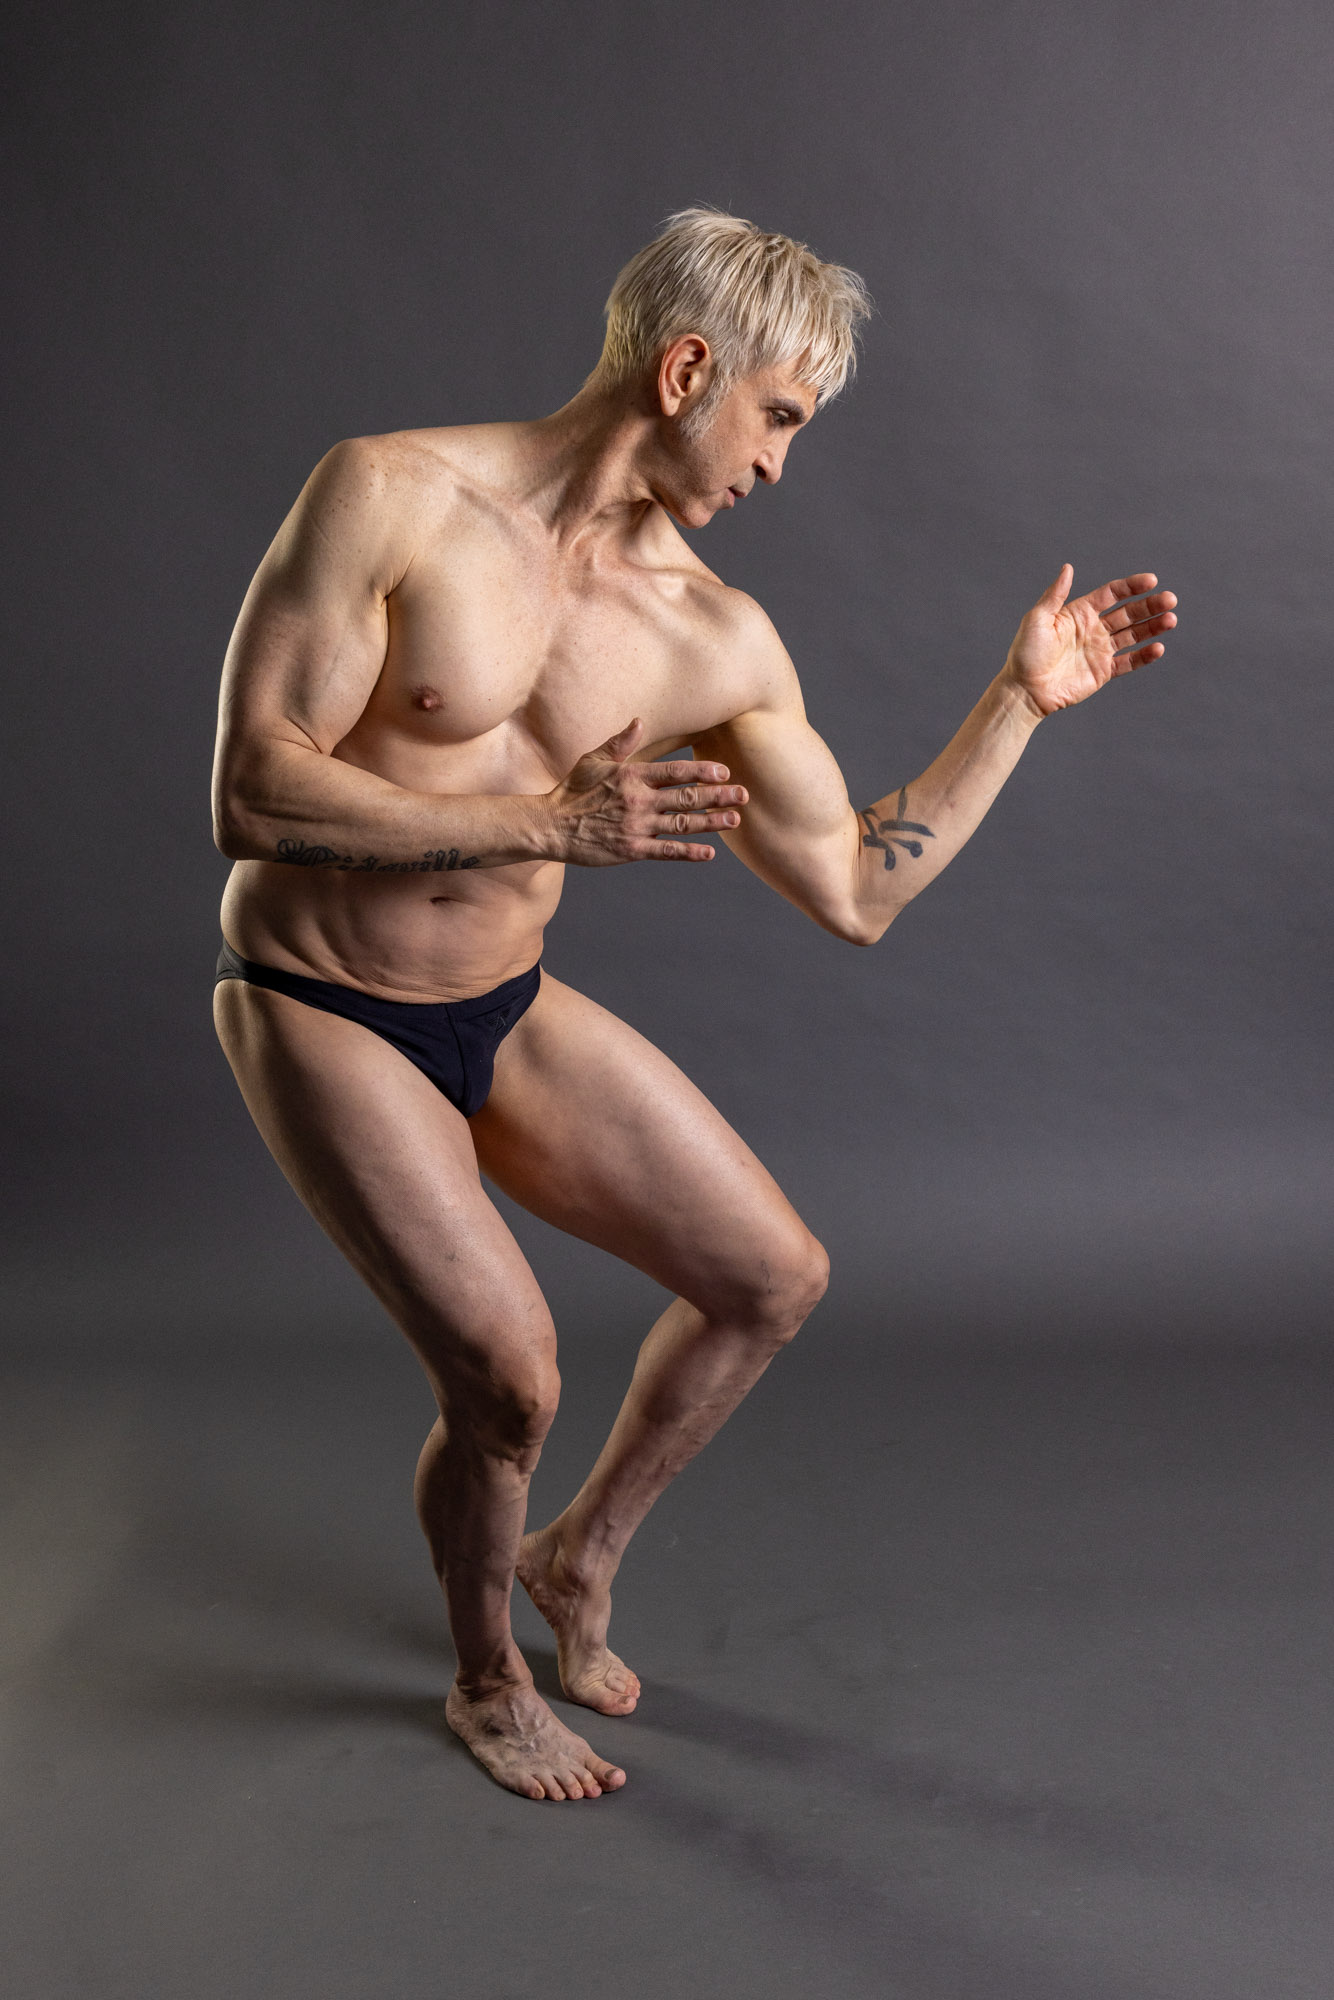
The line of action examples below show how different poses can be reduced to a simple C curve, S curve, straight, or angled rhythm. Study the action line first, then compare it to the pose reference to see how the gesture was simplified.
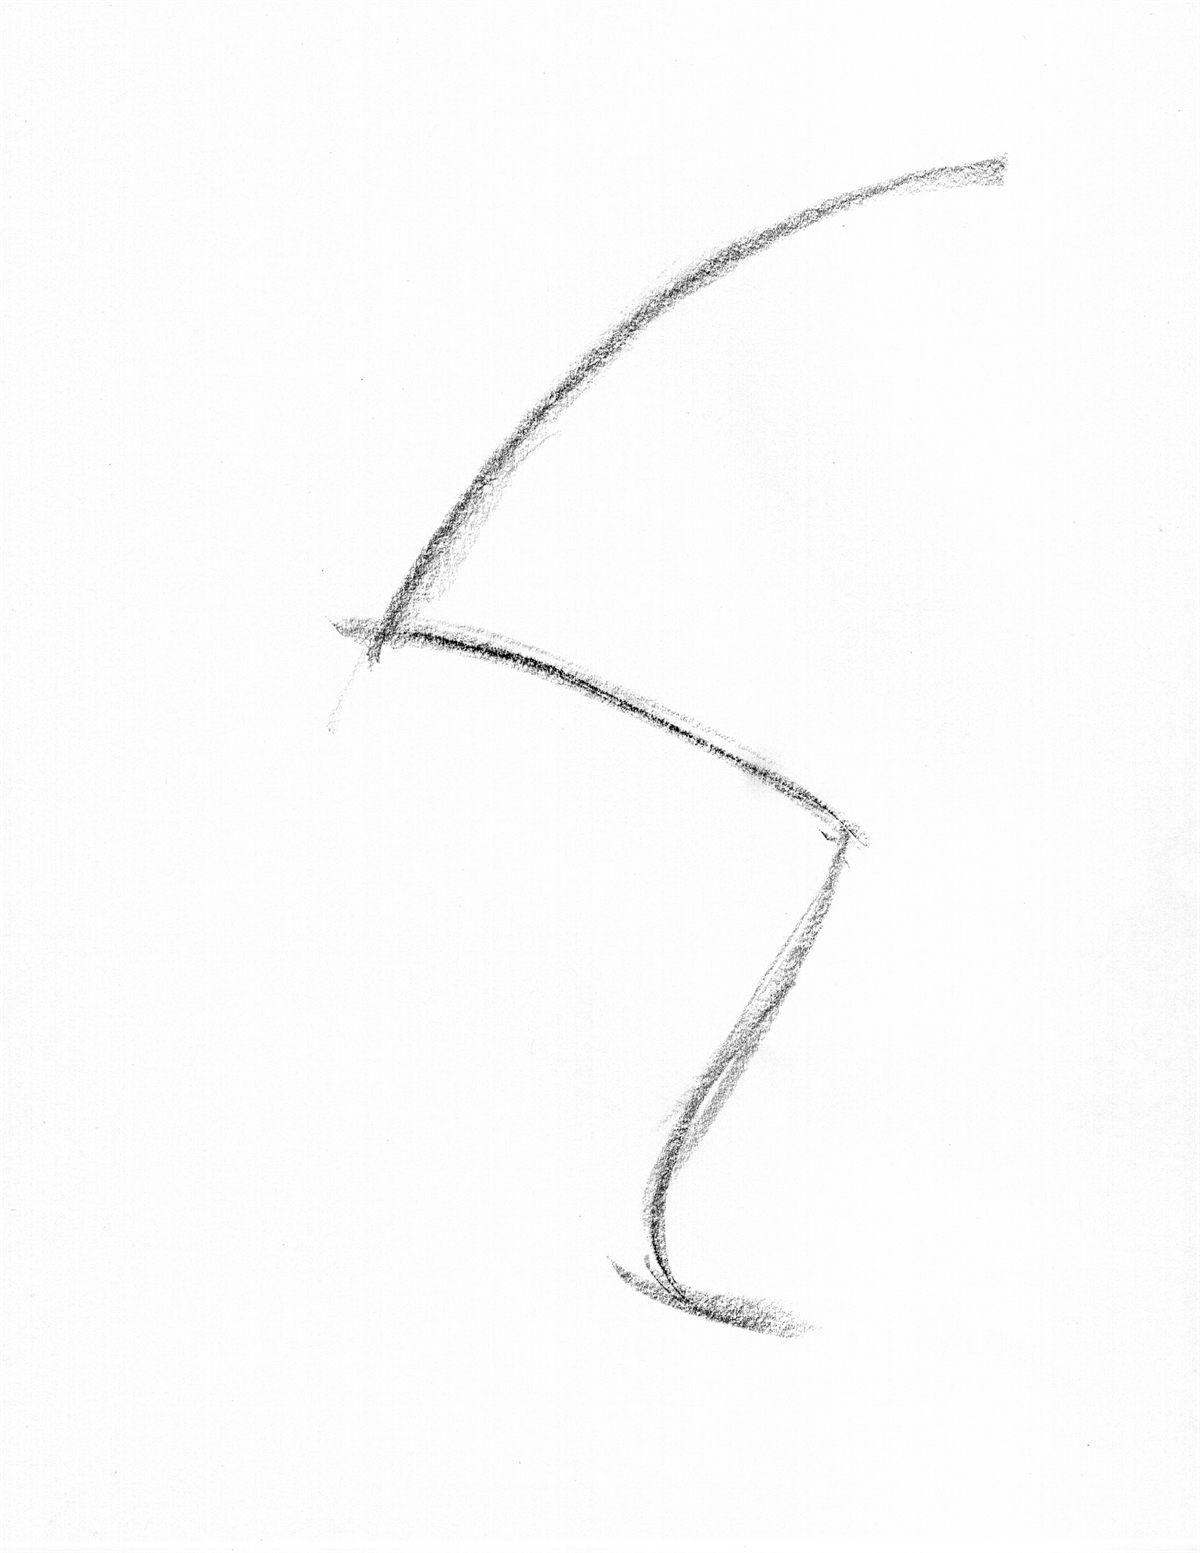
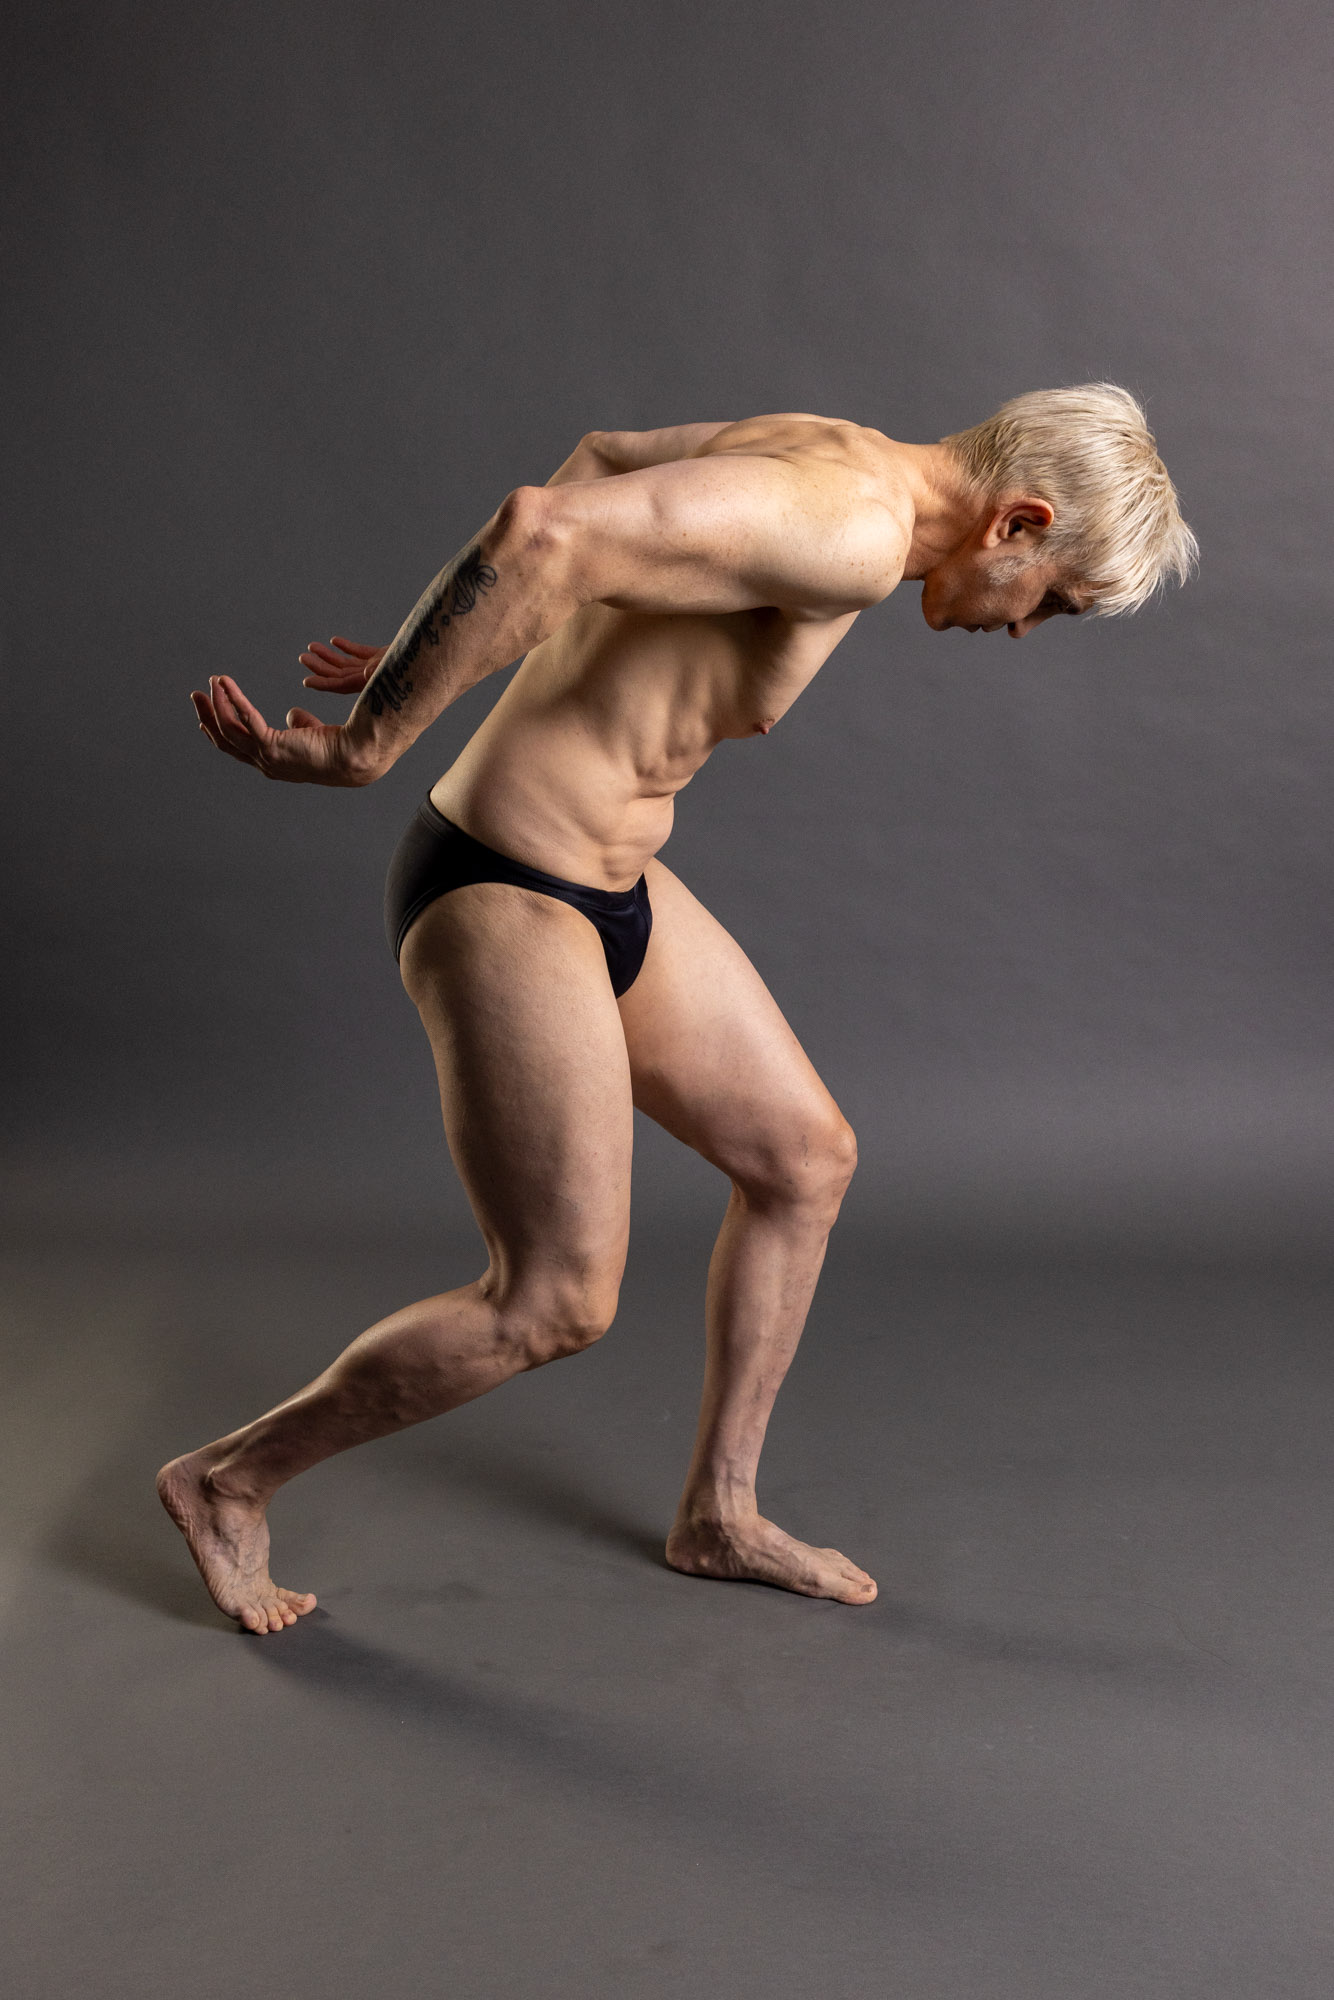
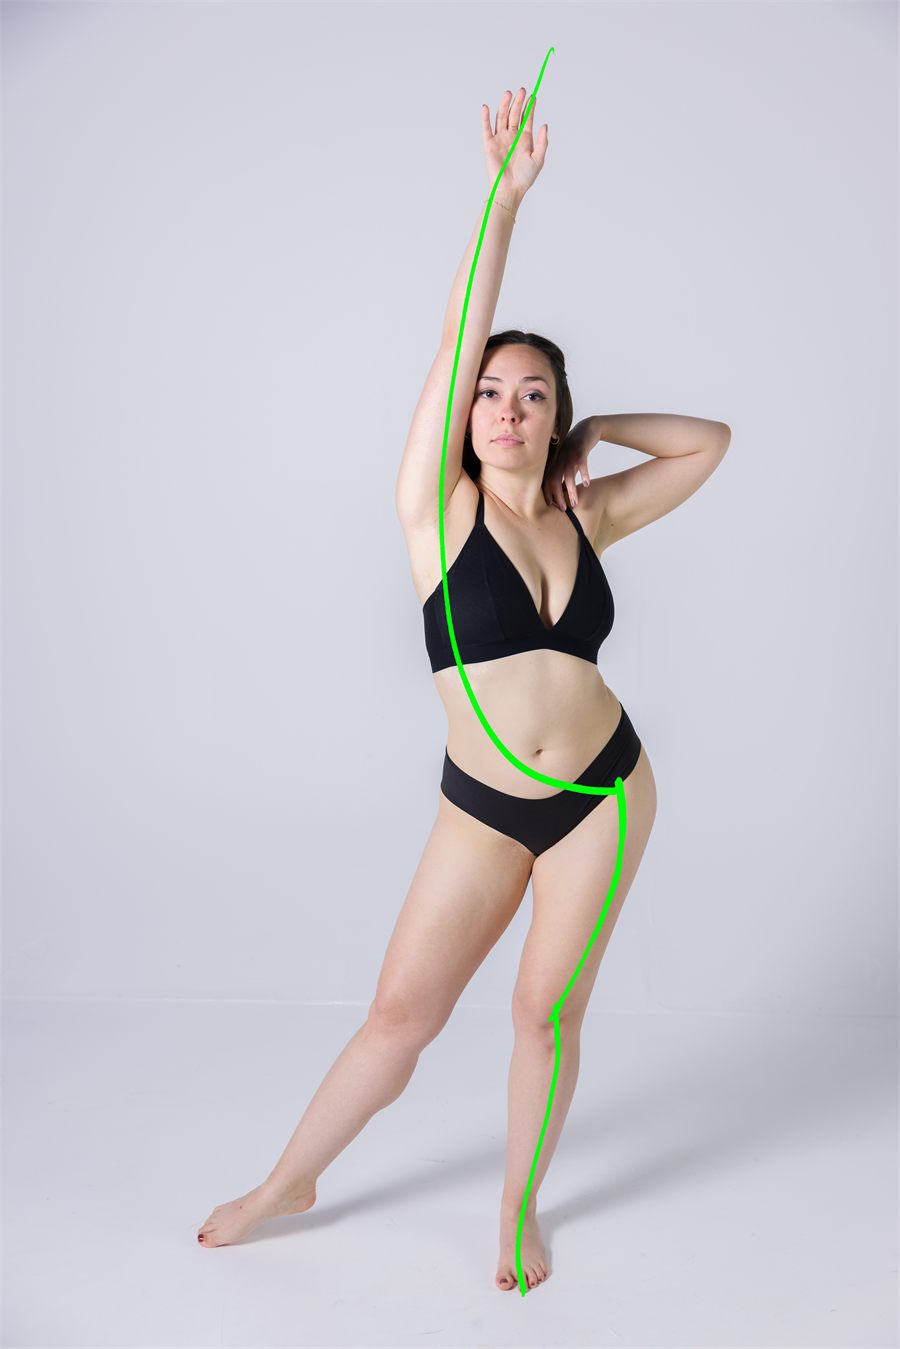
Reference pose with a subtle line of action. The torso may appear mostly straight at first glance, but there is still a gentle shift in the body.

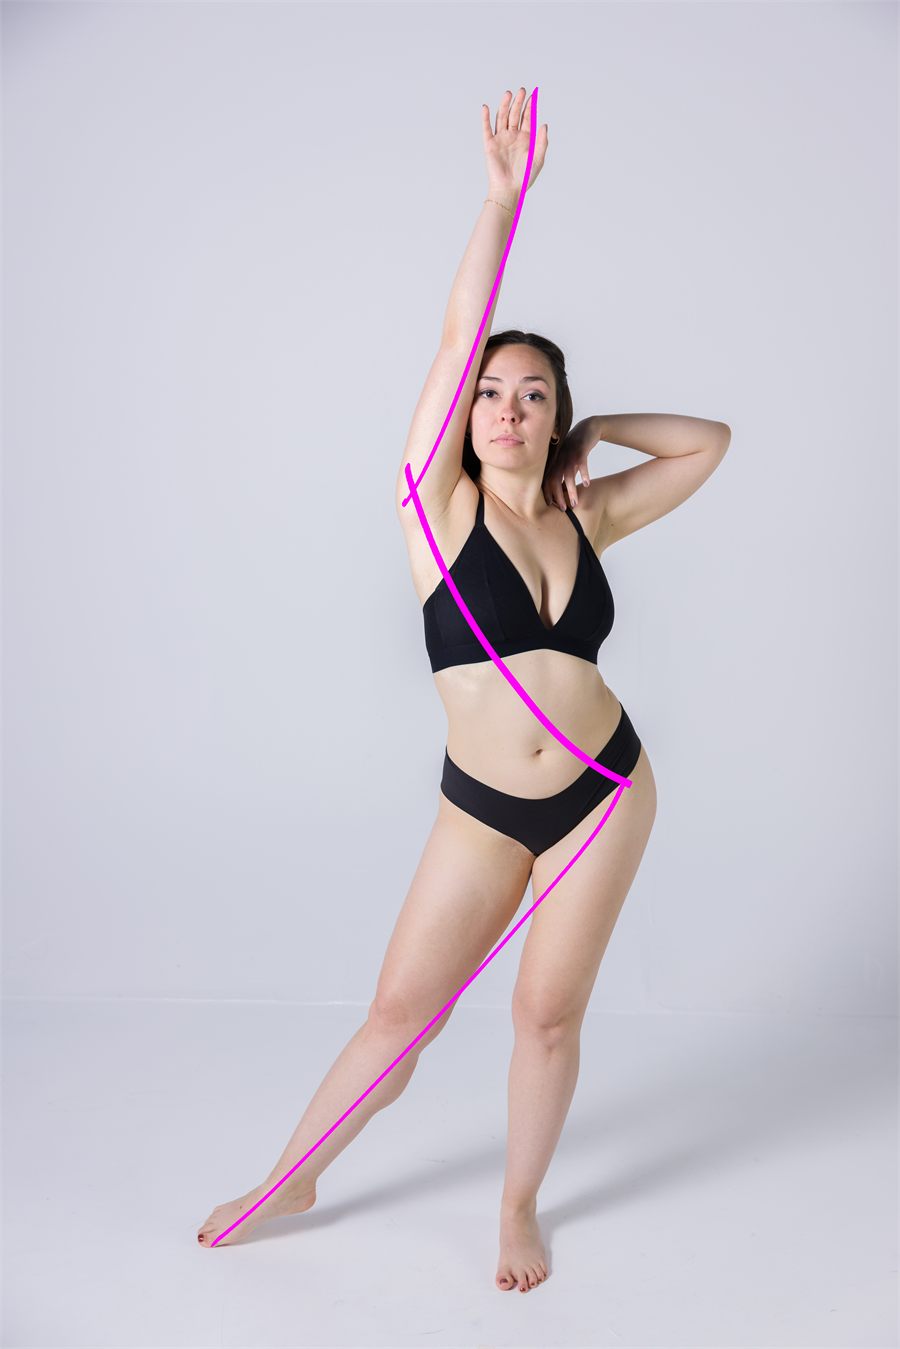
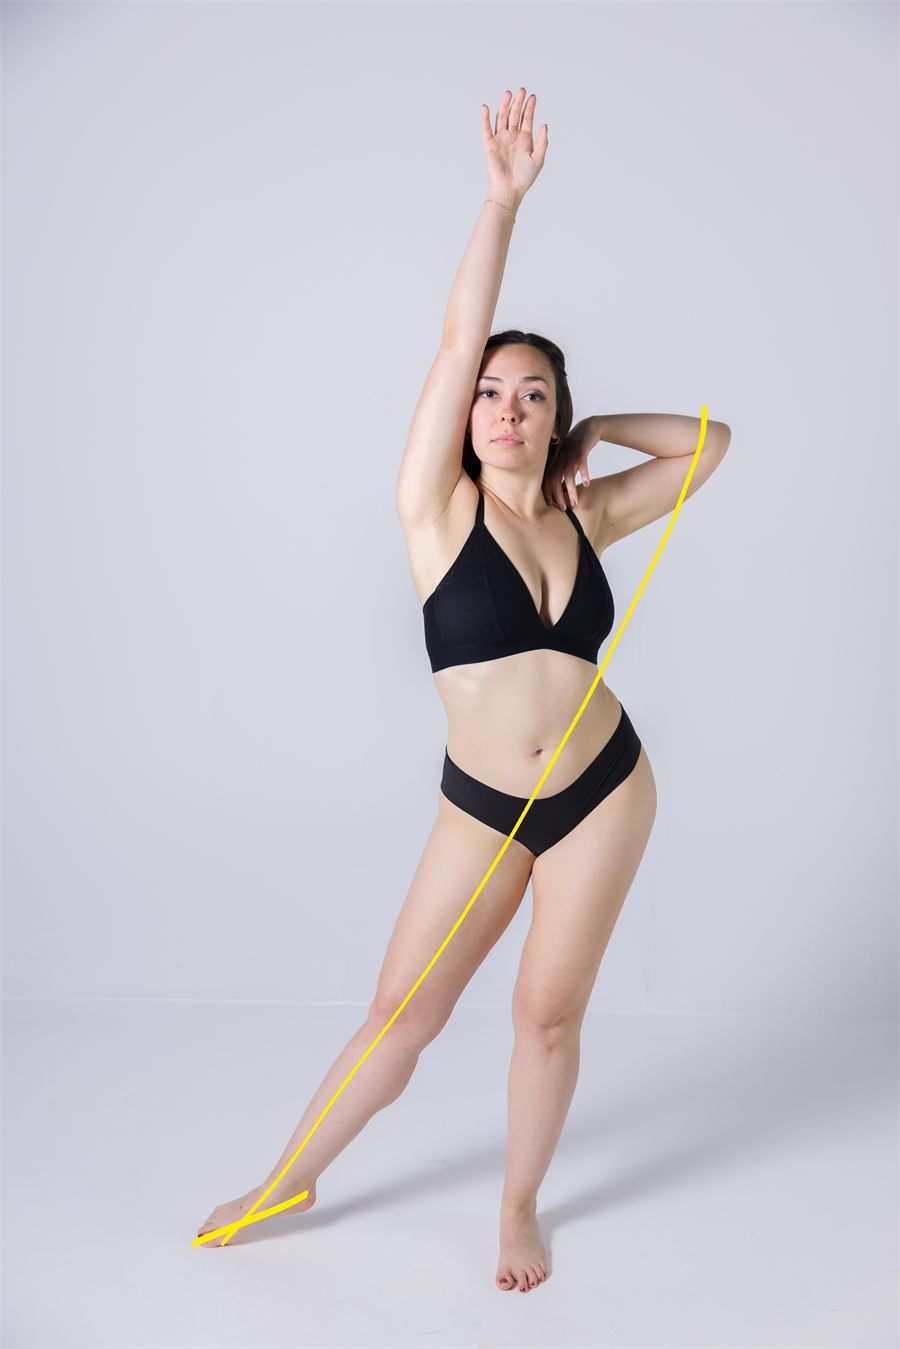
This pose suggests a long C-curve through the body, with compression on one side and stretch on the other.

The movement in this pose is more upright, but there is still a clear directional sweep through the torso and hips.
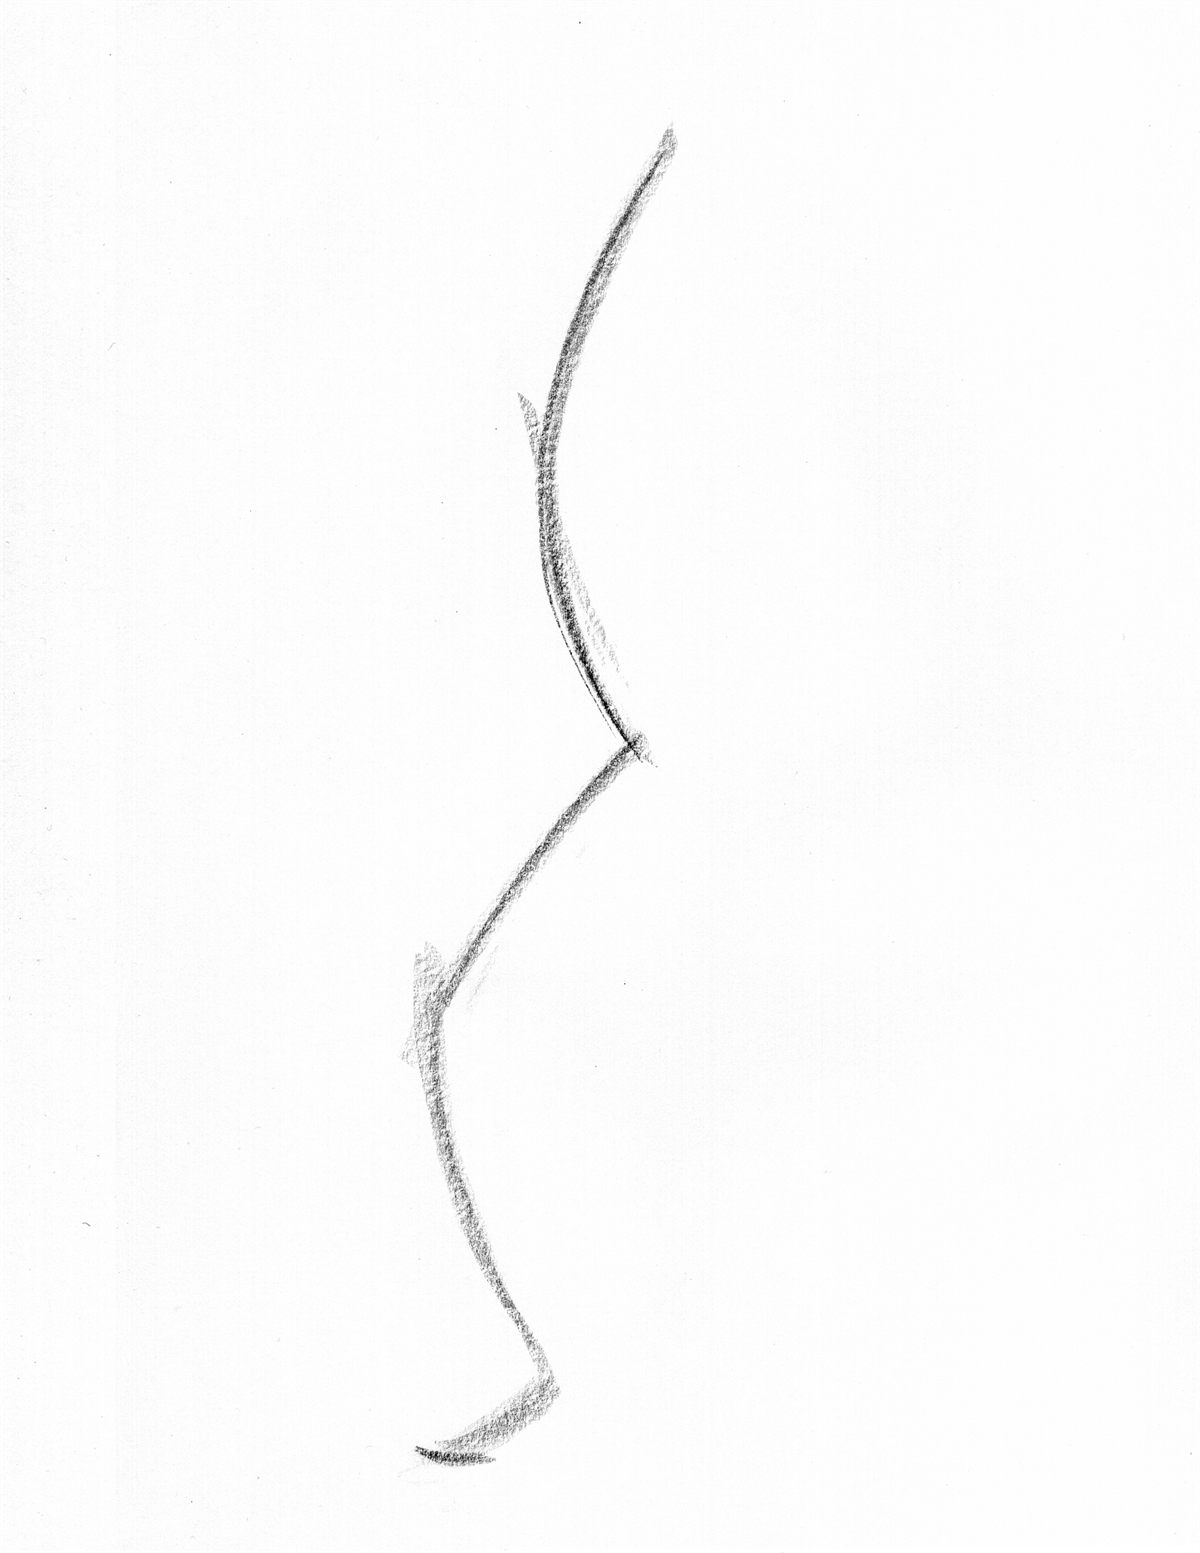
This pose contains stored energy as the body compresses forward, so the line follows a zigzag rhythm through the torso and legs.

In this example, the non-weight-bearing leg created the most interesting movement in the pose, so the action line follows that rhythm.

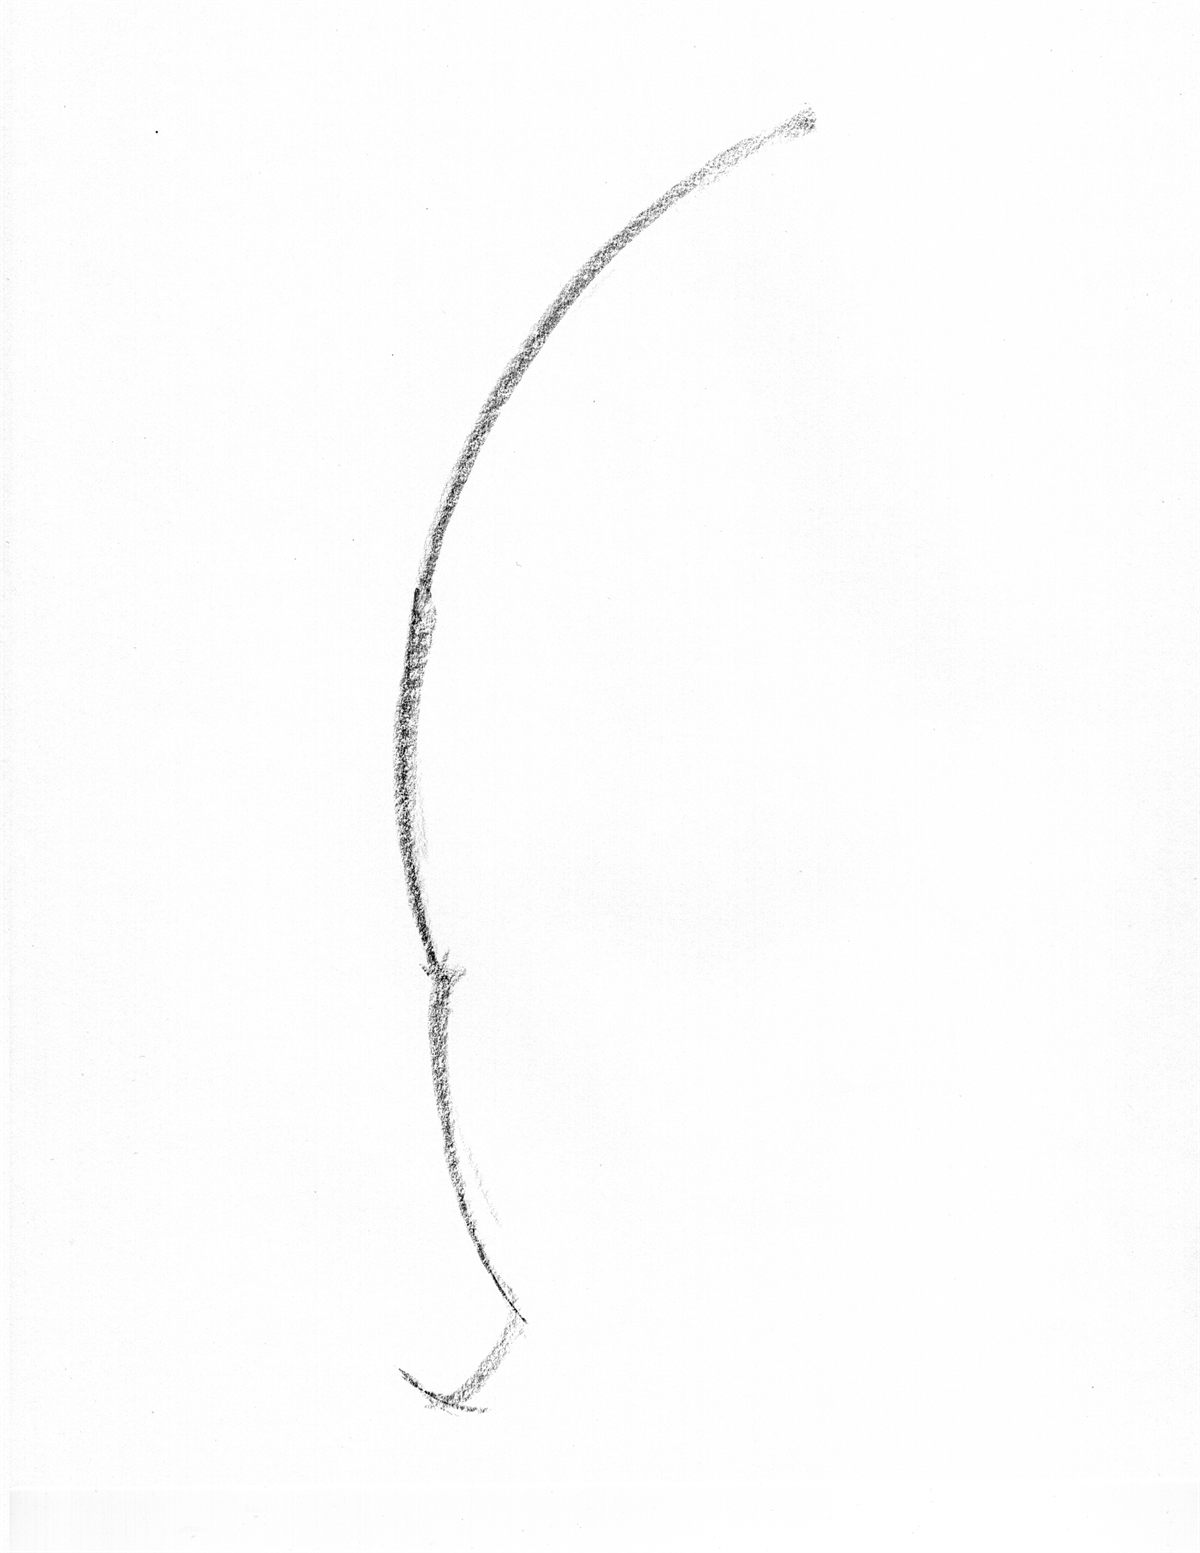
The body stretches into a long arc with clear directional force. The simplified line highlights that arc without getting distracted by limb detail.
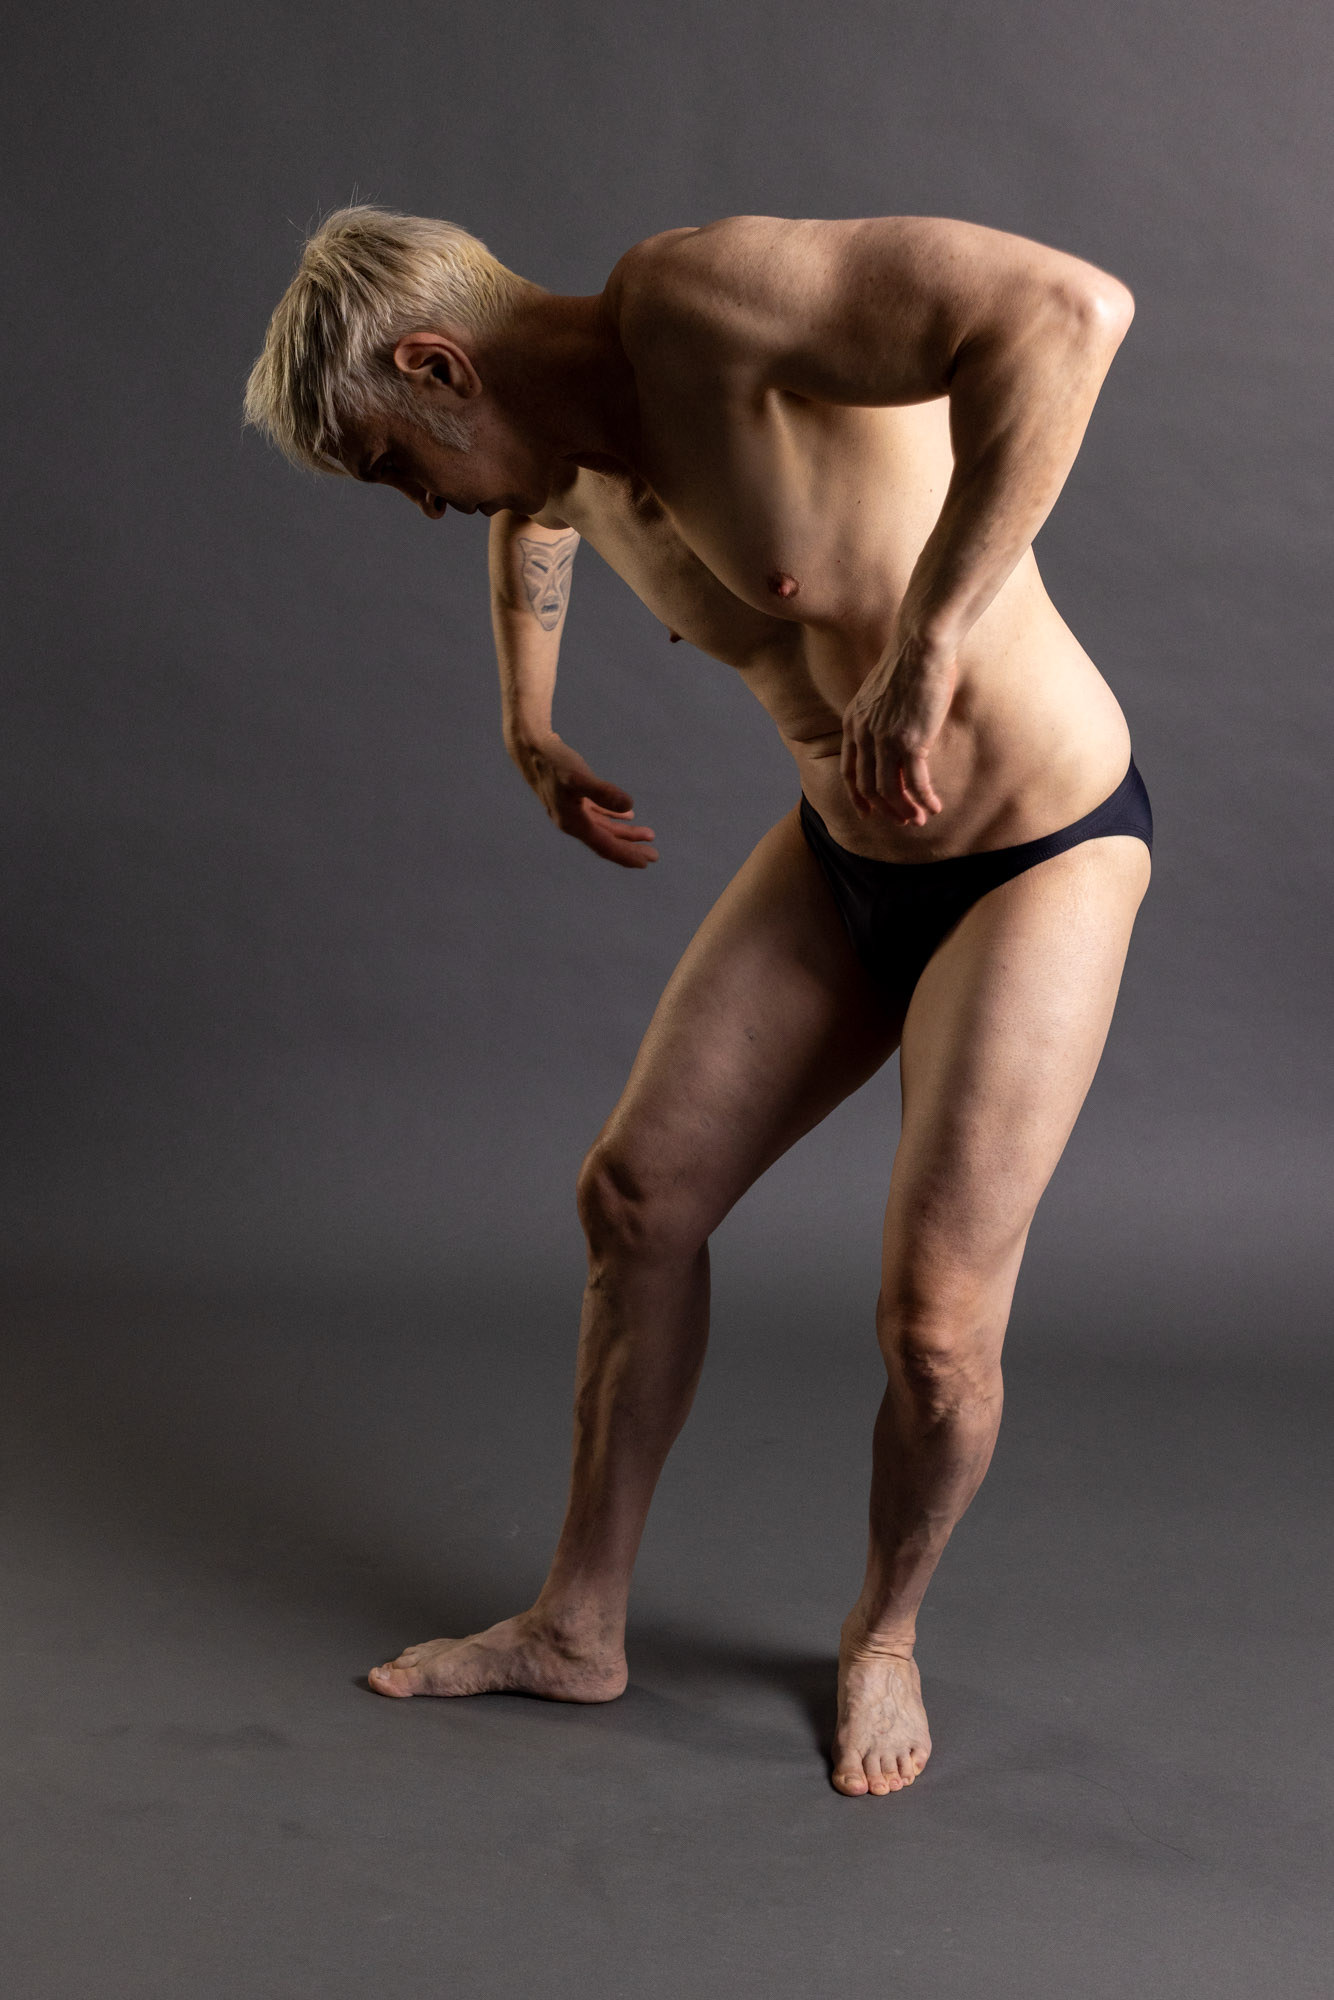
The body bends forward, creating a broad curve through the back and shoulders that continues down into the legs.

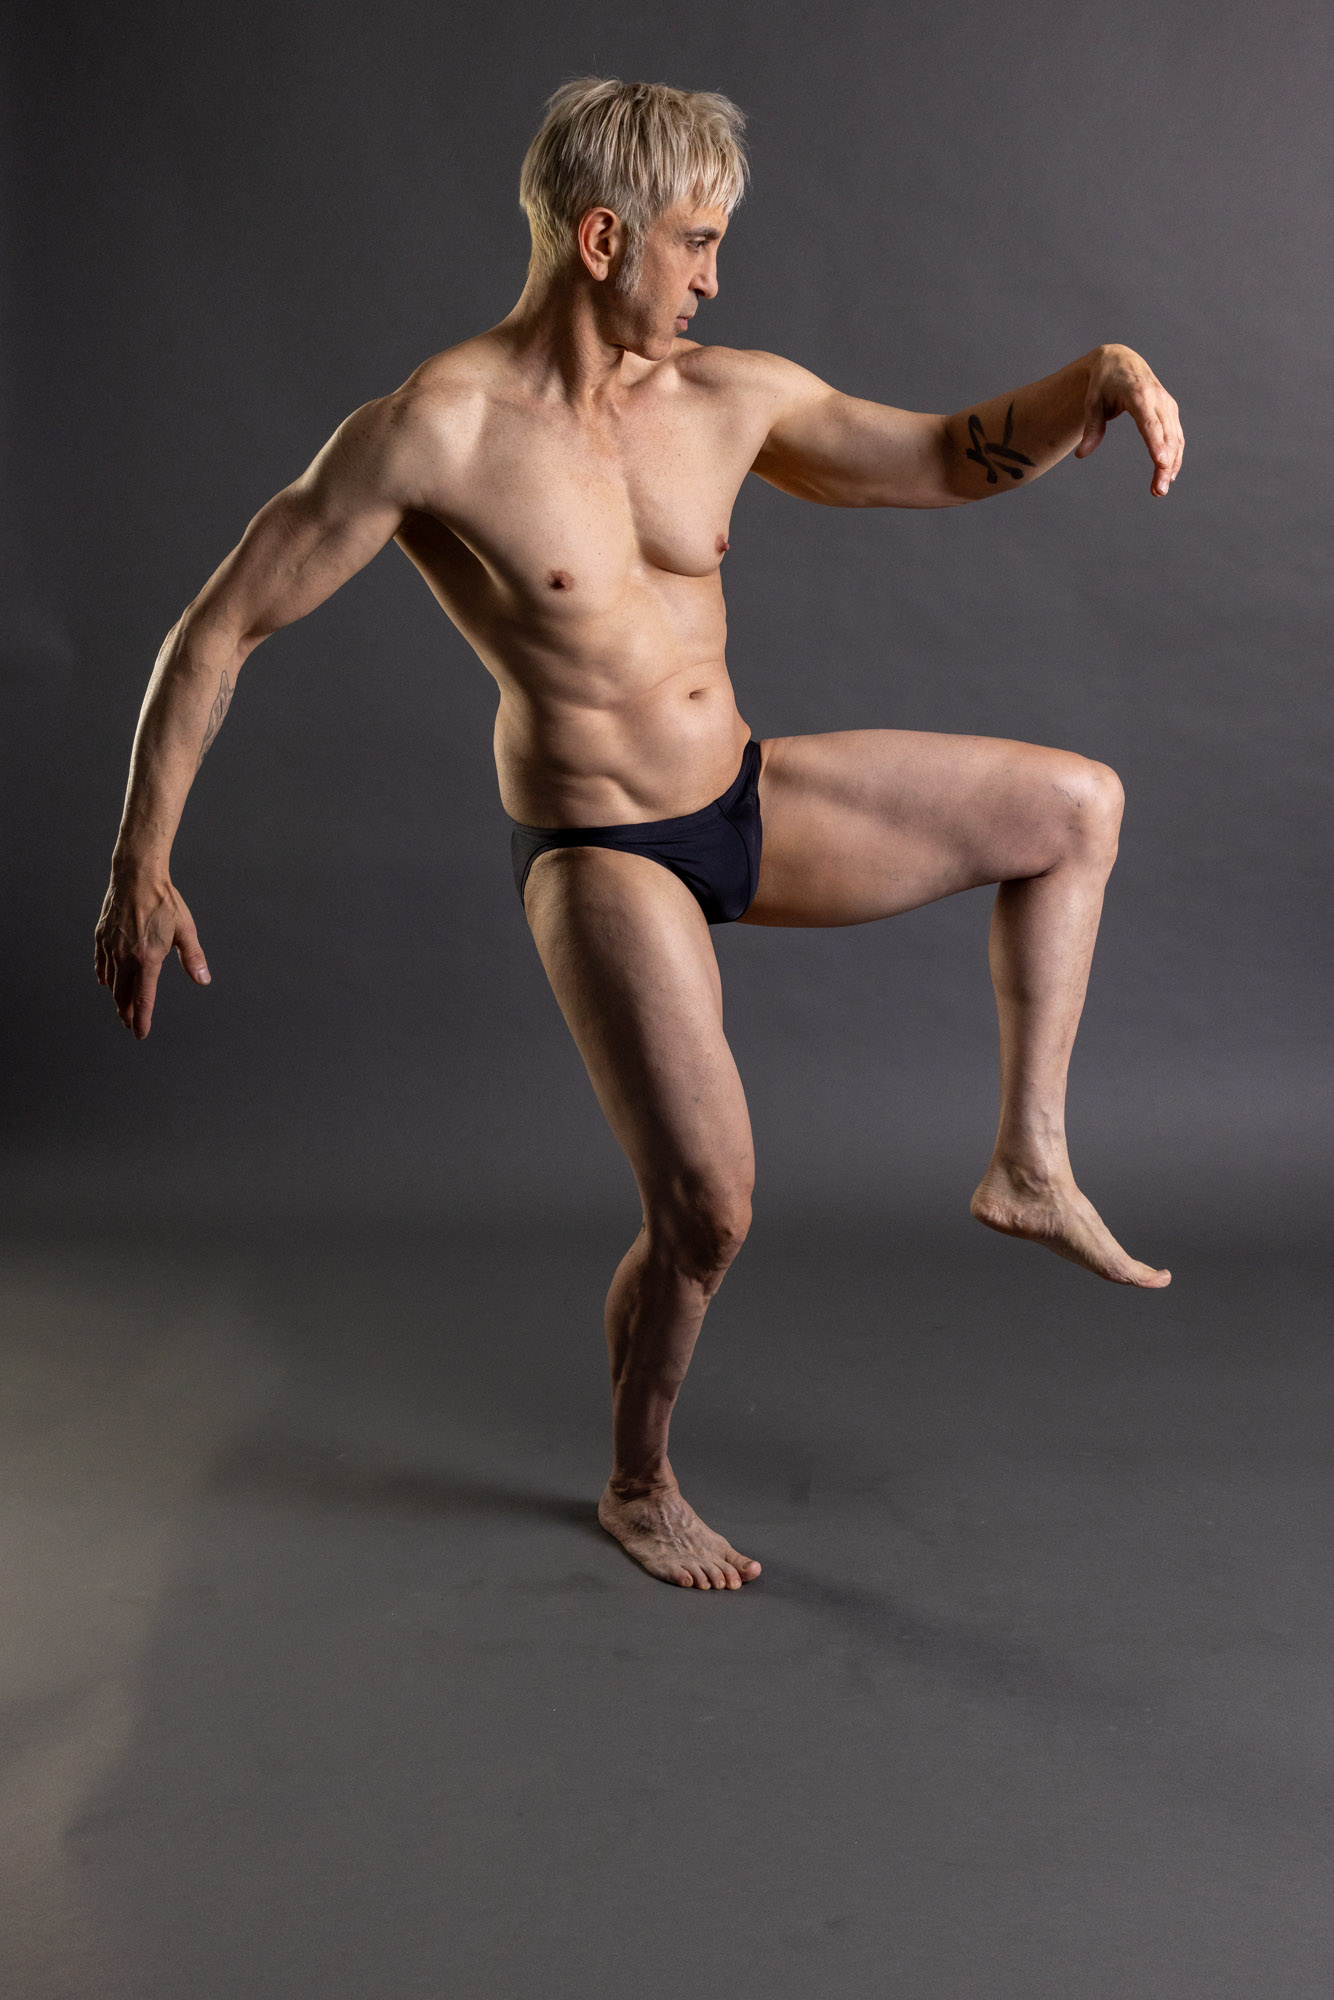
This pose uses the relationship between the head and lifted foot to keep the gesture balanced.

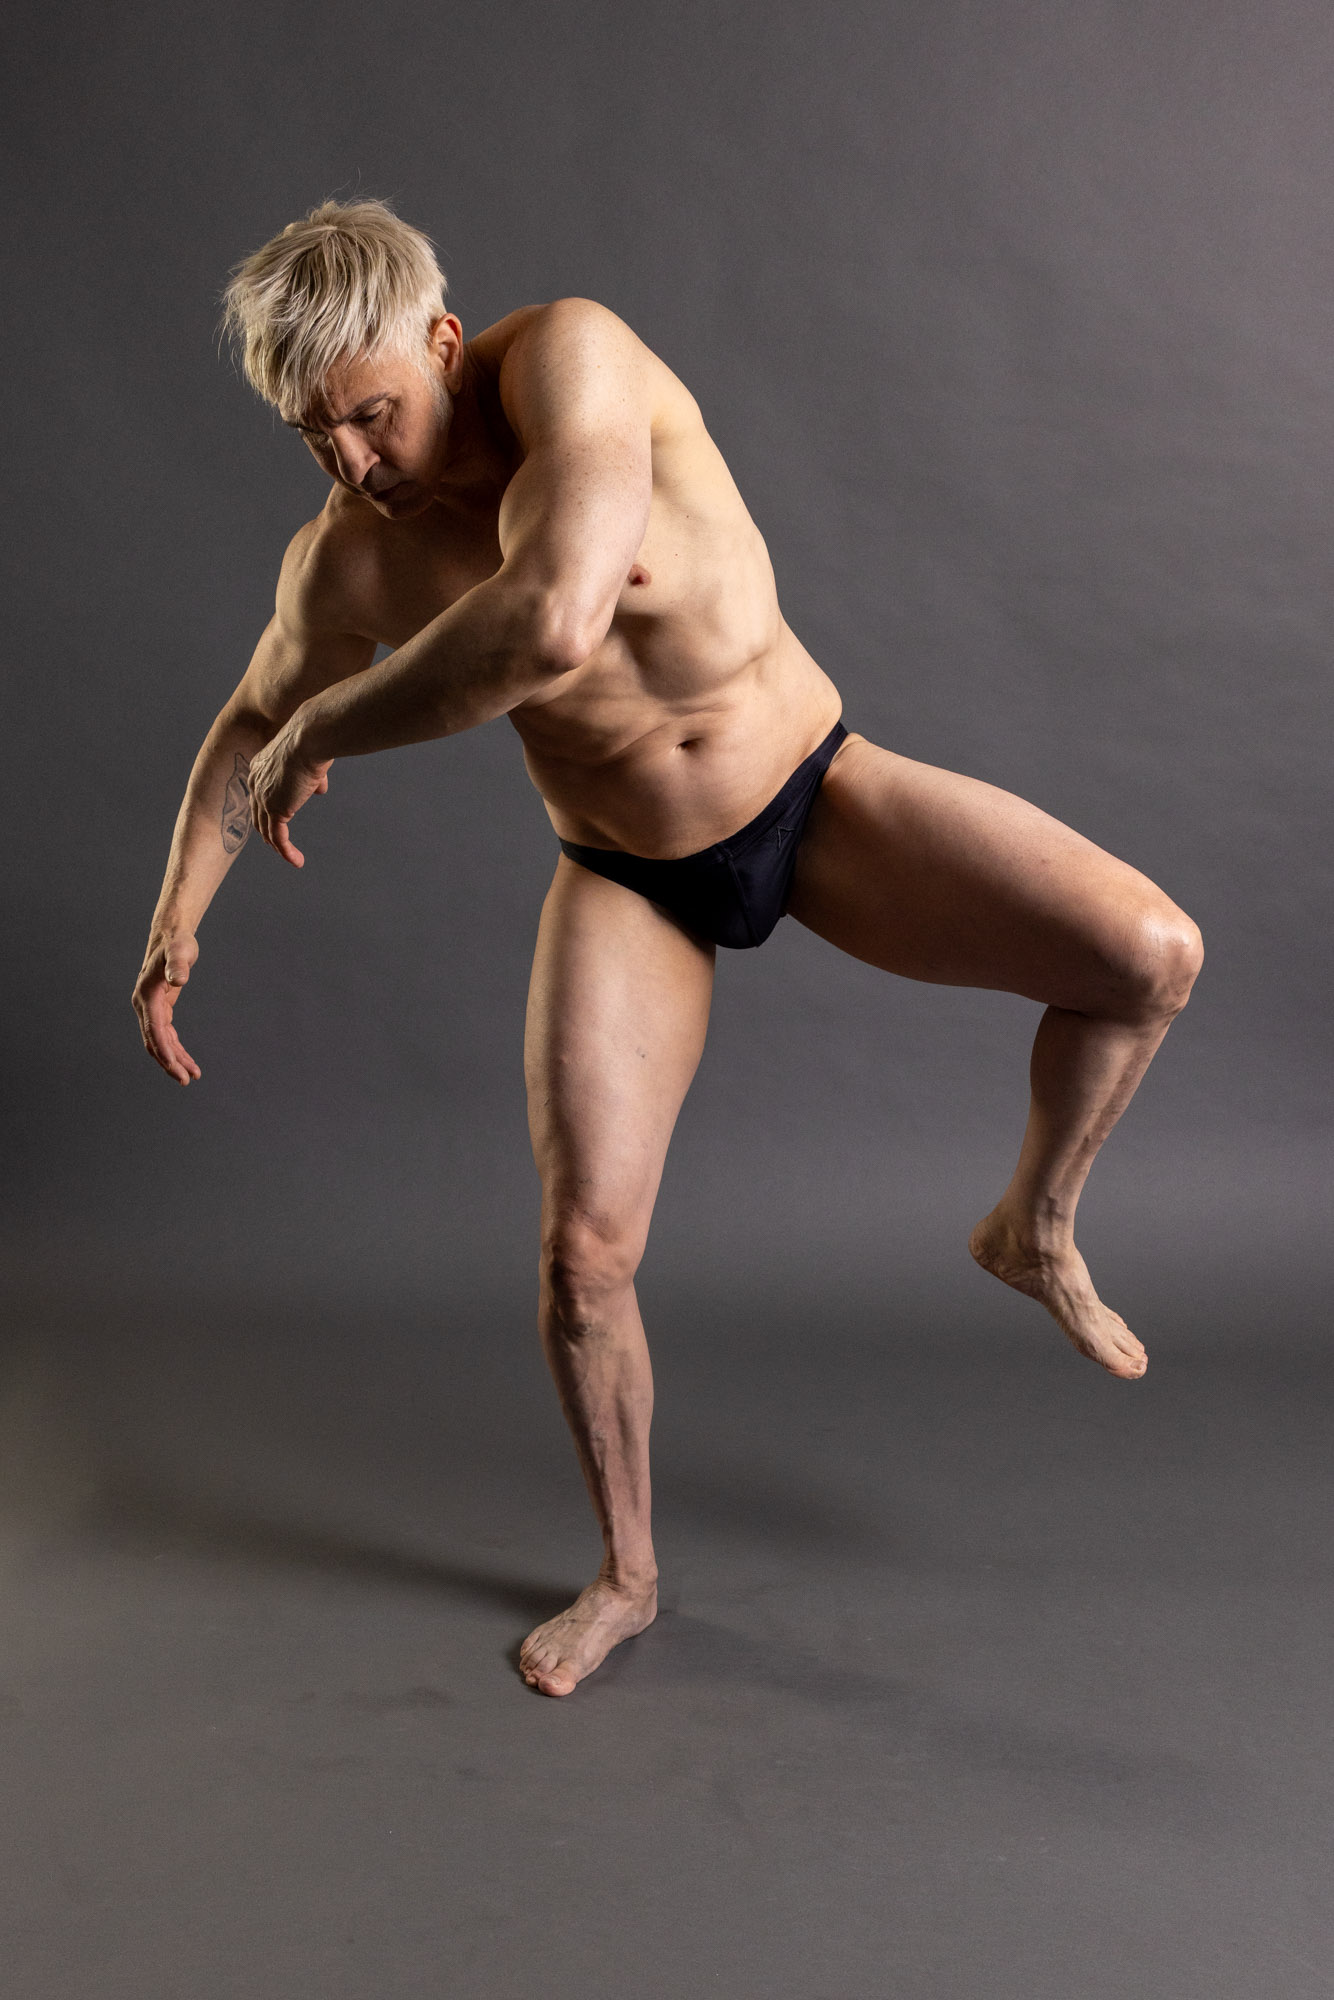
This gesture begins with a strong curve through the upper body before transitioning into a straighter finish through the leg.
This pose creates a strong C-curve through the torso before resolving into the legs.
See more line of action examples
Once you understand the basic idea, the next step is learning how to practice it without becoming too rigid. The points below will help you stay flexible, exaggerate the gesture when useful, and avoid treating the line of action as a single correct answer.

If you ask ten artists to find the line of action from the same pose, you will probably get ten different answers. That is the point.
Some artists follow the longest curve through the body. Others focus on the weight-bearing leg. Some respond to the shoulder tilt, an arm stretch, or the rhythm between hips and ribcage.
The line of action is not about a perfect anatomical solution. It is about capturing what feels most important in the pose.
By pushing the limits of what is already there, you can create a dynamic line of action that stands out. That is why I take my poses one extra step further, just a bit beyond what the model is doing. For example, if the model is tilting one way, I go for a little more tilt, and if they are stretching out of their comfort zone, I extend those limbs even farther. If you go too far, it is okay. You can always bring the pose back to its natural state during the next stages of the figure drawing process.
Drawing action lines from a single pose can be a great way to improve your observation skills. You will find different interpretations of the pose. As long as you have kept the basic structure of the pose intact, feel free to let your imagination run wild with each additional set of action lines.
If you are looking to take your drawing skills to the next level, keep an artist sketchbook with you wherever you go. From cafe visits to museum trips, there are countless opportunities for practice and inspiration. When starting out, it can be intimidating to be surrounded by fellow hobbyists or professionals, but having a prepared sketchbook helps build comfort and a sense of accomplishment. With time, drawing in public becomes a natural habit that yields strong results.
When drawing from live-moving subjects, a certain level of comfort must be achieved before attempting to design poses independently. Drawing from the model can help build this skill because it provides a reference point for learning forms and proportions. However, it should not be used as a literal replication of the pose. Instead, artists should take creative liberties in interpreting the figure in a way that makes sense to them. Encompassing both memorization and imagination is vital.
10 × 30-second poses
Start drawingNo signup required. Just press play and draw.
When creating an action line, you need to go beyond the surface of a pose and delve into how it feels. Is your figure leaning? Twisting with tension or gently bending in relaxation? Consider all possibilities before deciding on one solution; there is no single correct answer. Explore and discover new ways of describing each moment with your lines.
It is a given that drawing a line of action will not be done perfectly on the first try. Because of this, it is beneficial to add layers to your drawings and not focus on just one attempt. The power of layering different lines of action means you can fine-tune your ideas to create more solid art pieces. If your first line was too curved or you want to get the movement just right, draw over it without feeling discouraged by the failed attempt. Do not erase. Keep your lines light so that you can easily draw over them if needed.
For this exercise, I recommend drawing a set of twenty 30-second poses.
If your drawings feel stiff, this is usually the fix: simplify more, exaggerate slightly, and keep moving. For a fuller diagnosis of stiff poses, read Common Line of Action Mistakes.
Line of action works best with short timed poses. The goal is not a finished drawing. The goal is training your eye to see motion quickly.
Recommended routine:

The line of action is a simple imaginary line that captures the primary direction and movement of a pose. It represents the overall energy and flow of the figure rather than the outline.
Start by looking for the strongest movement in the pose before drawing details. Squint to simplify the figure, choose the clearest C curve, S curve, straight, or angled rhythm, and draw that action line first.
Common examples include a C curve through a leaning body, an S curve through a twisting torso, a straighter action line in a tense standing pose, or an angled rhythm that follows the main direction of force through the figure.
Not always. Sometimes the line of action is close to the spine, but it can also follow the full body curve from head to toe, a leg rhythm, or another dominant movement. The goal is to capture motion, not anatomy.
Spend about 5 to 15 seconds observing the pose before drawing. Look for what stands out most, such as a strong C curve or S curve, and commit to that single idea. For timer recommendations in full sessions, see How Long Should Gesture Poses Be?
You may see multiple directional forces in a pose, but for gesture drawing it is best to choose one dominant action line to keep the drawing simple and clear. This helps your marks stay readable in short studies, especially during Gesture Drawing Practice.
The line of action captures movement and flow. Contour drawing focuses on the outer edges and internal boundaries of the figure. Line of action is typically established first in gesture drawing. For a full side by side breakdown, read Line of Action vs Contour Drawing.
