Pose Library Studio is now available. Access the full pose library and custom sessions.

Gesture Drawing Practice
Capture movement, not details
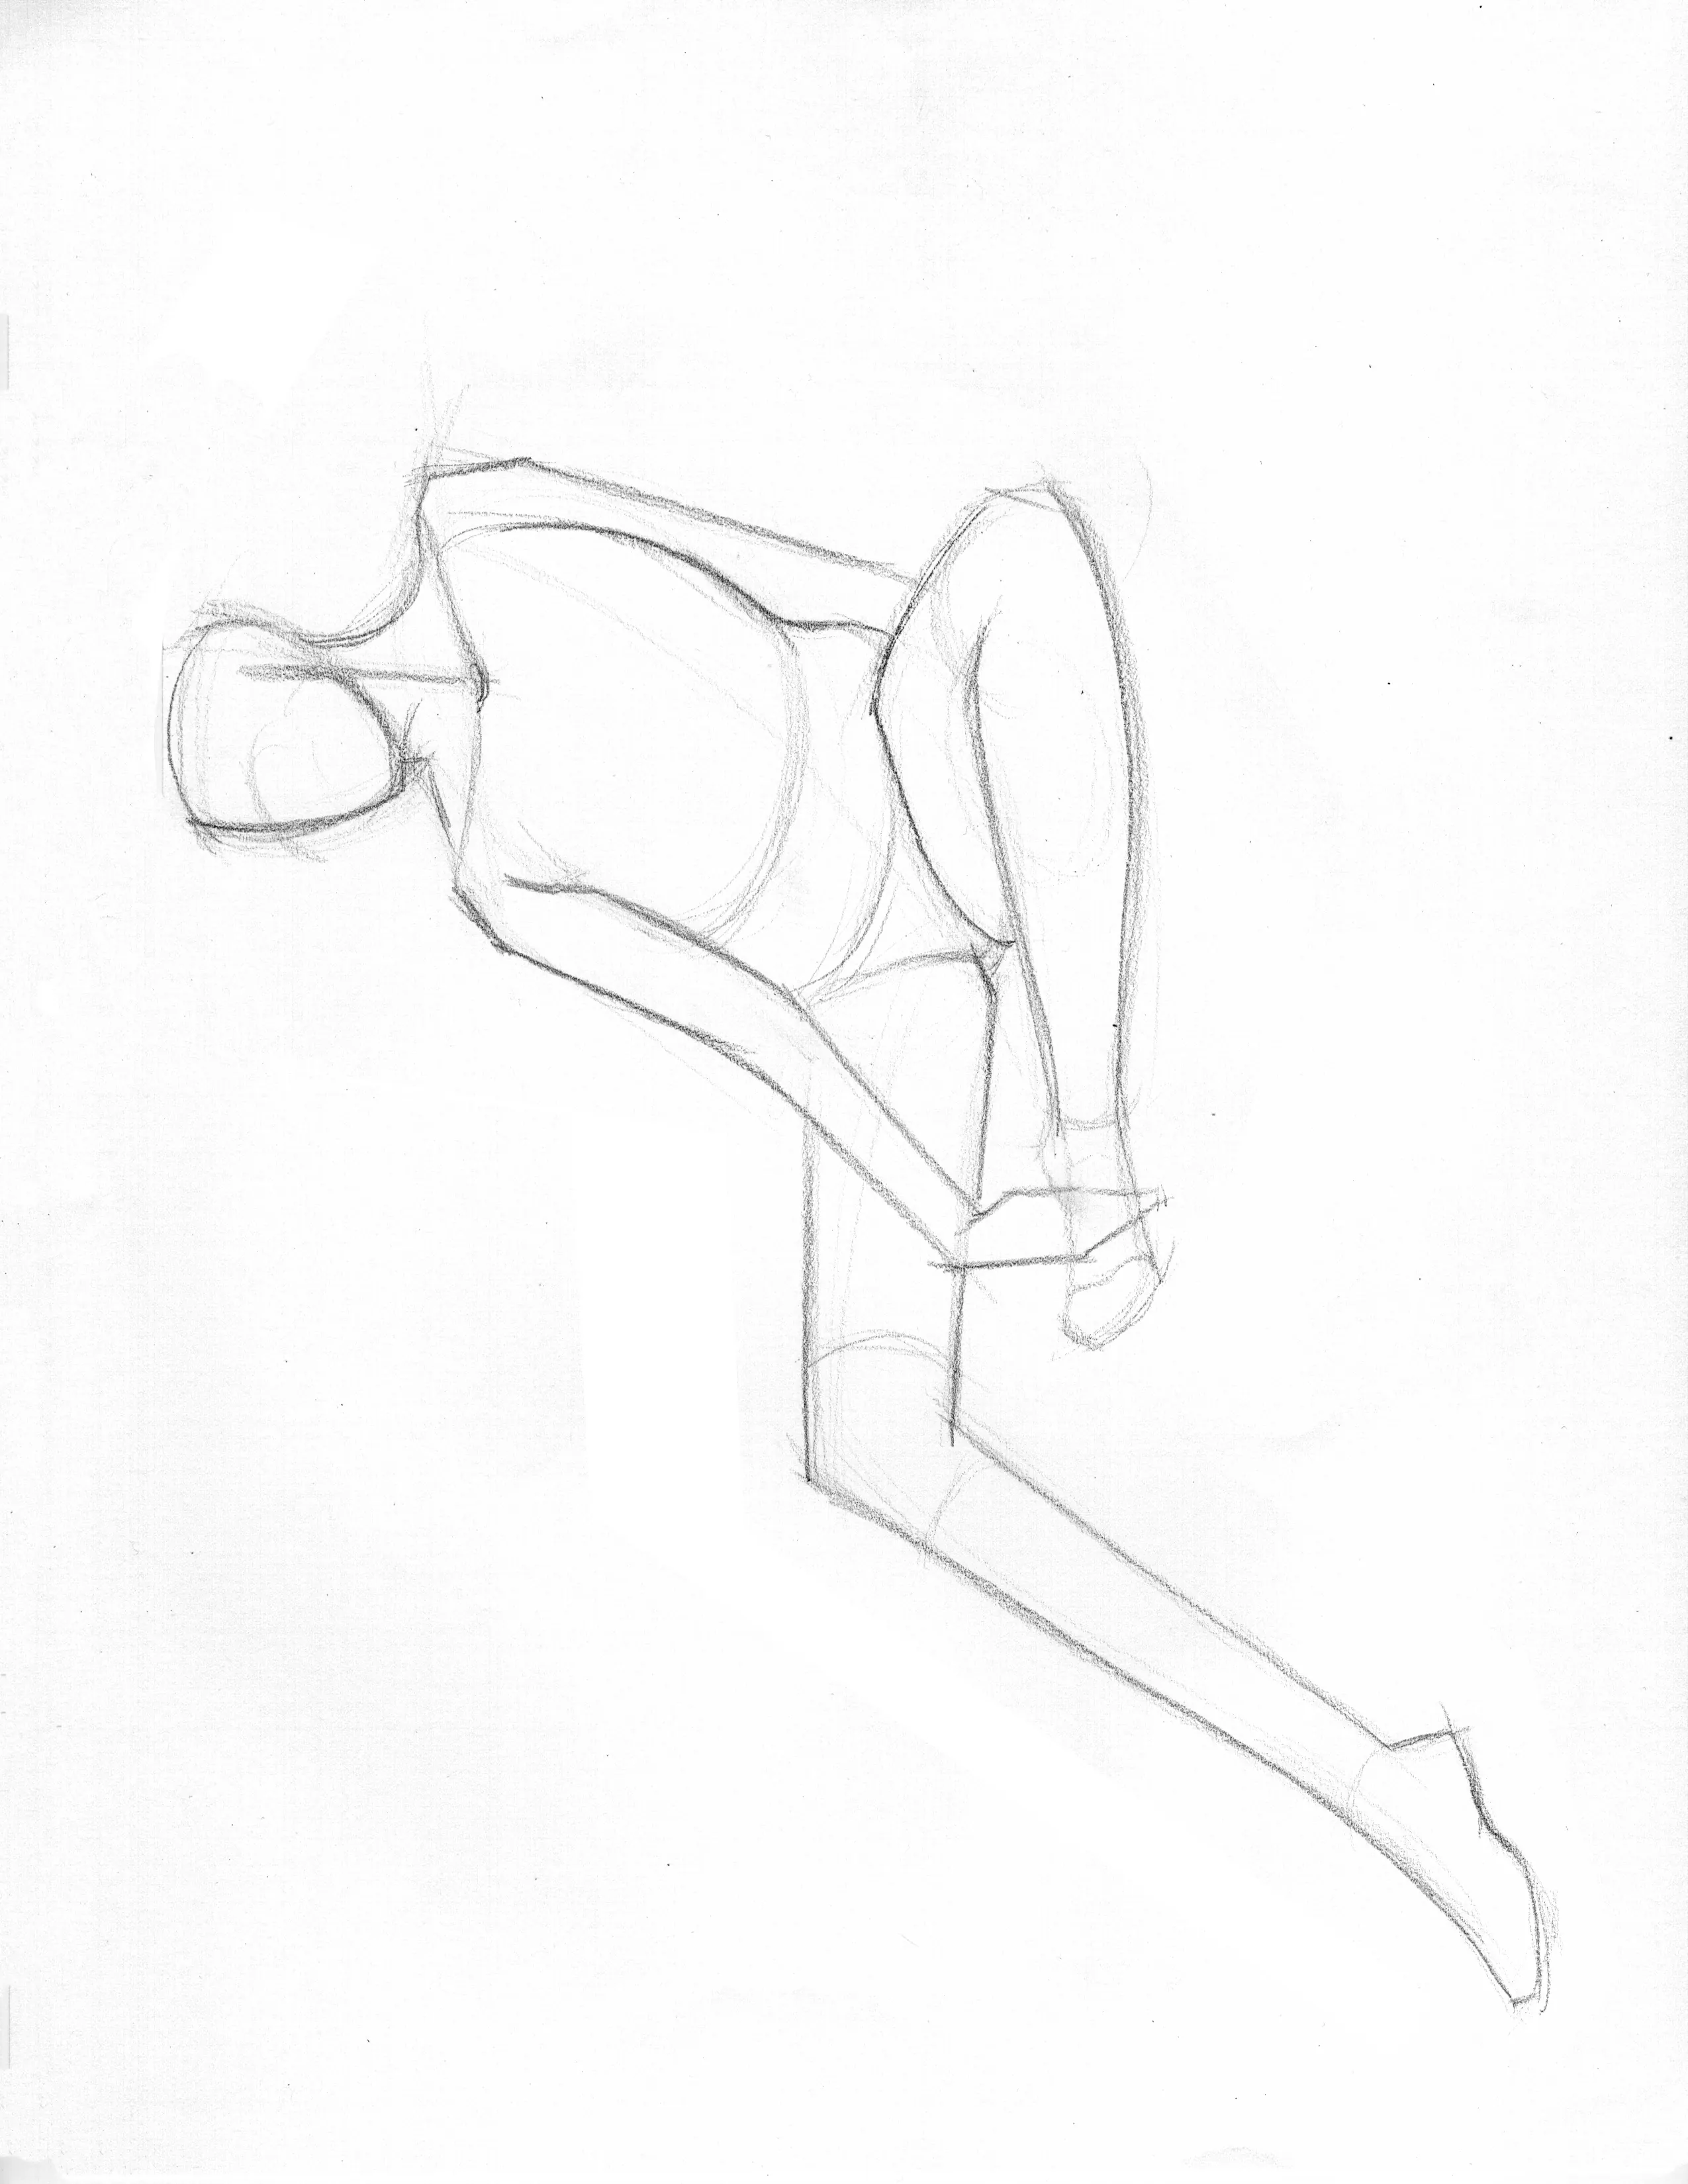
Gesture drawing is about capturing movement, energy, and flow quickly. The human figure is complex, and gesture helps us boil it down into something simple and easier to understand.
If you're new to figure drawing, gesture is one of the best places to start because it trains your eye to see the whole pose before getting lost in details.
If you're still sorting out gesture drawing vs figure drawing, this companion guide explains when to use each approach.
In this article, we'll walk through a simple way to practice gesture drawing using timed poses. If you want a curated set of images for these drills, start with these gesture drawing pose references.
Start a full gesture drawing session
6 x 30-second poses, 5 x 1-minute poses, 5 x 2-minute poses, and 1 x 5-minute study
No signup required. Just press play and draw.
What Is Gesture Drawing?
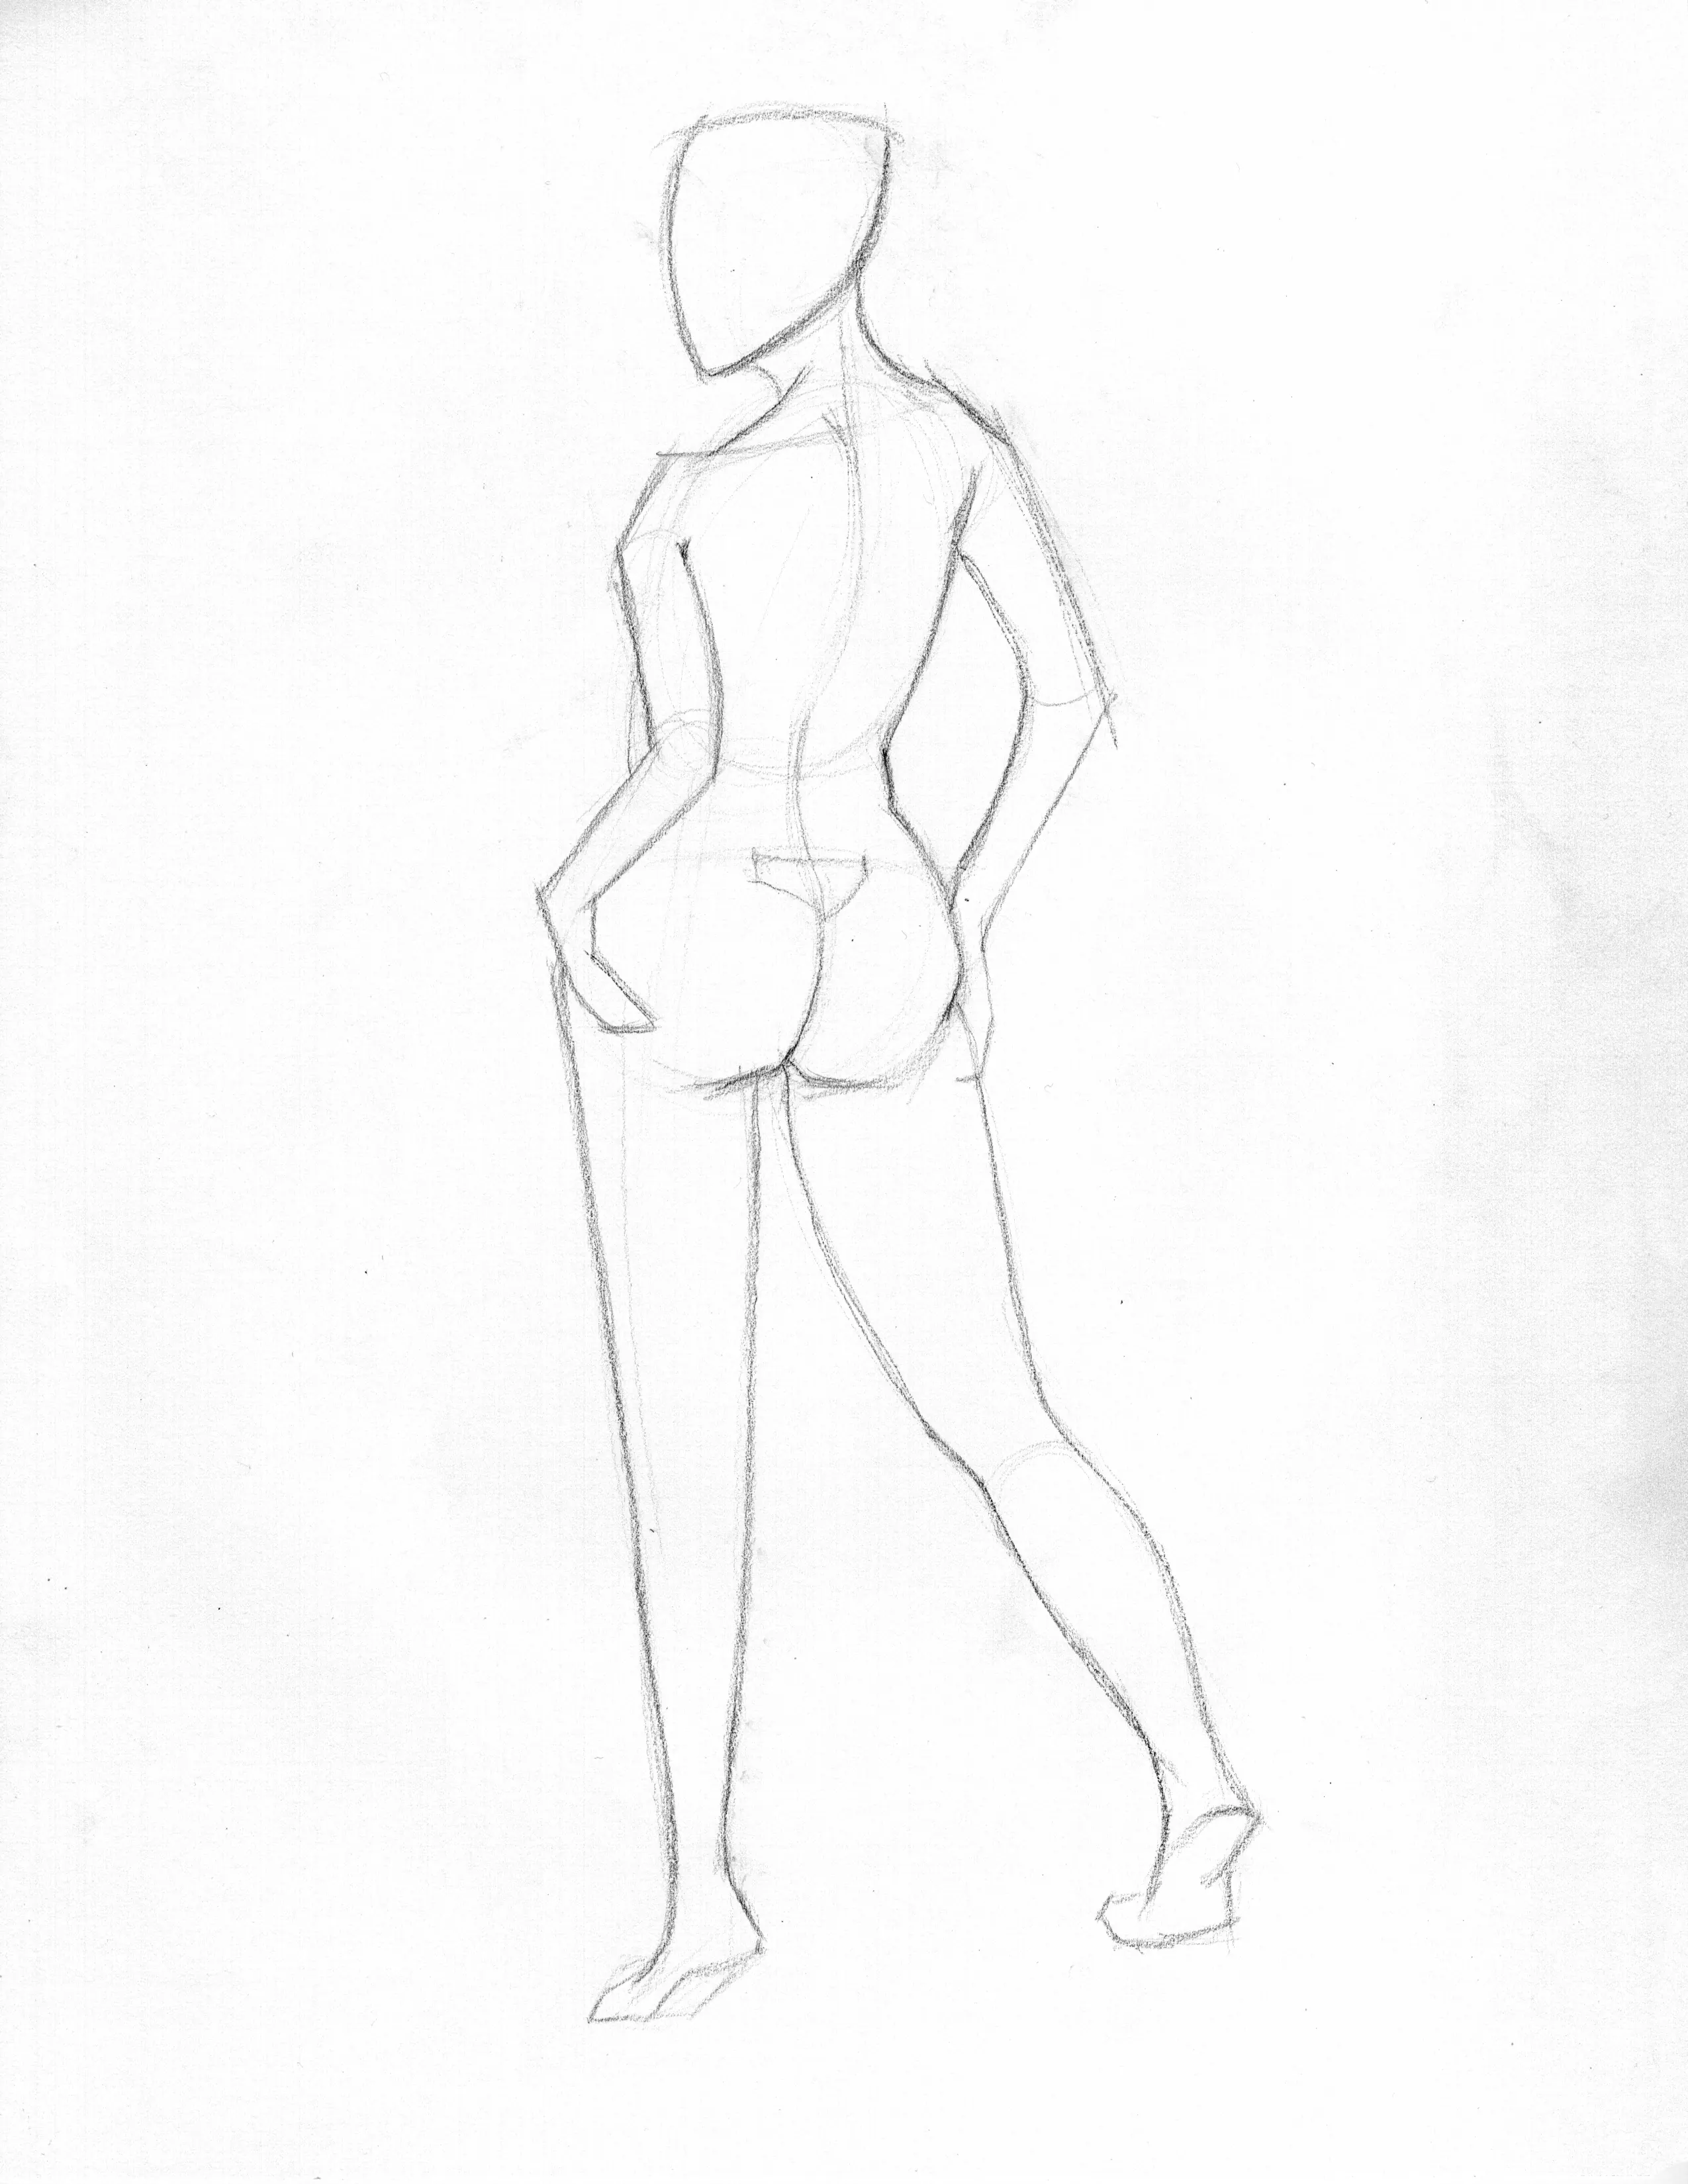
Gesture drawing focuses on the overall action of the pose, not the outlines.
Instead of drawing every contour, you're looking for:
- the main line of movement
- weight shifts
- balance
- rhythm through the body
Think of it as drawing how the pose feels, not how it looks.
Most gesture drawings take between 30 seconds and 2 minutes. Short time limits force you to stay loose and focus on the big ideas.
If you're unsure how long each pose should be, see How Long Should Gesture Poses Be?
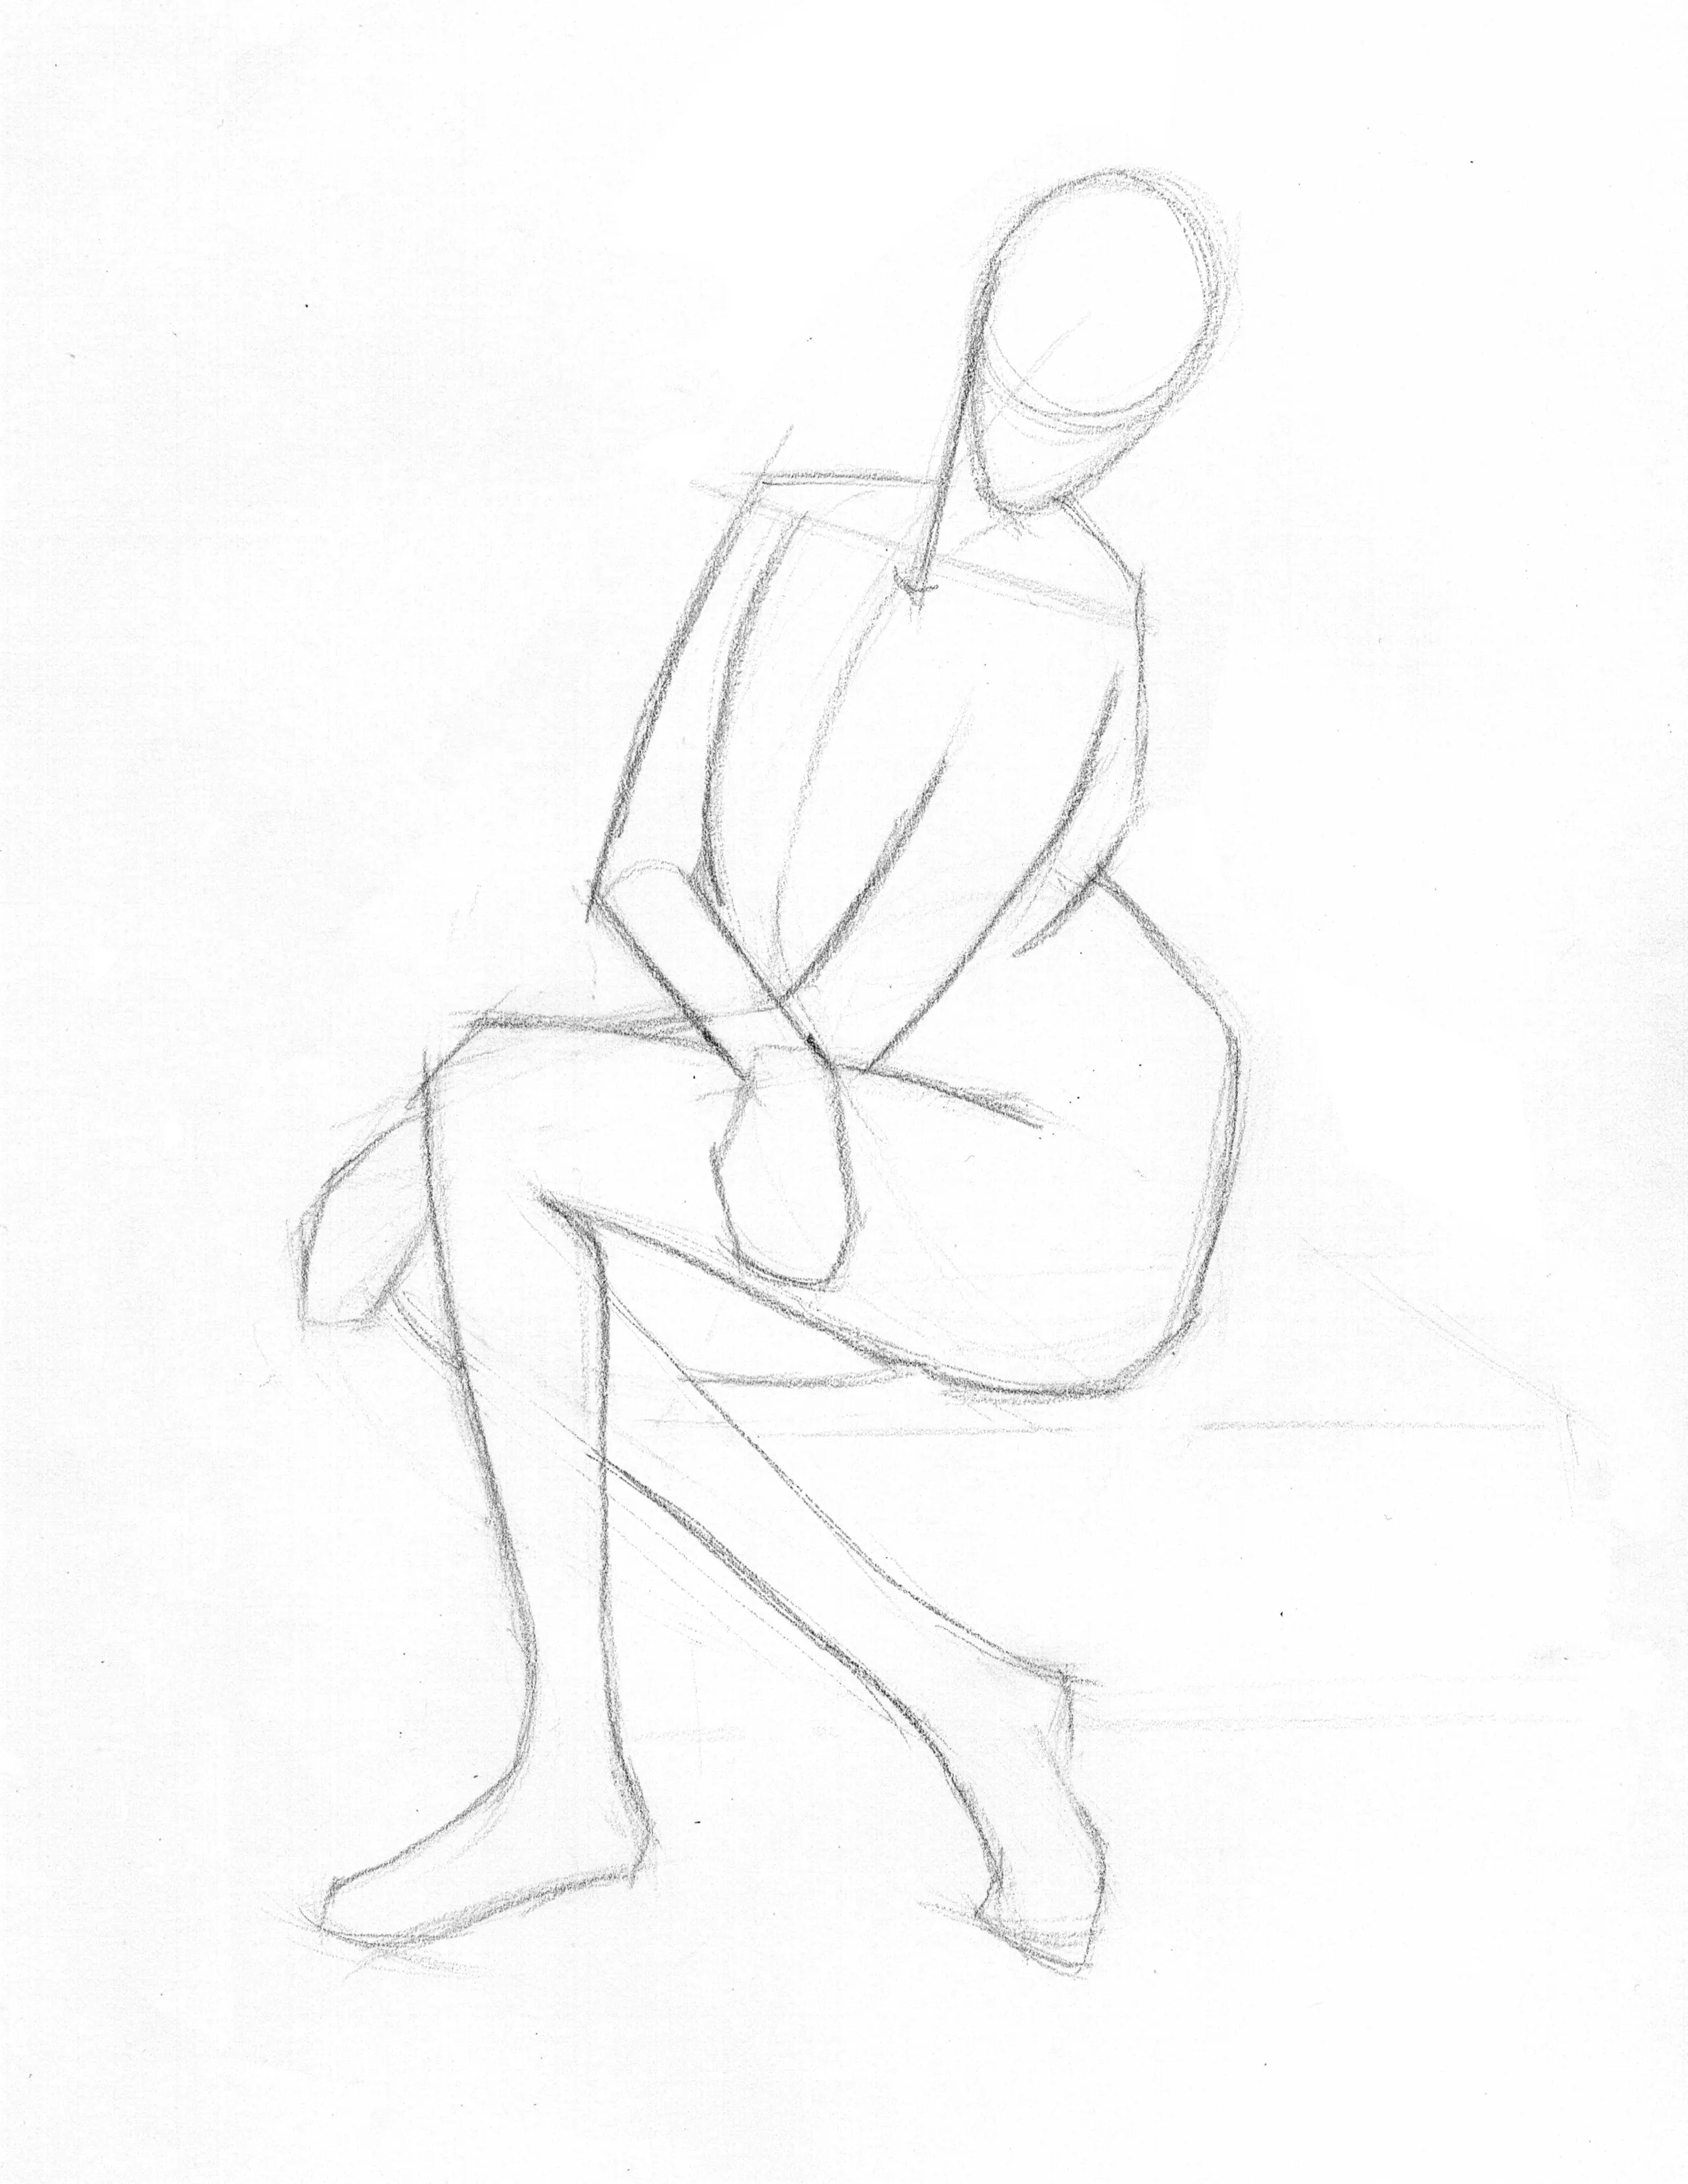
Start With the Line of Action
A great way to begin each pose is by finding the line of action.
This is an imaginary line that runs through the body and shows the primary direction of movement.
Take 10 to 20 seconds to observe the pose before you start drawing. Ask yourself: What stands out about this pose?
It could be something like:
- "I like the way the hips are pushing outward."
- "There's a nice S curve in the spine."
- "I see a strong C curve from the shoulder down to the toe."
If those line choices feel confusing, the CSI method is a simple way to practice seeing C curves, S curves, and straight lines before drawing details.
That's it. Start there. Don't overthink it. Now record that observation with a single action line.
When in doubt, blur it out.
If you're having a hard time simplifying the pose into one clear idea, try squinting your eyes. Squinting reduces distracting details and helps you focus on the big picture.

Keep It Simple
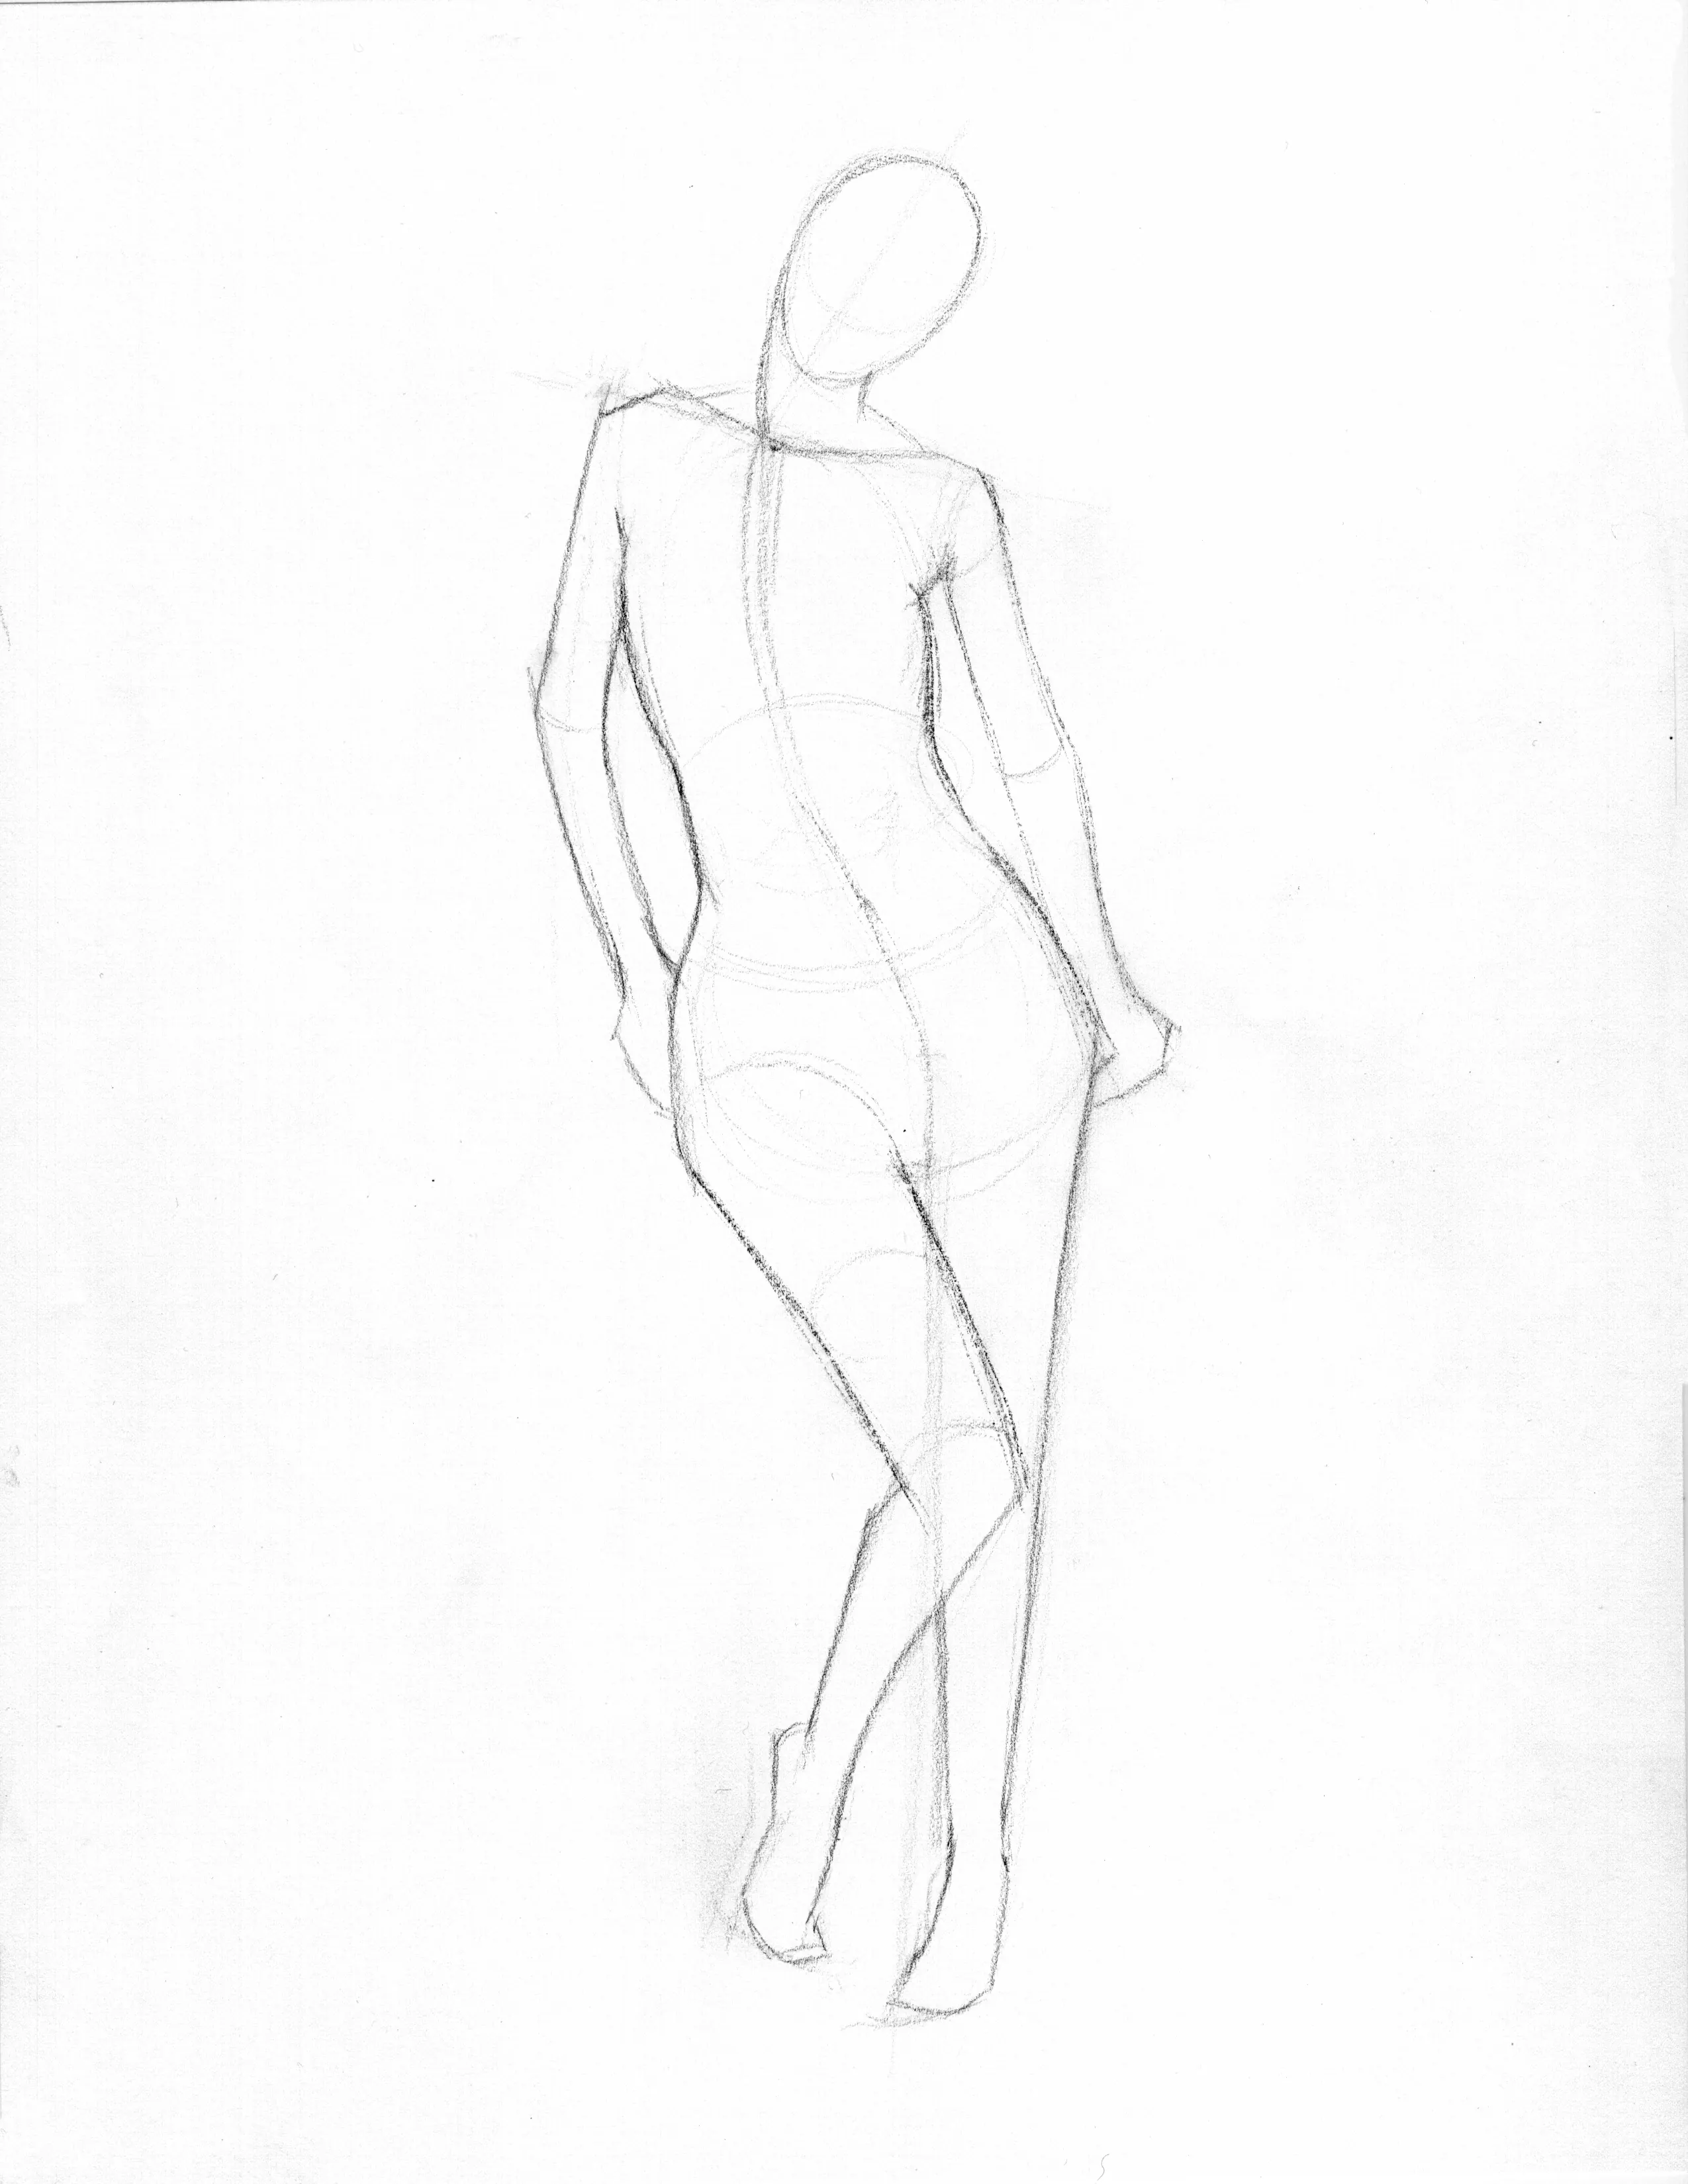
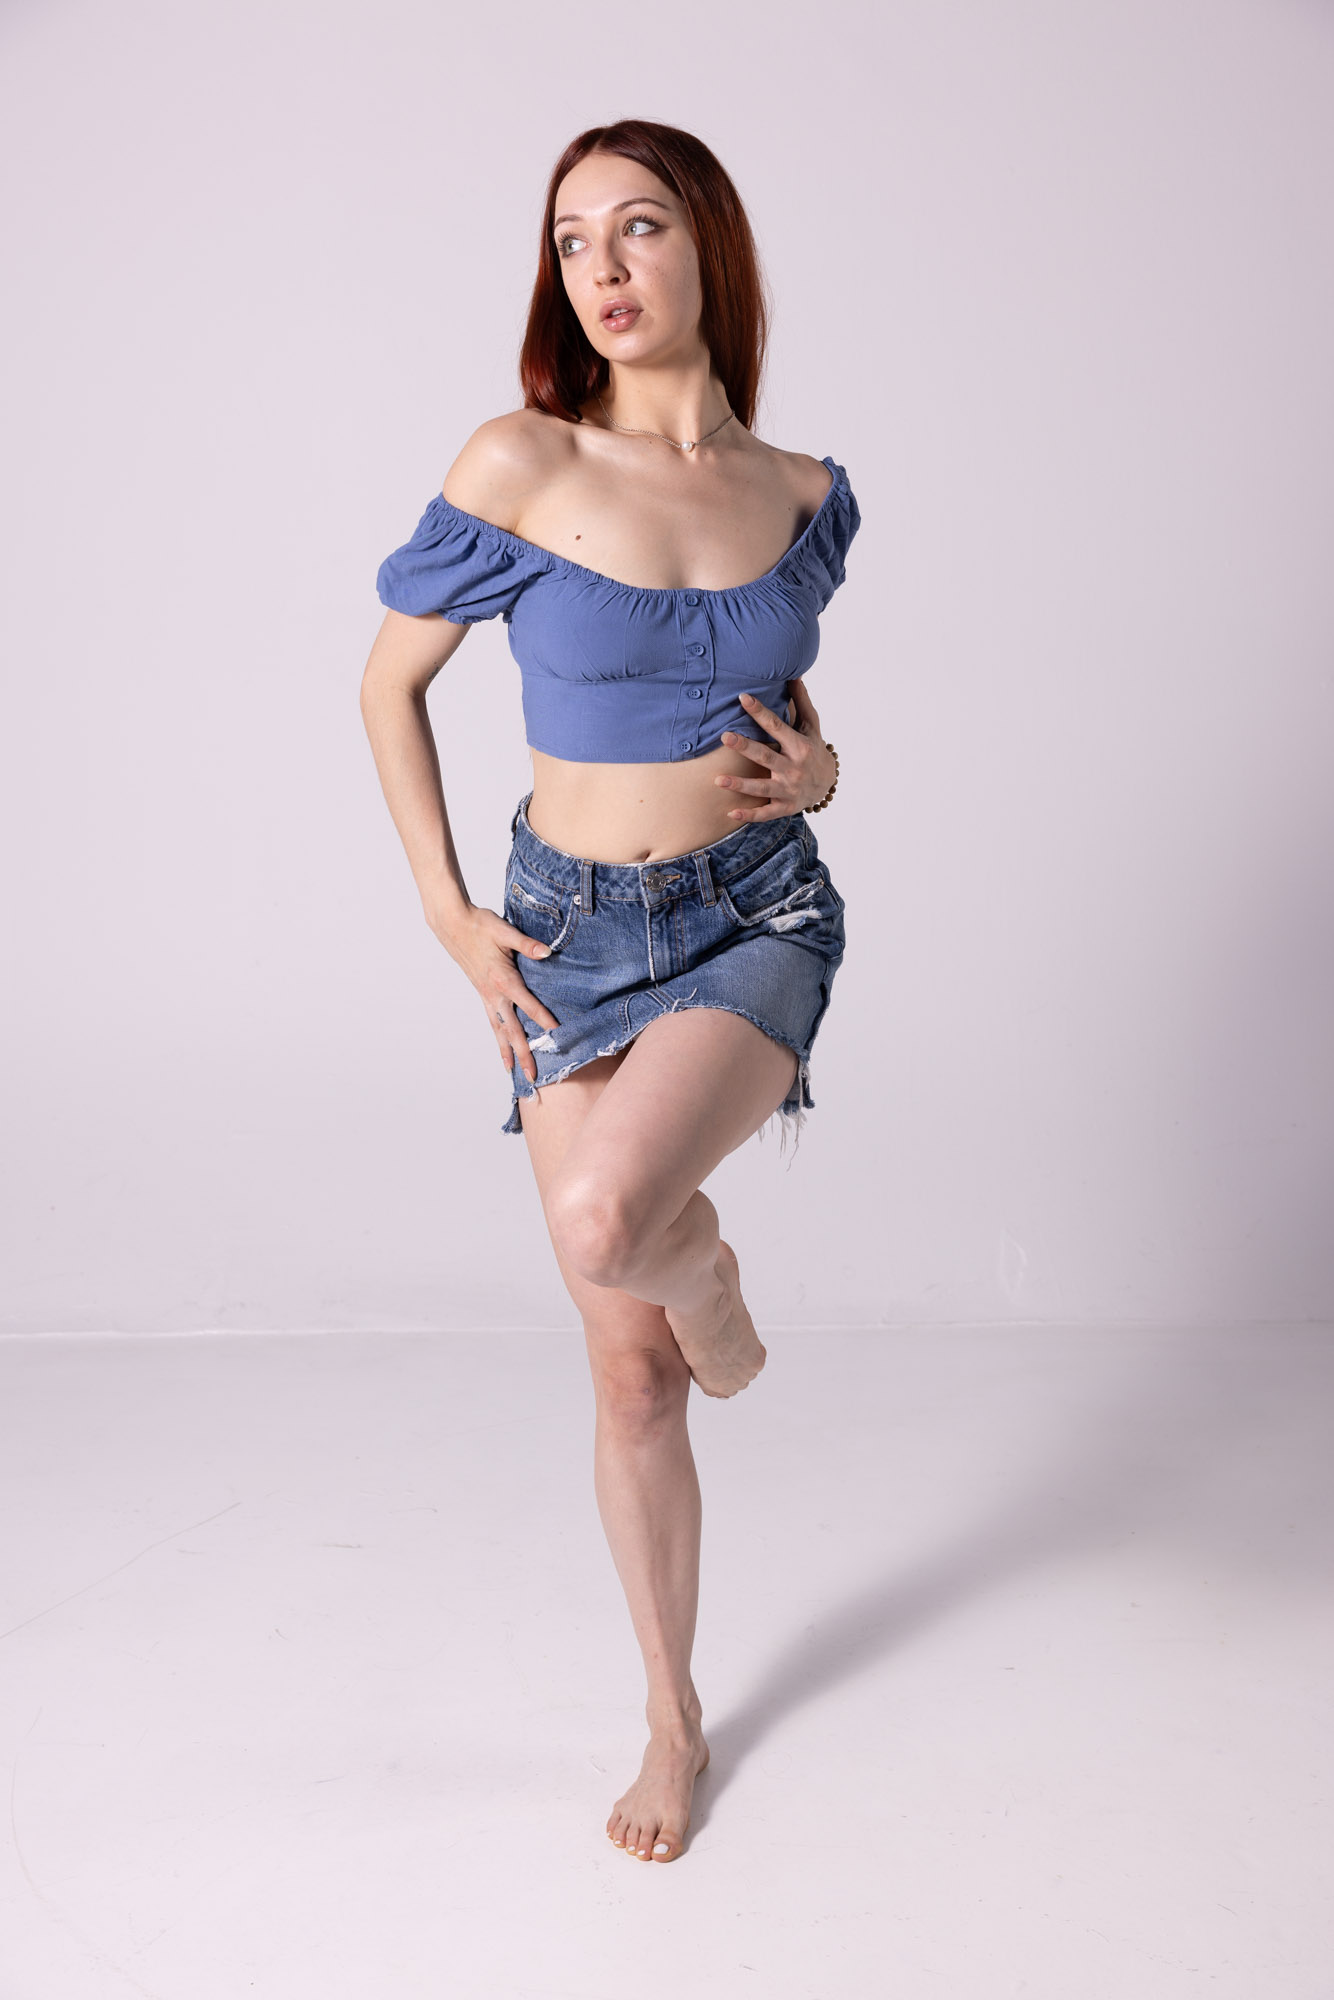
For beginner gesture practice, try this approach:
- draw the line of action
- add simple shapes for the ribcage and pelvis
- indicate arms and legs with loose lines
- block in the hands and feet before proportions drift
- move on
If you want a fuller version of that sequence, read What to Draw After the Line of Action.
Don't erase.
Each drawing is just a quick exploration.
You're training observation and flow, not creating finished artwork.

There Is No "Correct" Gesture
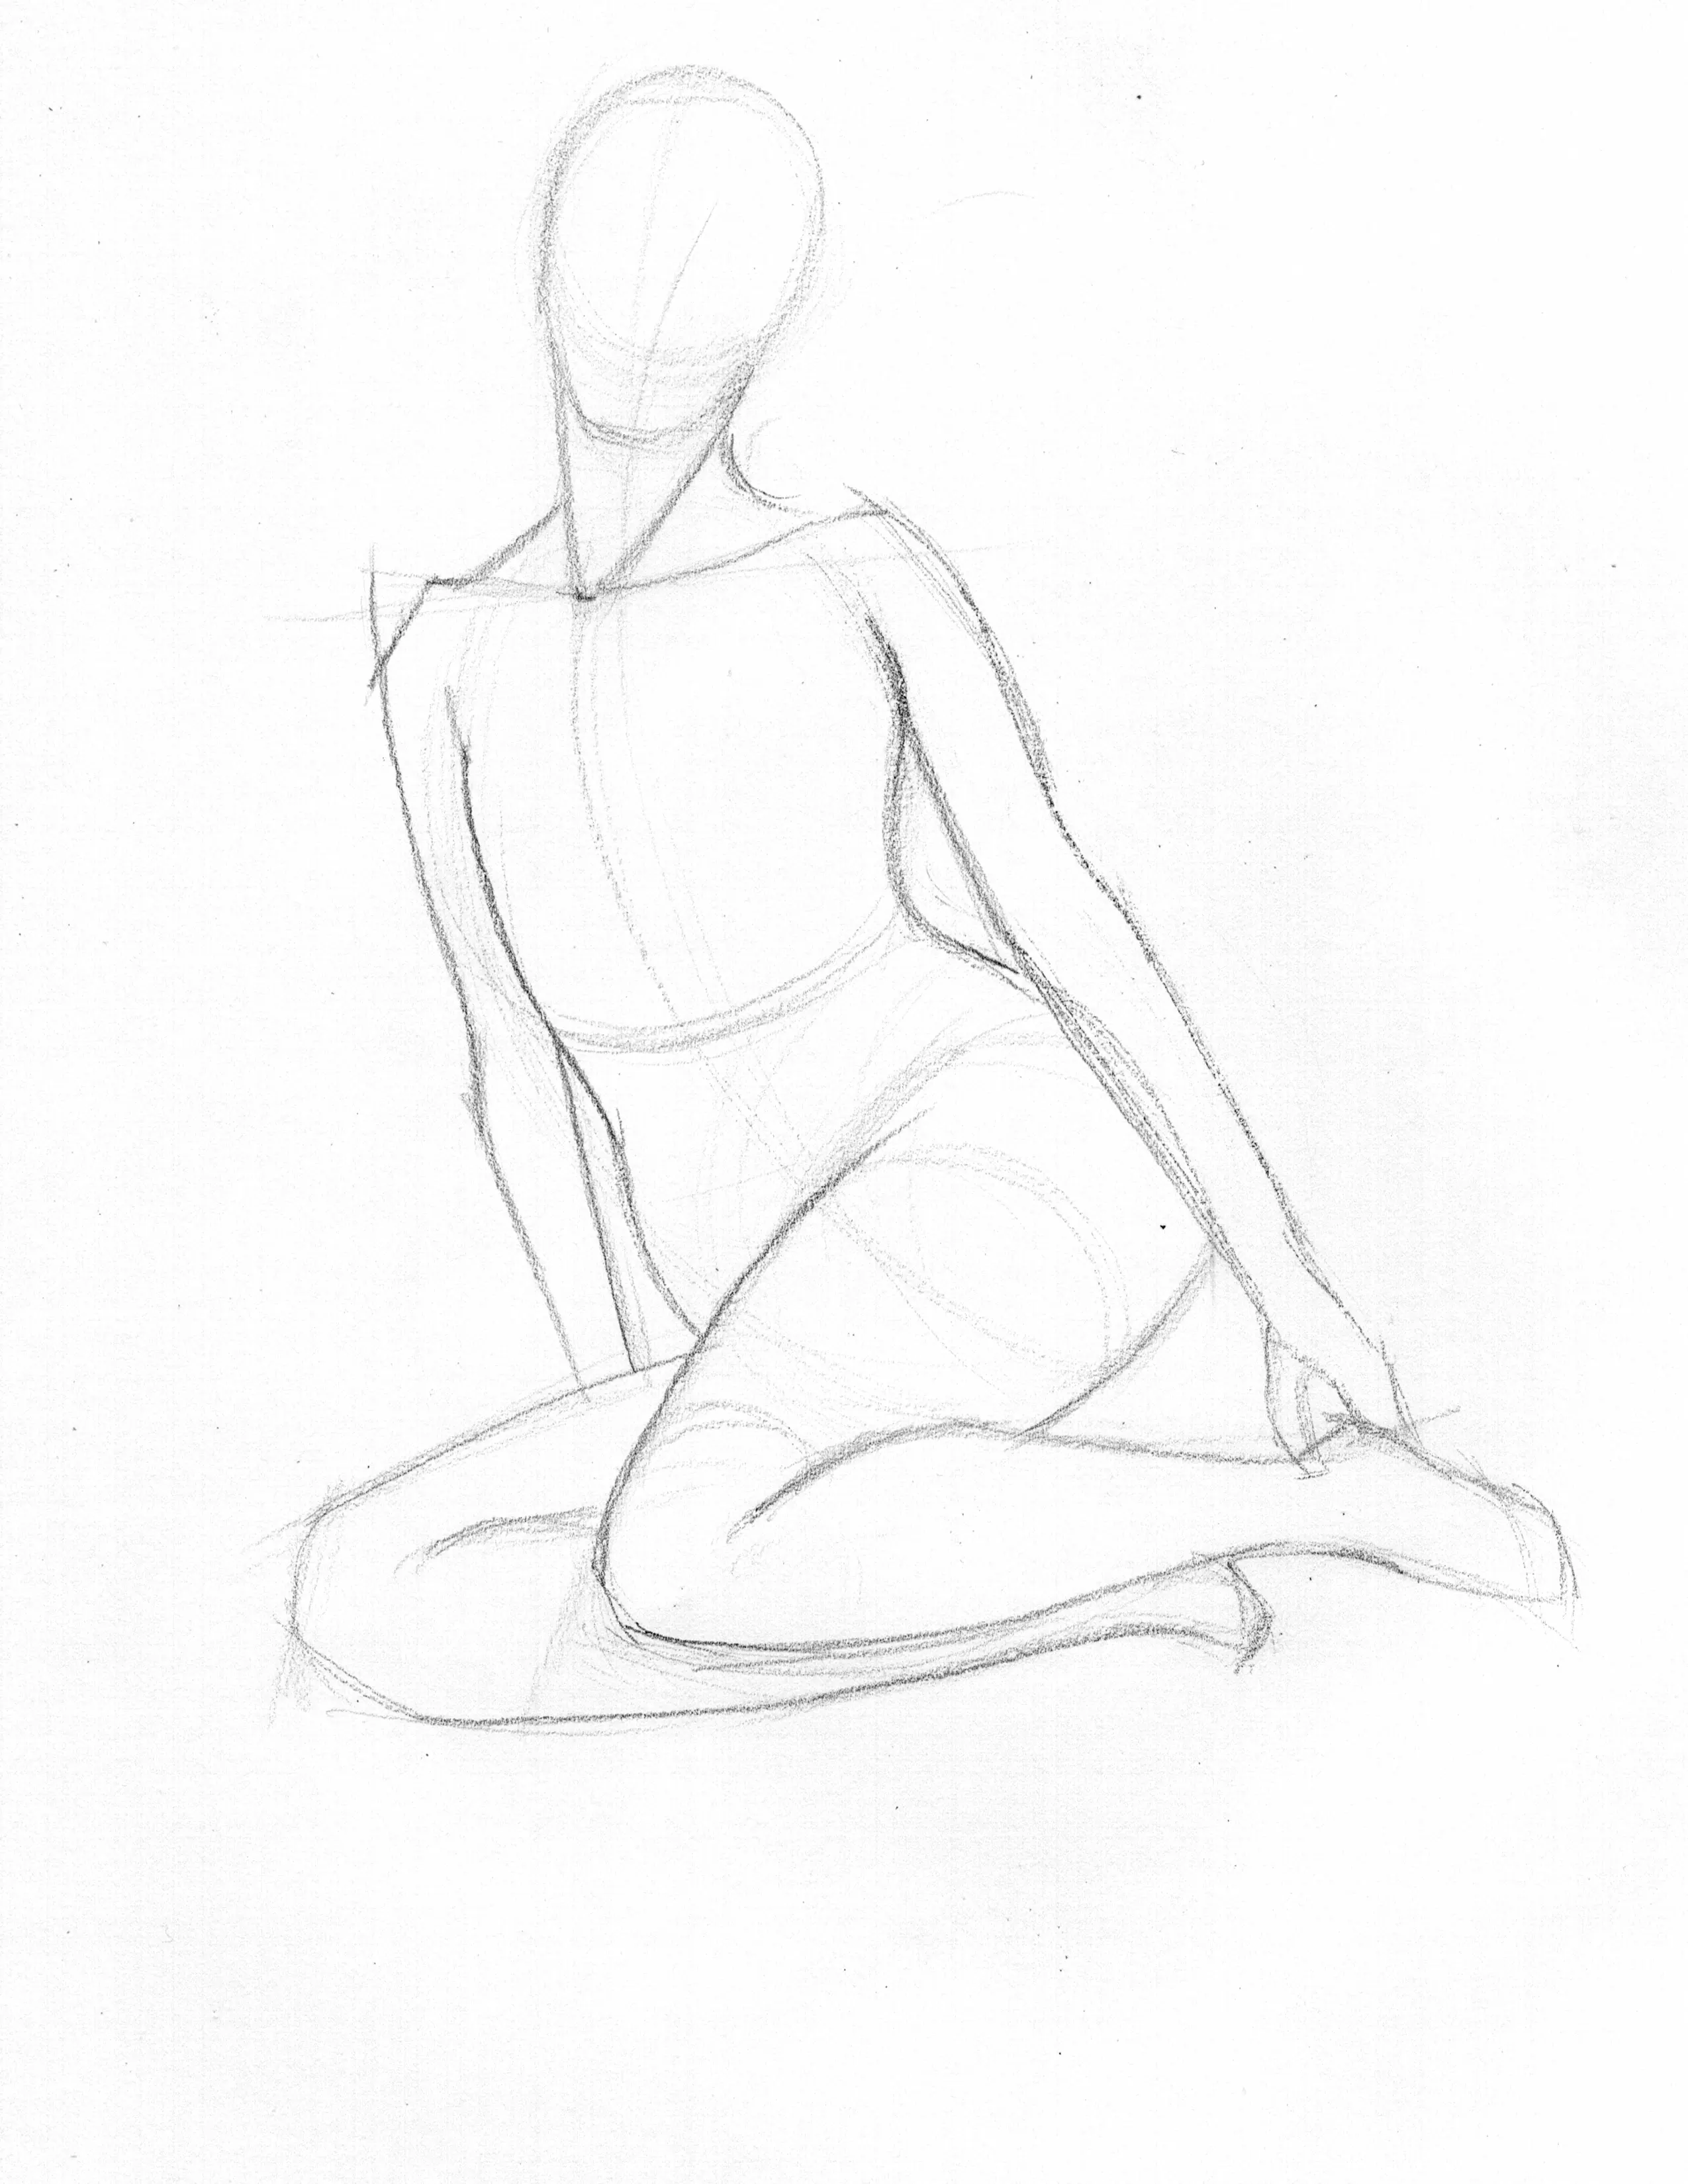
Gesture drawing is subjective.
Two artists can look at the same pose and draw completely different gestures, and both can be right.
Trust your eye. Gesture drawing is about personal interpretation, not copying.
A Simple Timed Practice
Here's an easy daily routine:
- 5 poses at 30 seconds
- 5 poses at 1 minute
- 5 poses at 2 minutes
- 1 pose at 5 minutes
What changes is not just the timer. What changes is what you should look for during each round.
30 seconds: movement first
At 30 seconds, your only real job is to catch the main action of the pose before it disappears. Look for the biggest sweep through the body, the weight shift, and the overall rhythm.
- find the line of action quickly
- ignore small anatomy and contour details
- use long strokes instead of short scratchy marks
1 minute: add simple structure
One minute gives you enough time to organize the body without losing the looseness of the gesture. This is a good place to add the ribcage, pelvis, and the main direction of the limbs.
- keep the action line visible in the drawing
- check the shoulder and hip relationship
- use simple masses instead of anatomy
2 minutes: clarify proportions
Two-minute gestures are where movement starts connecting to structure. You still want energy, but now you have time to check whether the major masses and limb lengths make sense.
- compare the upper and lower limbs
- block in the hands and feet before they get forgotten
- add overlap or a center line if it helps the form read better
Optional 5 minutes: stop short of rendering
A 5-minute study can help you bridge gesture and structure. The goal is not a finished drawing. The goal is to reinforce the gesture with clearer forms, landmarks, and a more believable sense of balance.
- strengthen the main movement instead of covering it up
- clarify torso, pelvis, and head placement
- add only enough structure to support the pose
Short sessions done consistently are far more effective than long sessions done occasionally.
If you want a quick overview of how the timer-based workflow fits together, read Timed Pose Reference.
Open Pose Library and start a session.
How to Check Your Gesture
A gesture drawing does not need to look polished, but it should read clearly. Before you move to the next pose, do a fast check:
- Does the pose read instantly, or does it feel stiff and unclear?
- Does the figure feel balanced, with the weight landing somewhere believable?
- Do the shoulders, hips, and torso support the same main action?
- Did you keep one dominant movement, or did the drawing split into disconnected parts?
- Are the hands, feet, and head roughly believable in size?
If the answer to most of those is yes, the gesture worked. If not, do not fixate on the drawing. Use the next pose to try again with one clearer goal.
What to Learn Next
If you want to go deeper after this practice routine, this is the cleanest progression through the gesture drawing cluster:
- Line of Action Drawing
- What to Draw After the Line of Action
- Shoulder and Hip Axis Lines in Gesture Drawing
- Constructing the Torso in Gesture Drawing
- Drawing the Arms and Legs in Gesture Drawing
- Drawing Hands and Feet in Gesture Drawing
- Learn Gesture Drawing
Gesture Drawing Practice FAQ
How long should gesture poses be?
A strong beginner routine uses a mix of short and medium poses. Try 30 seconds for flow, 1 minute for simple structure, and 2 minutes to clarify proportions. For a deeper breakdown, read How Long Should Gesture Poses Be?
How many gesture drawings should I do per day?
Consistency matters more than volume. A short daily set like 15 gestures (5x30s, 5x1m, 5x2m) is enough to build the habit without burning out.
What should I focus on first in a gesture drawing?
Start with the main movement of the pose, then capture it with a single line of action. After that, add the ribcage and pelvis as simple shapes and keep moving. For a fuller walkthrough, read What to Draw After the Line of Action.
Should I erase during gesture drawing practice?
Usually no. Treat each gesture as a quick exploration. If a mark is wrong, correct it with a new mark and move on. The goal is clearer observation, not a perfect sketch.
What is the CSI method and how does it help gesture drawing?
The CSI method is a way to simplify the pose using C curves, S curves, and straight lines. It can make it easier to choose a clear action line before adding structure. Read The CSI Method.
Where can I find good pose references for gesture drawing?
Use pose sets that are designed for timed practice and a variety of angles. Start here: Reference Poses for Artists.