Resources / 46 Hand Poses for Drawing Reference
46 Hand Poses for Drawing Reference
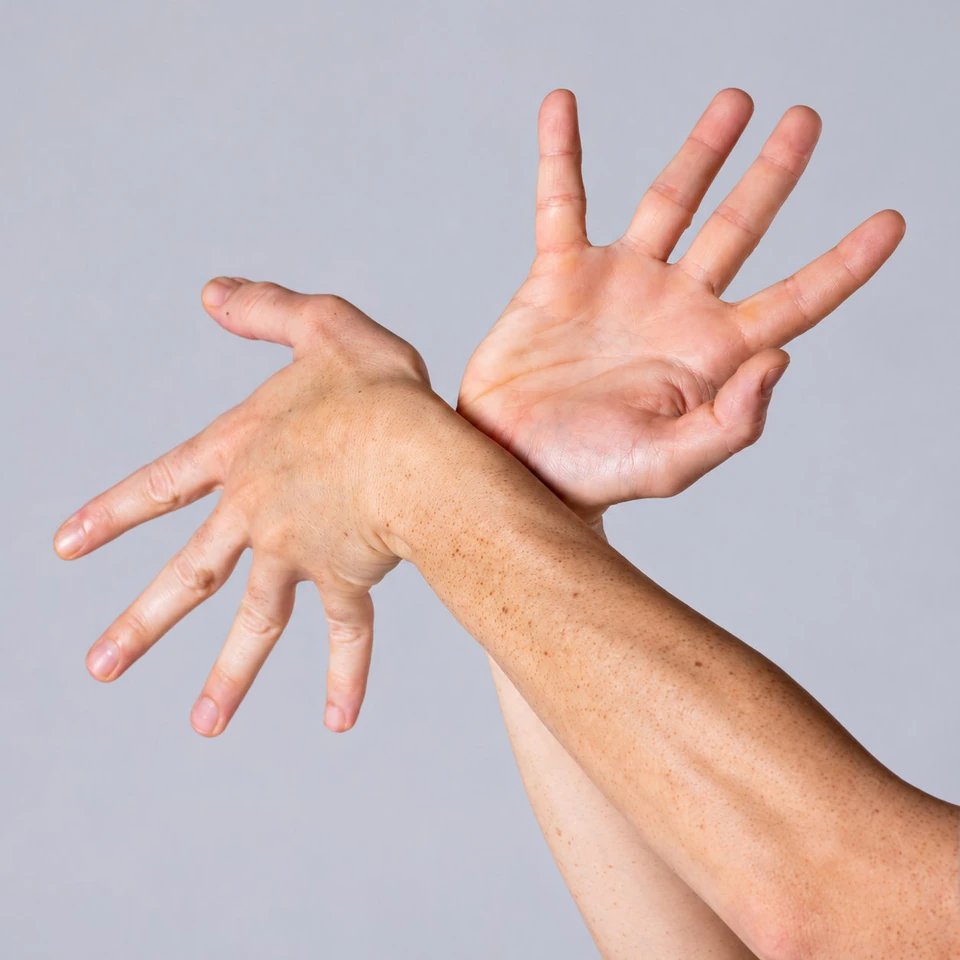
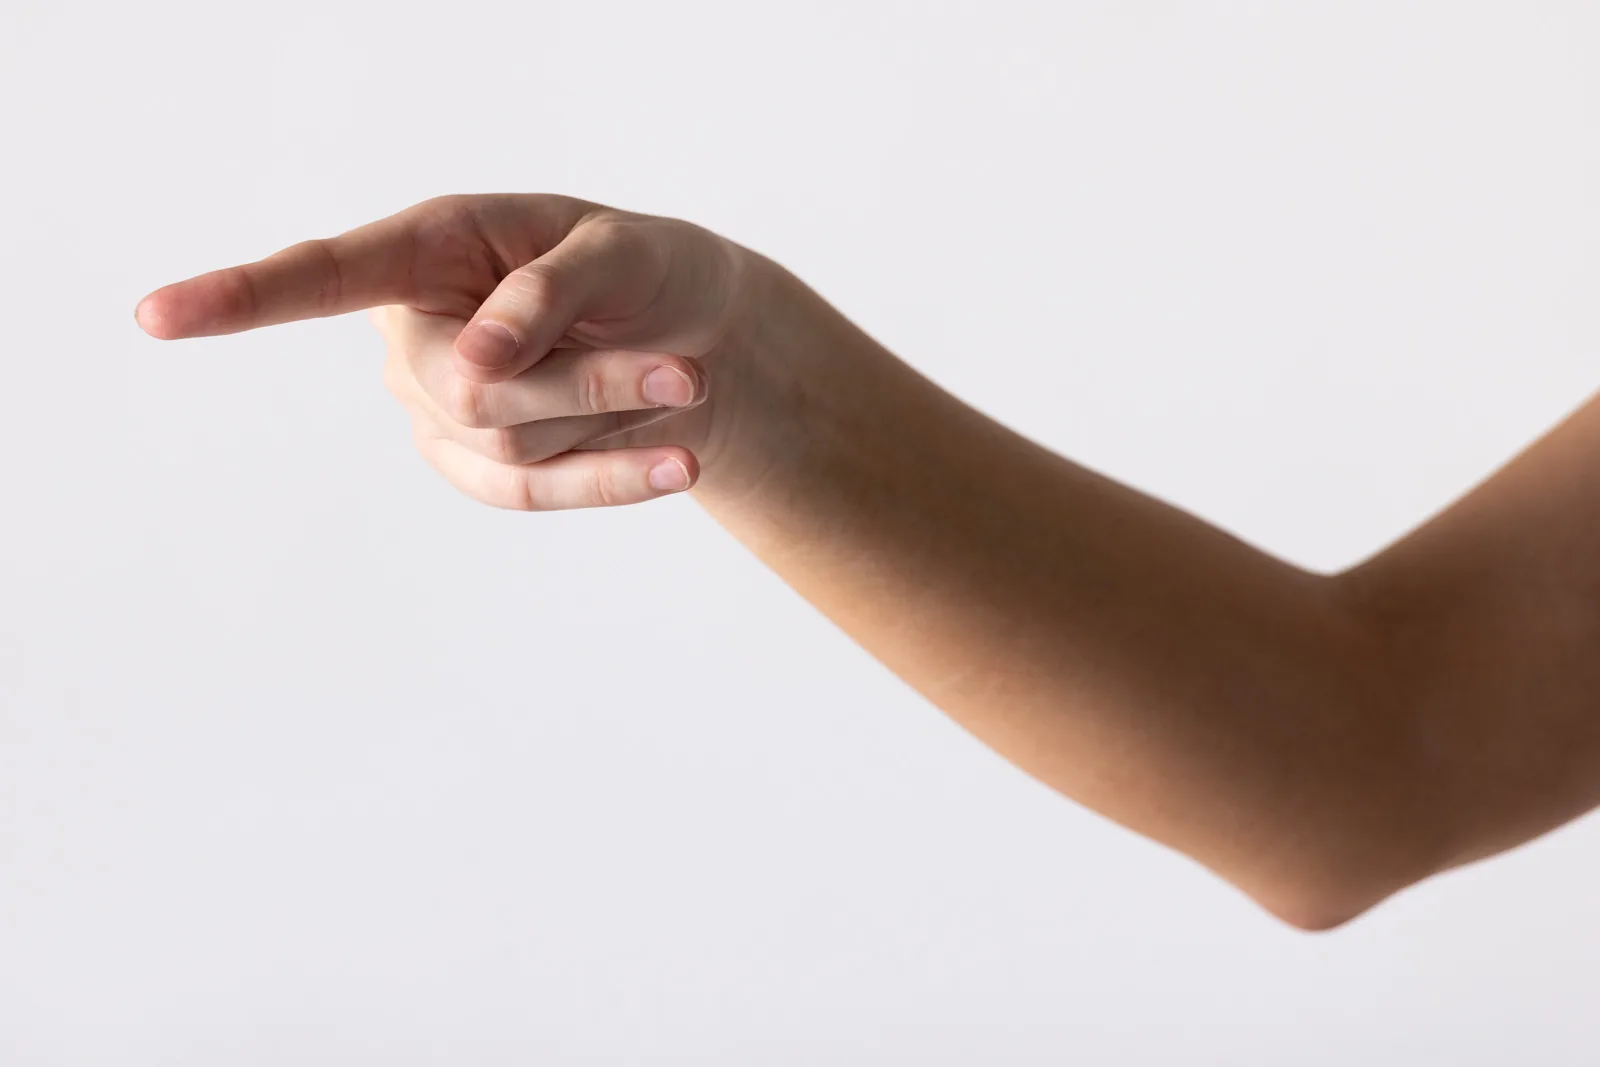
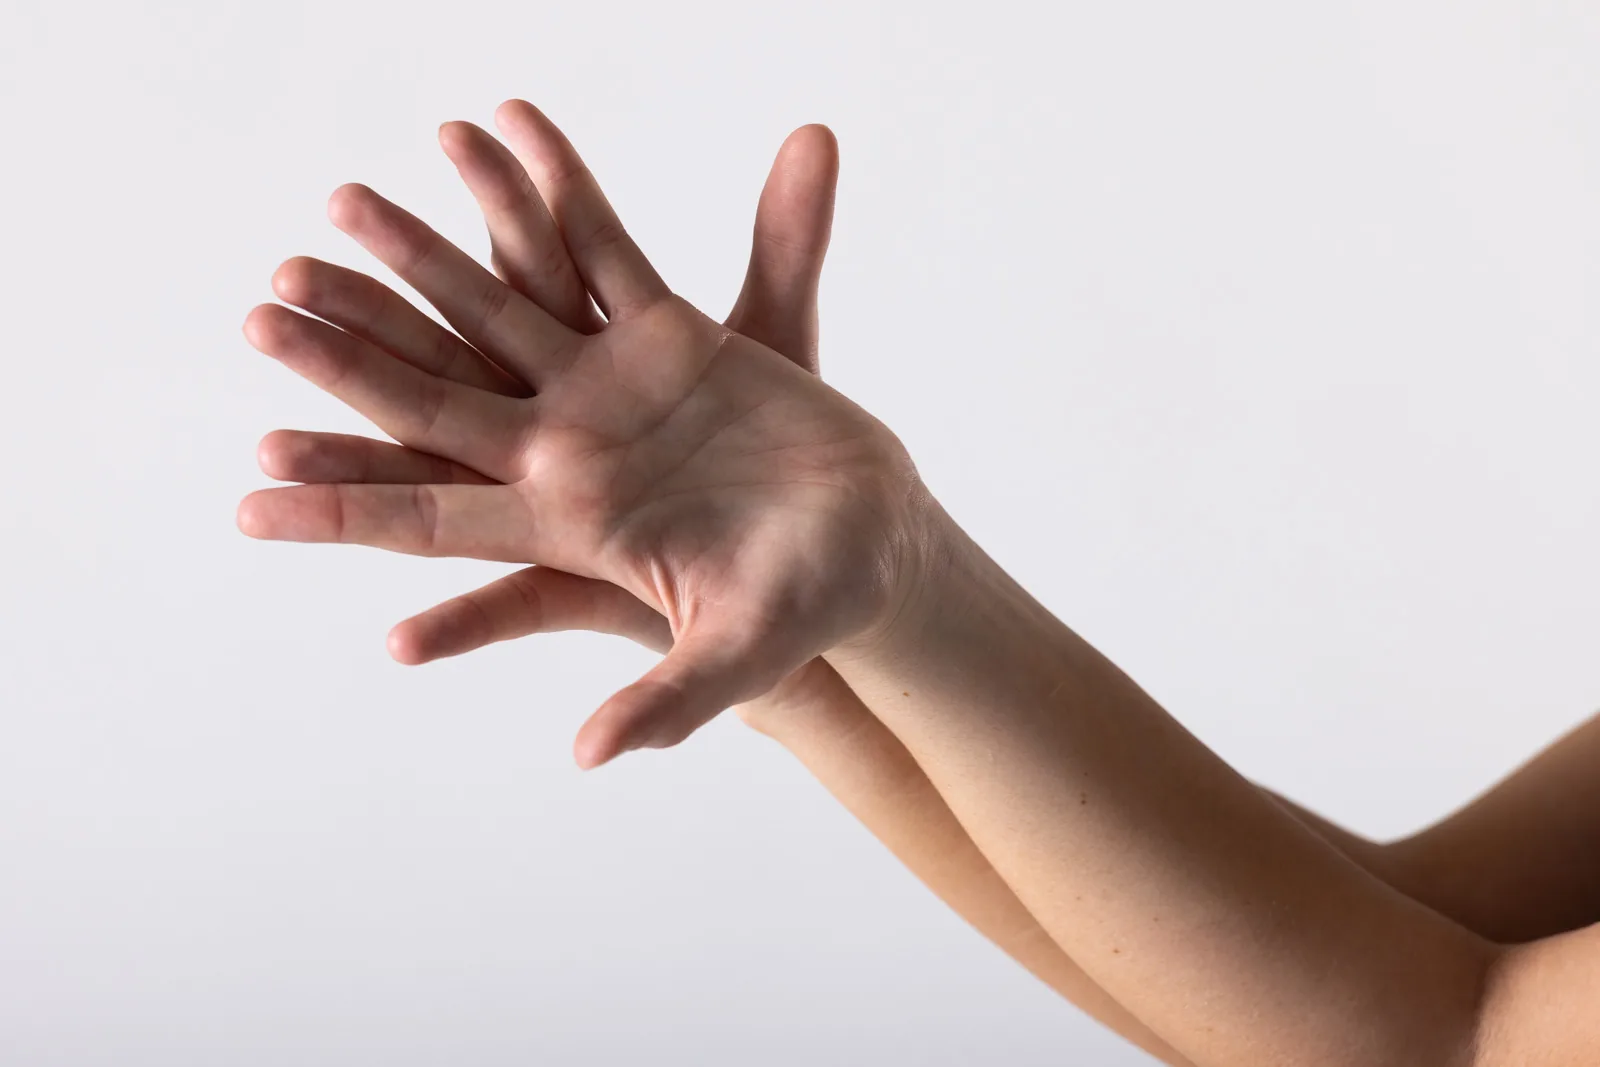
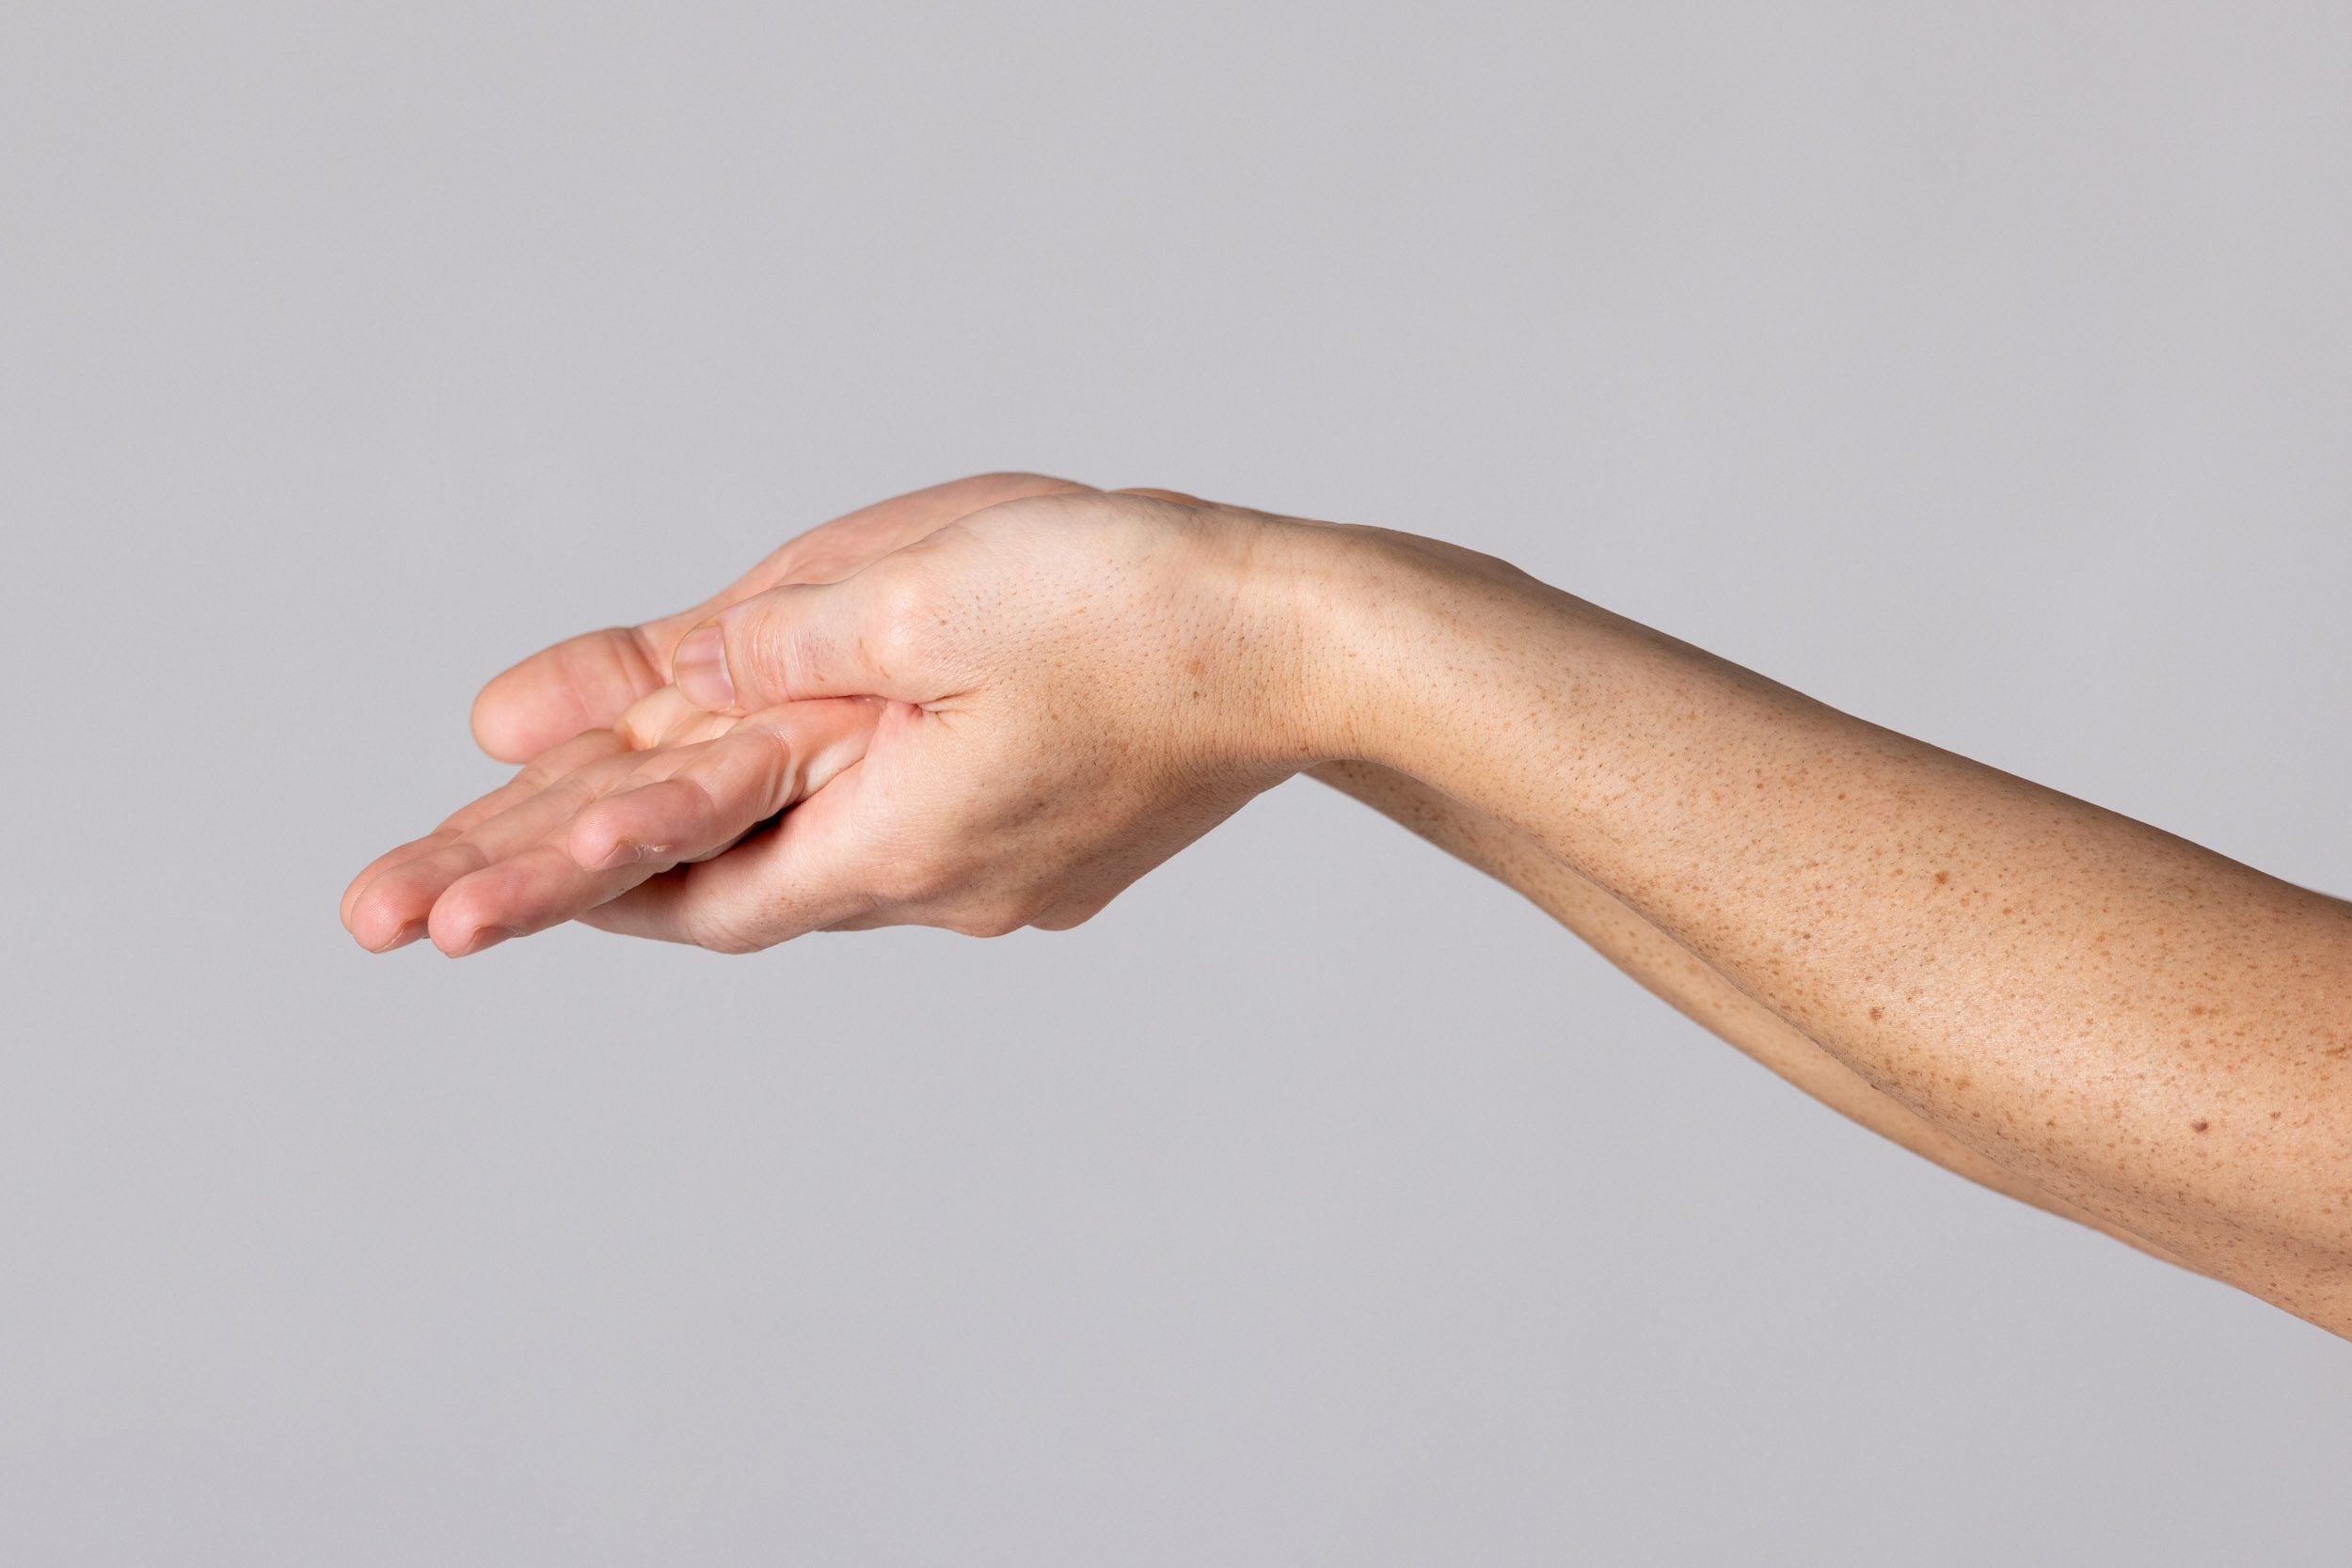
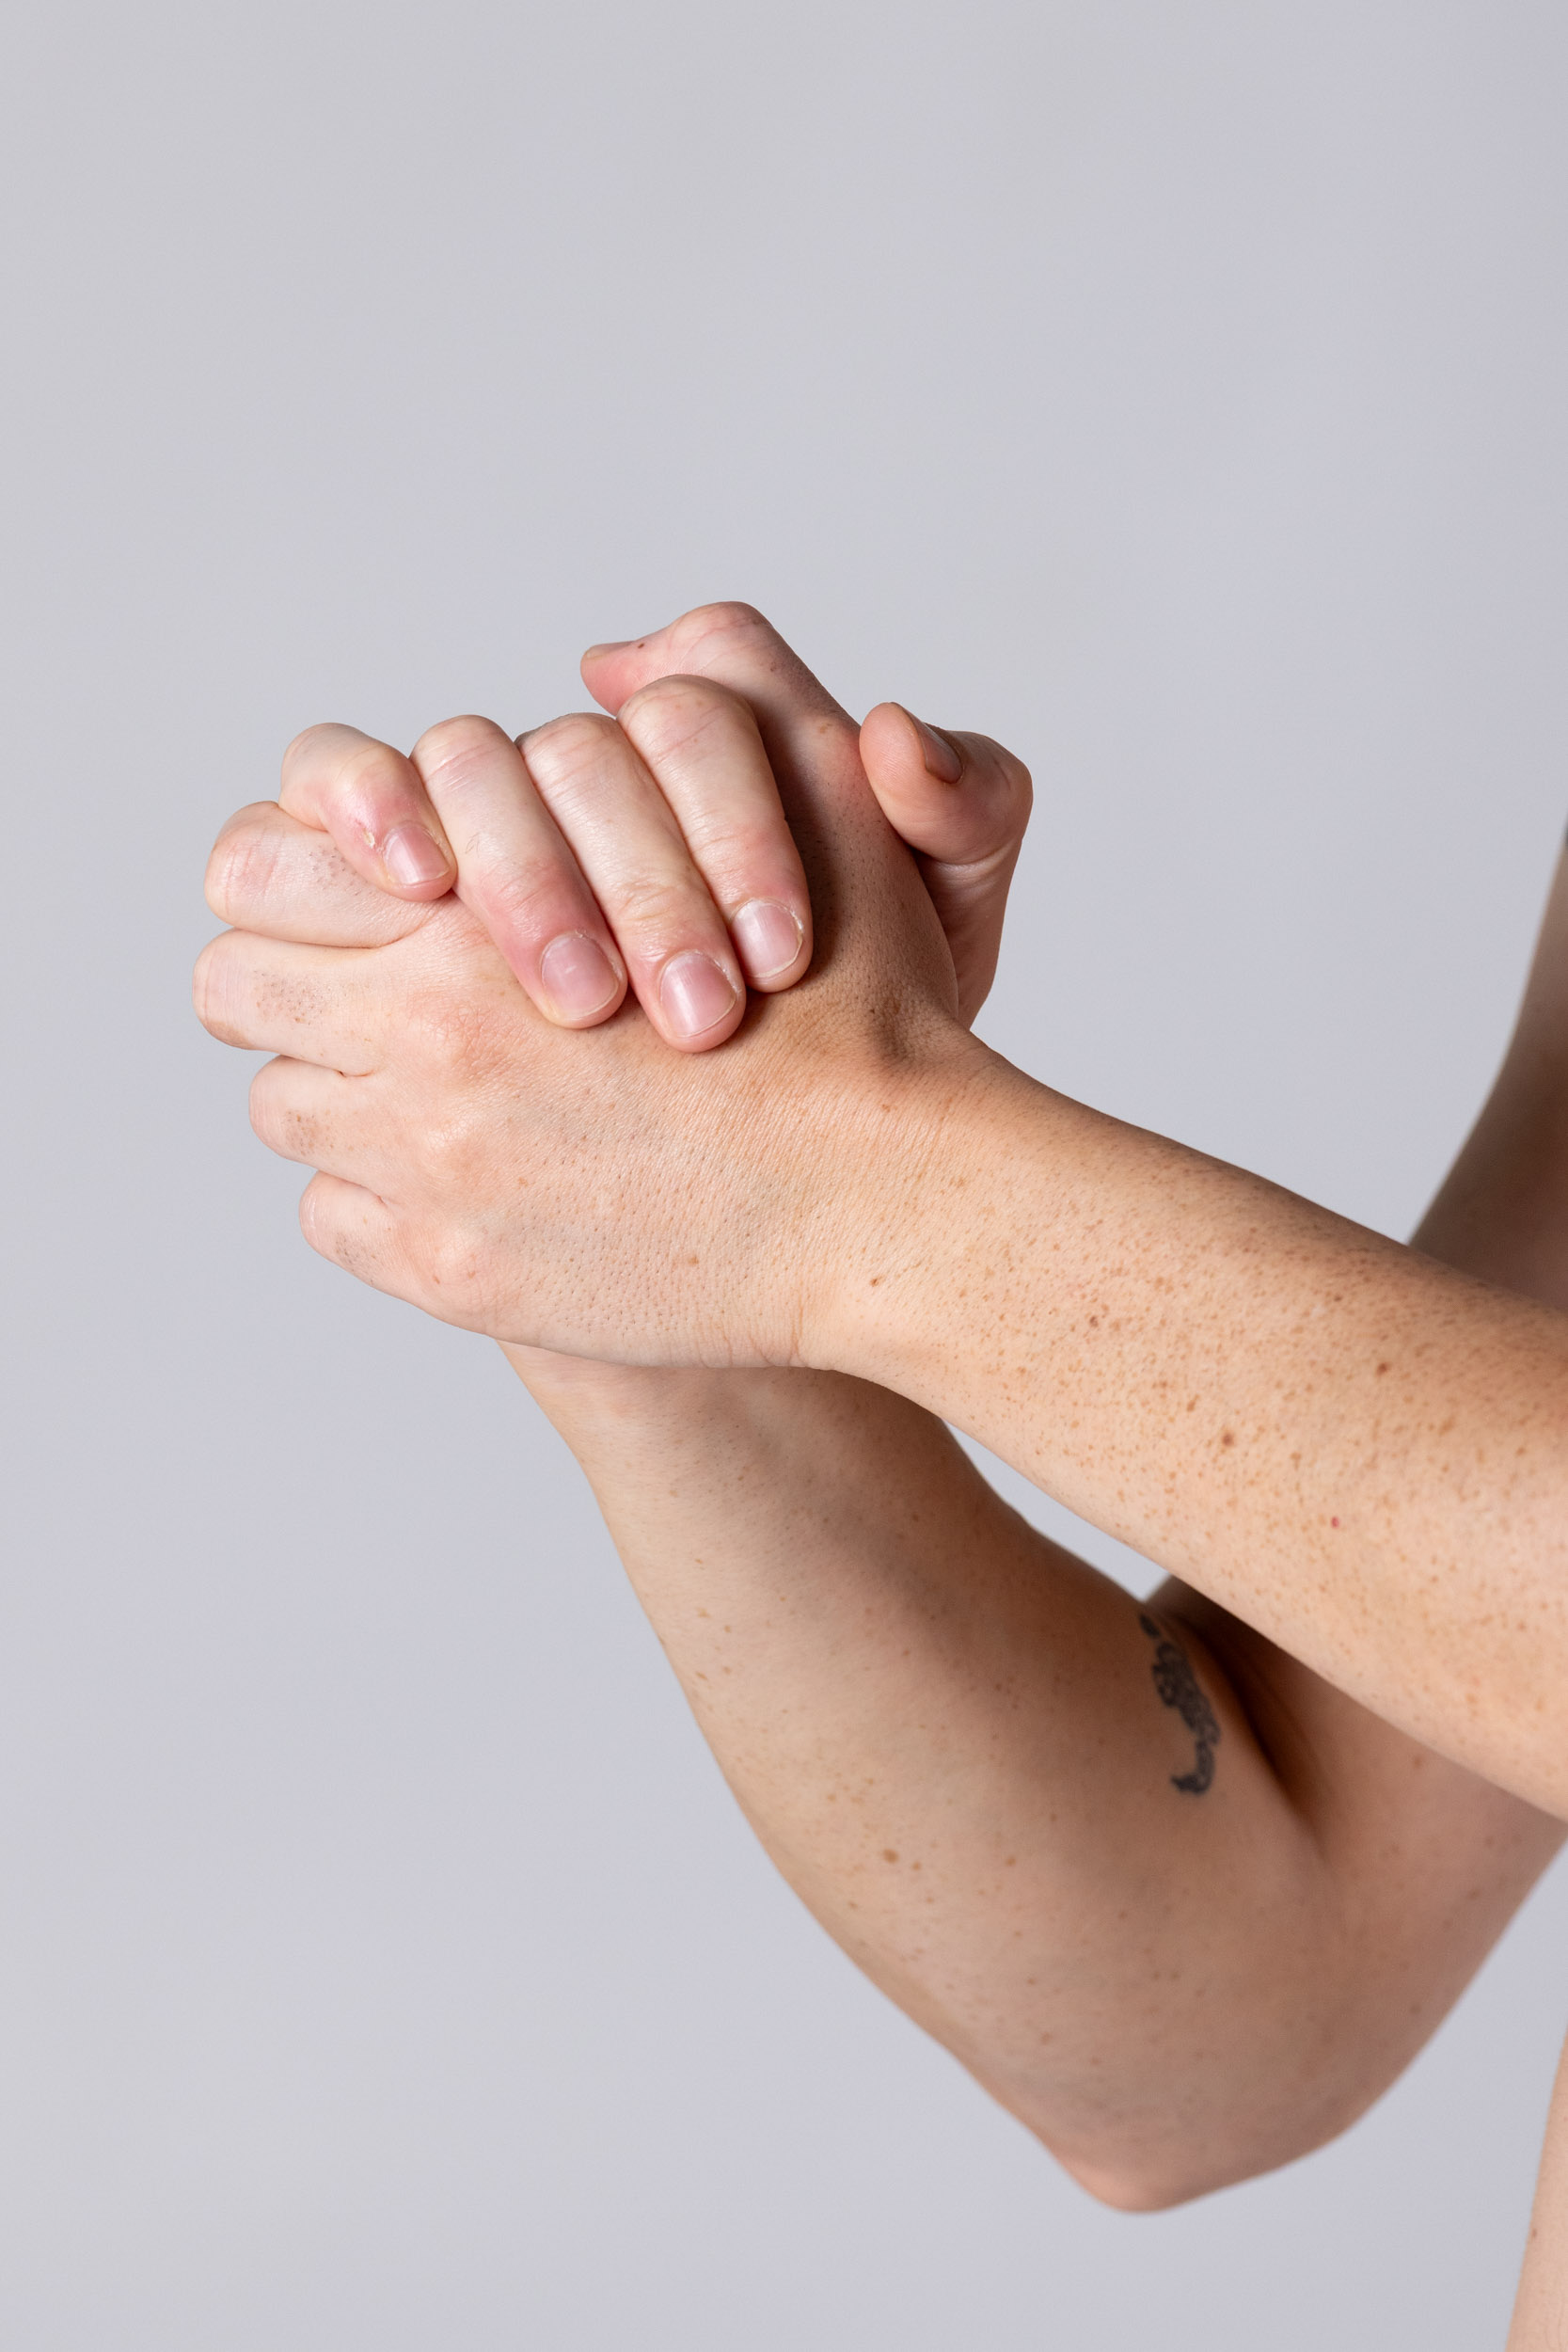
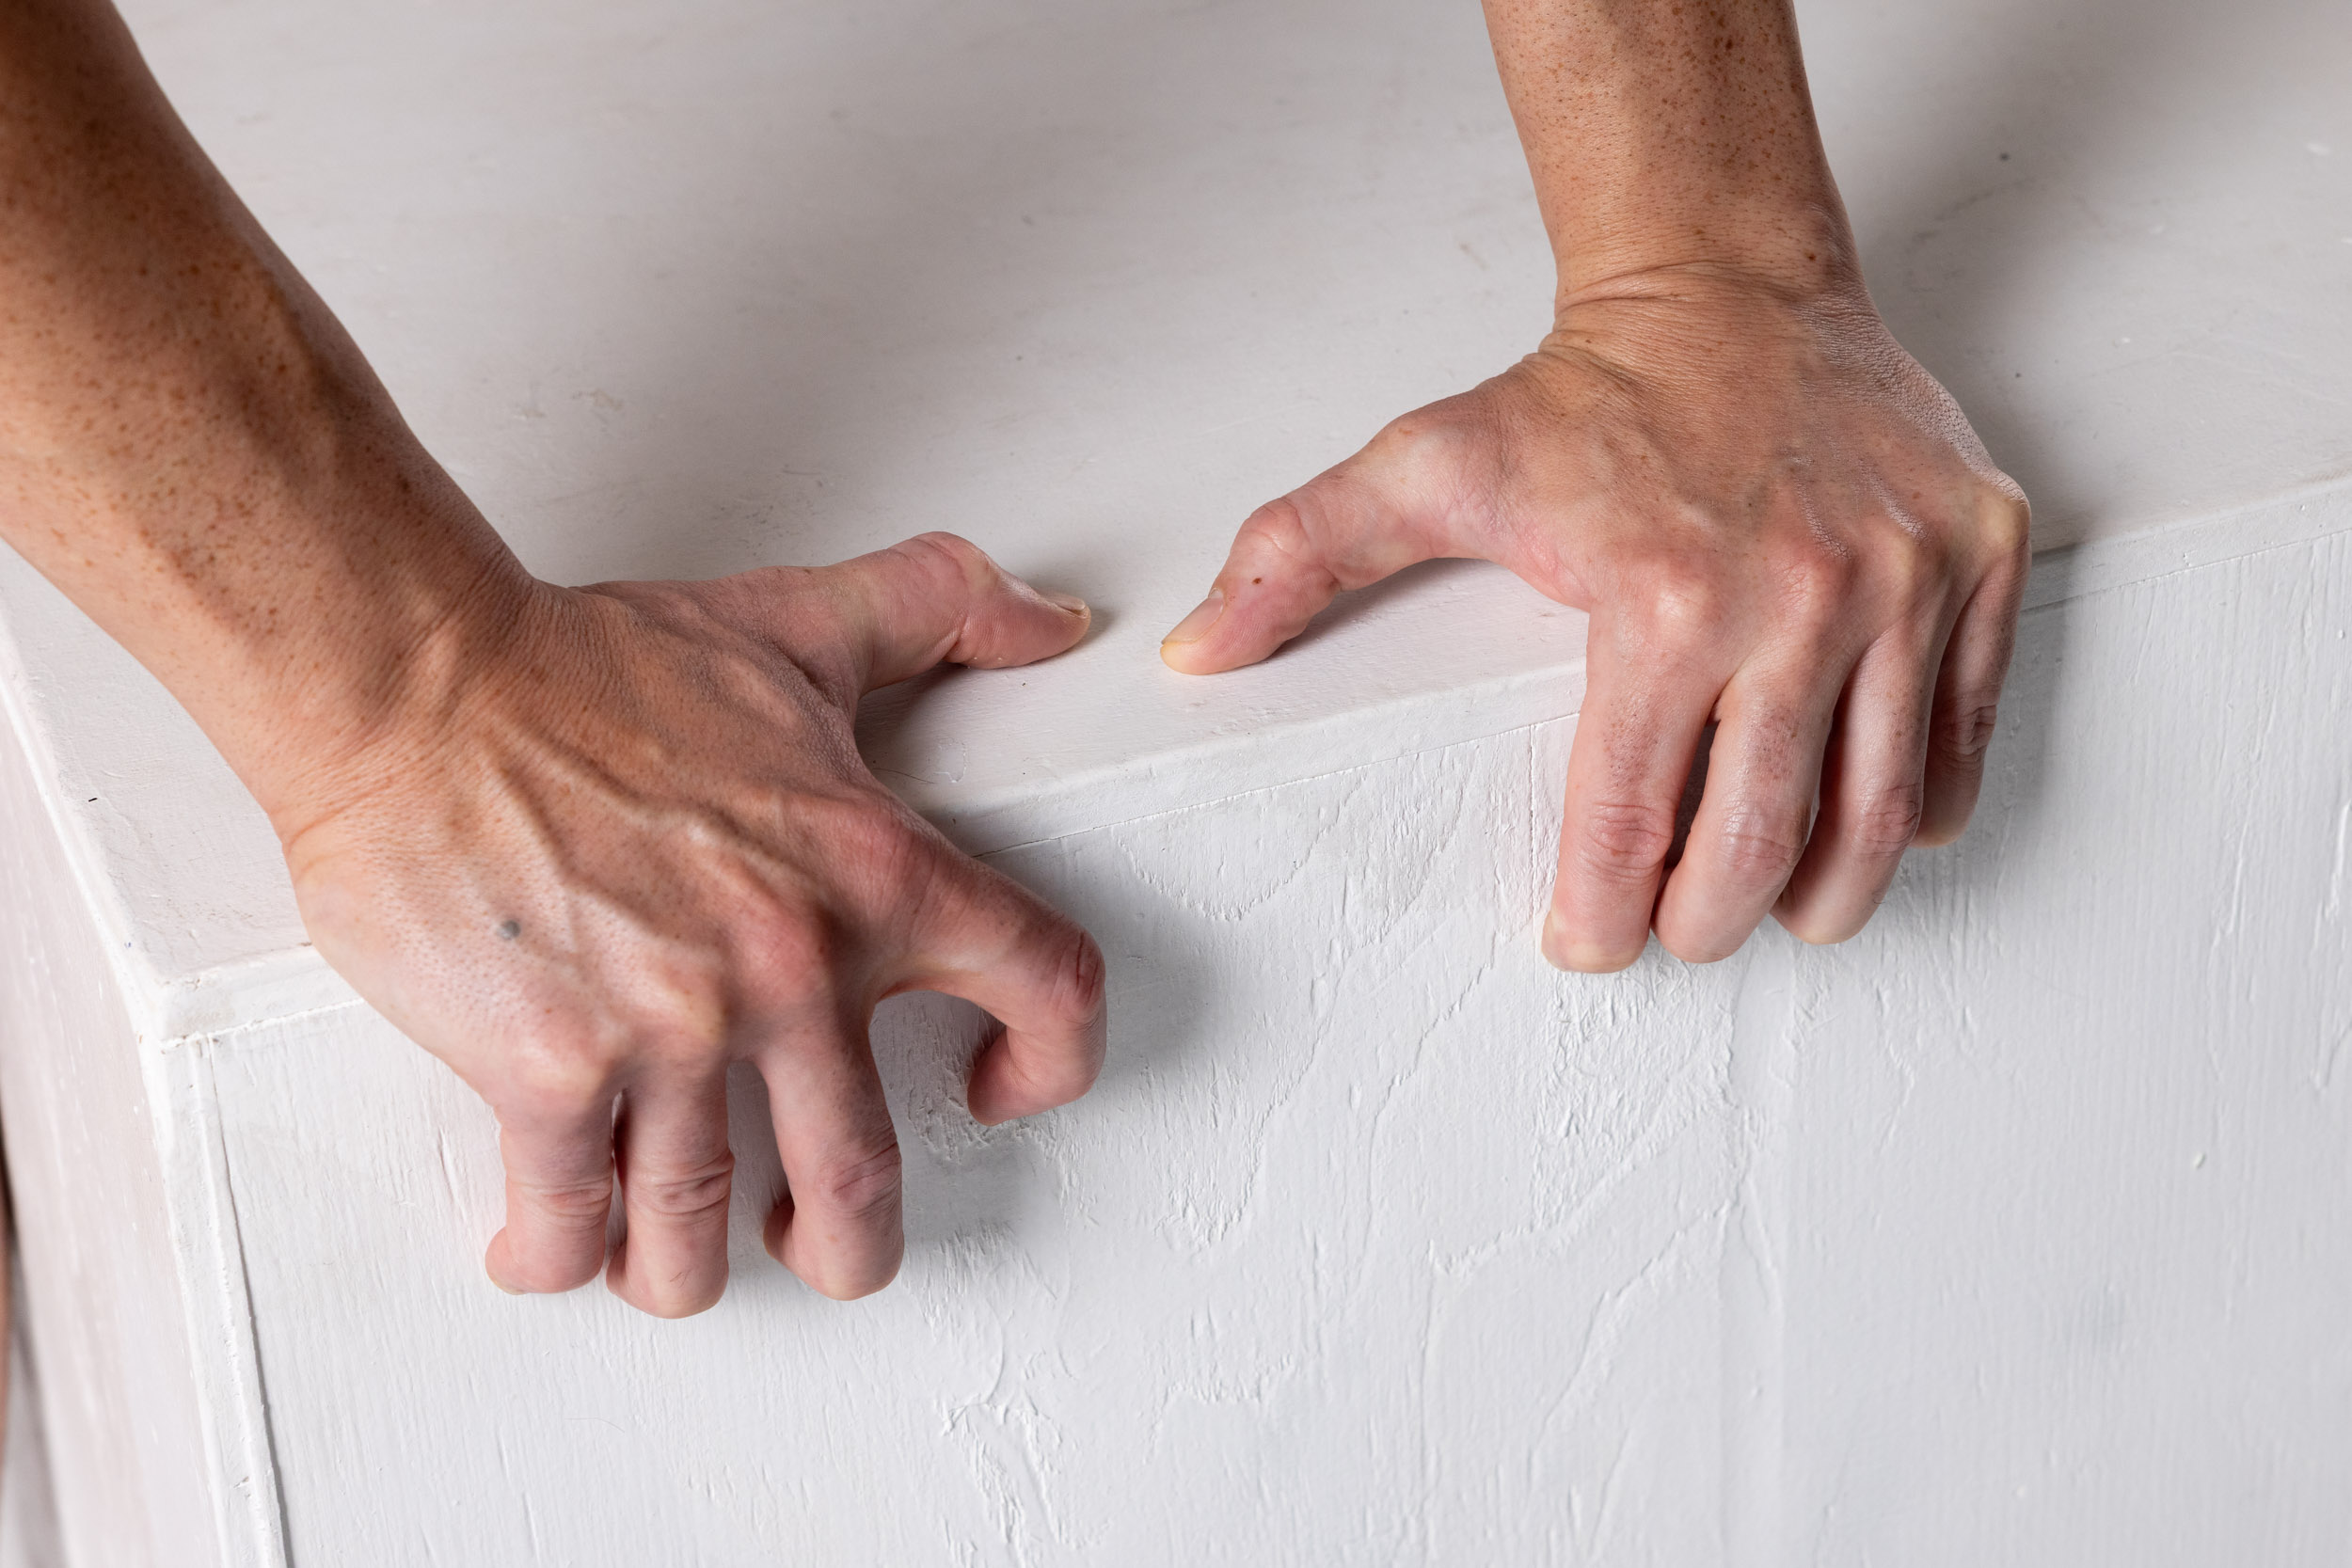
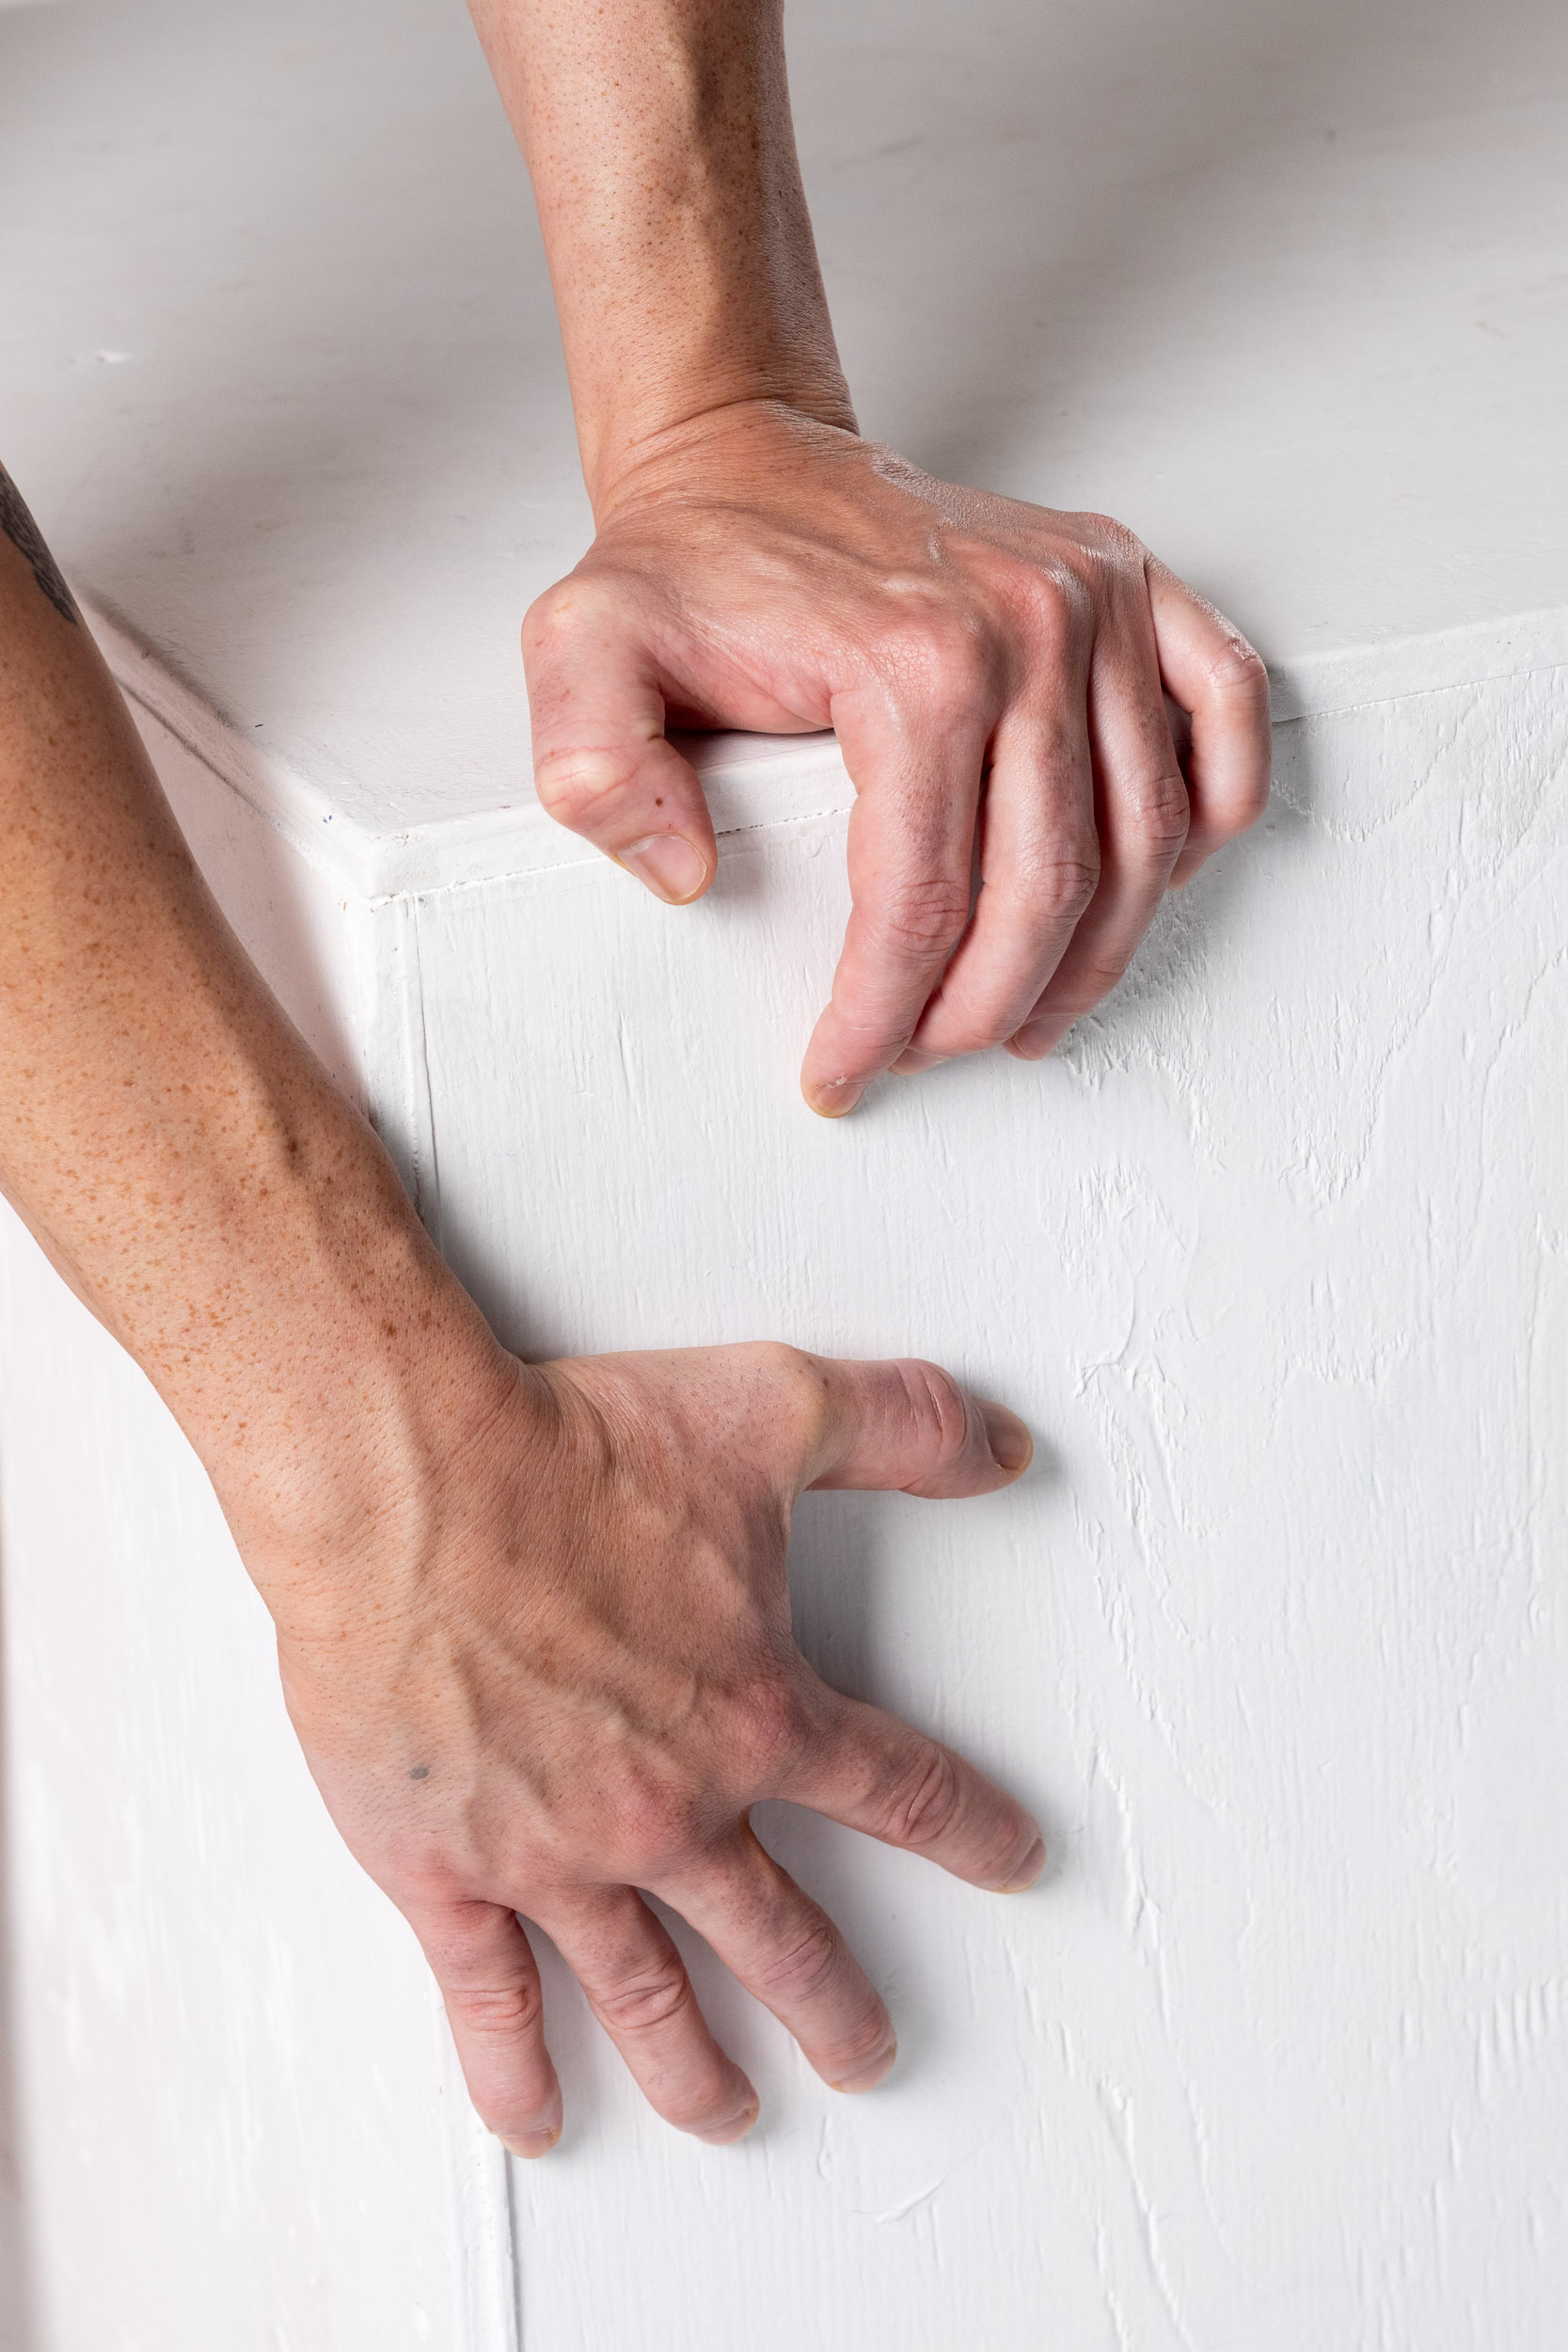
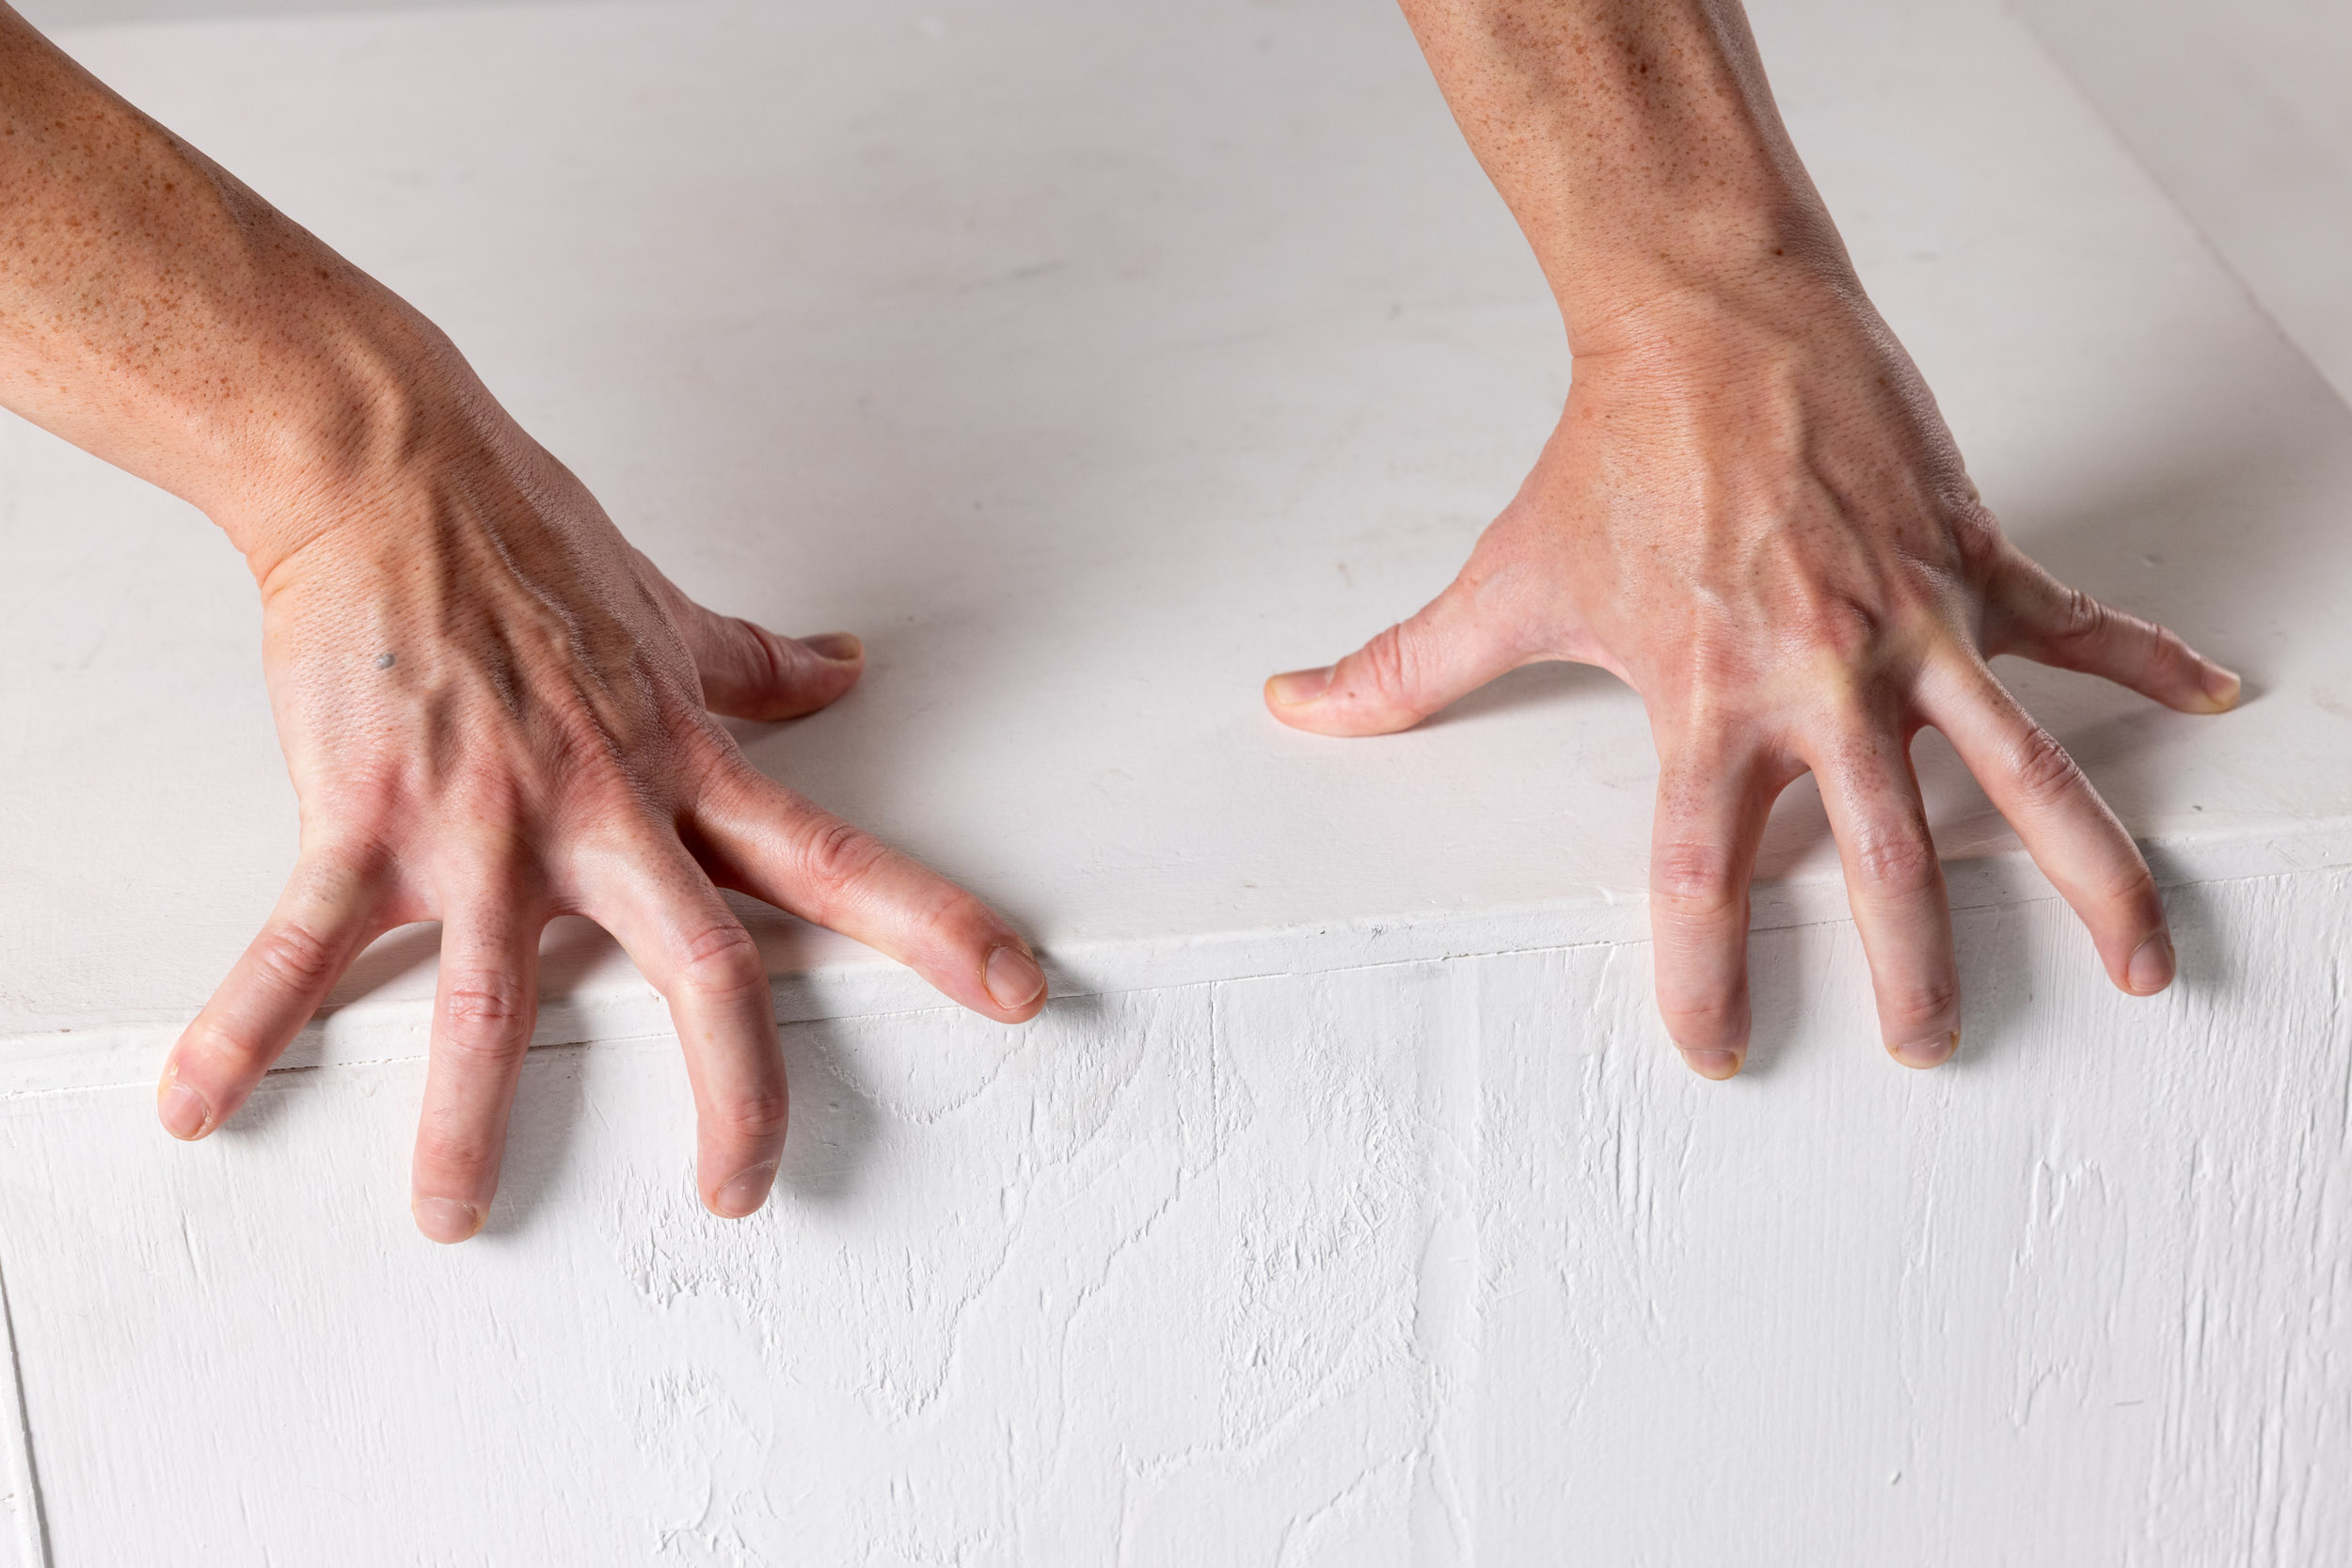
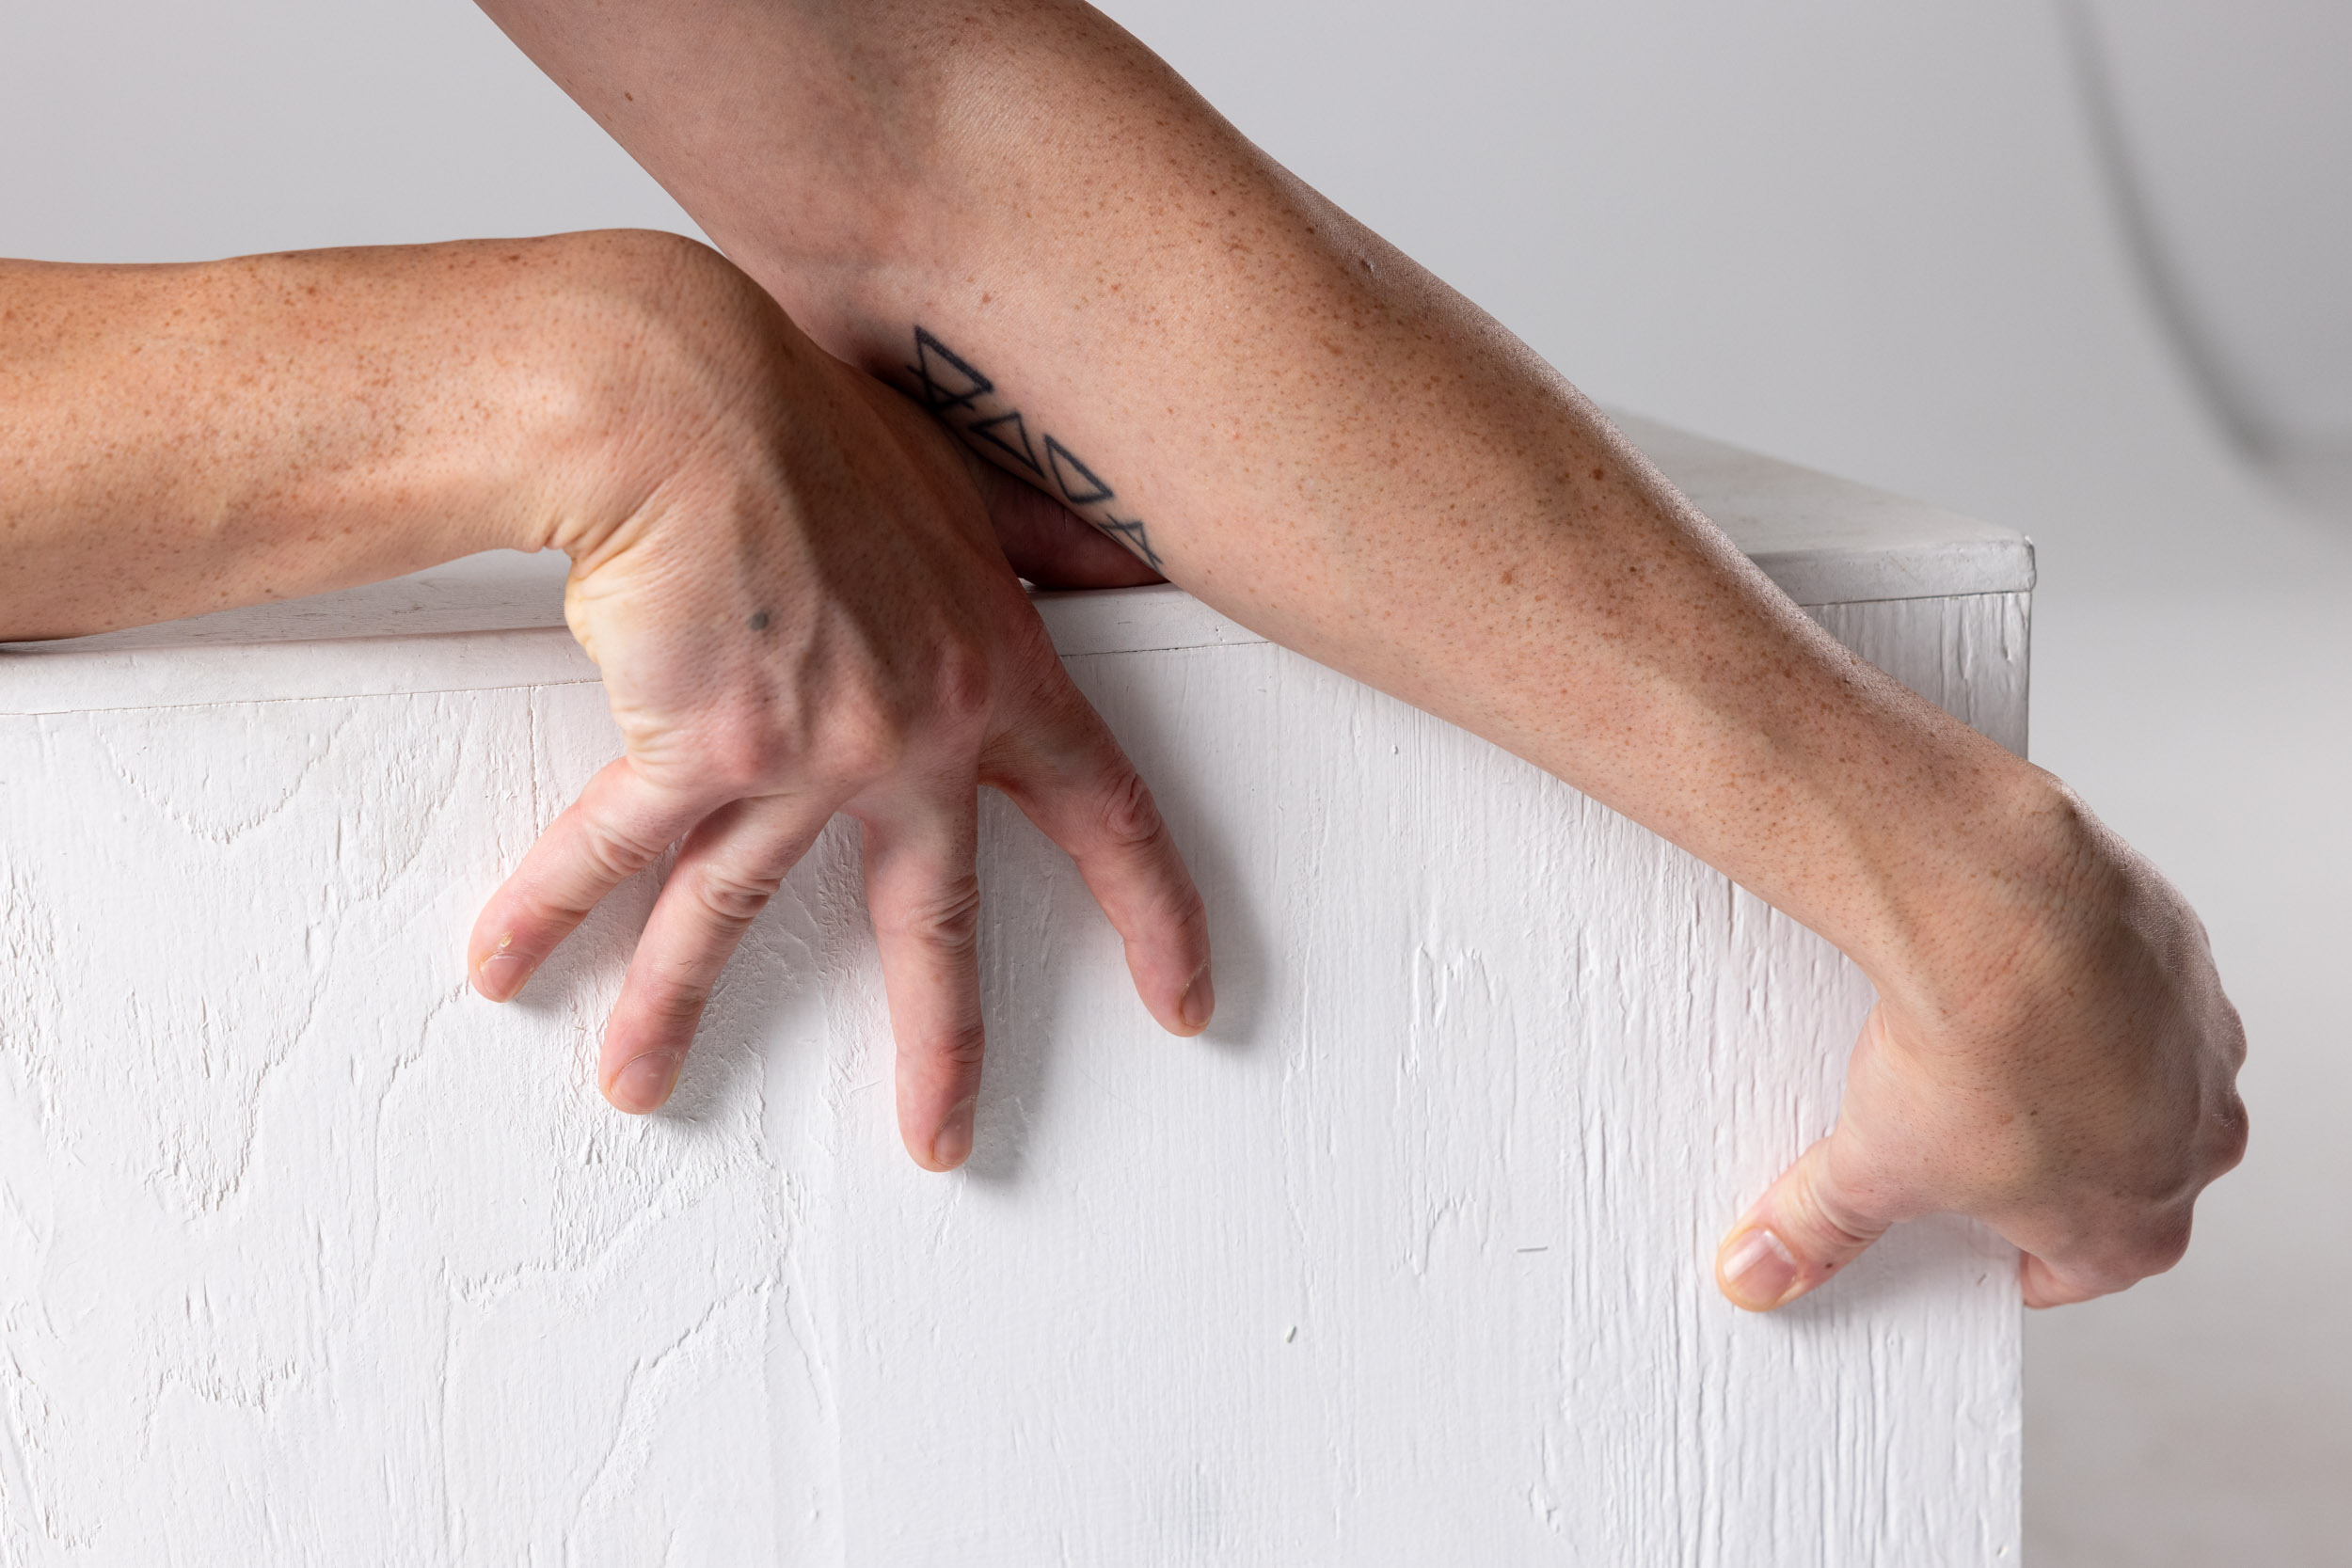
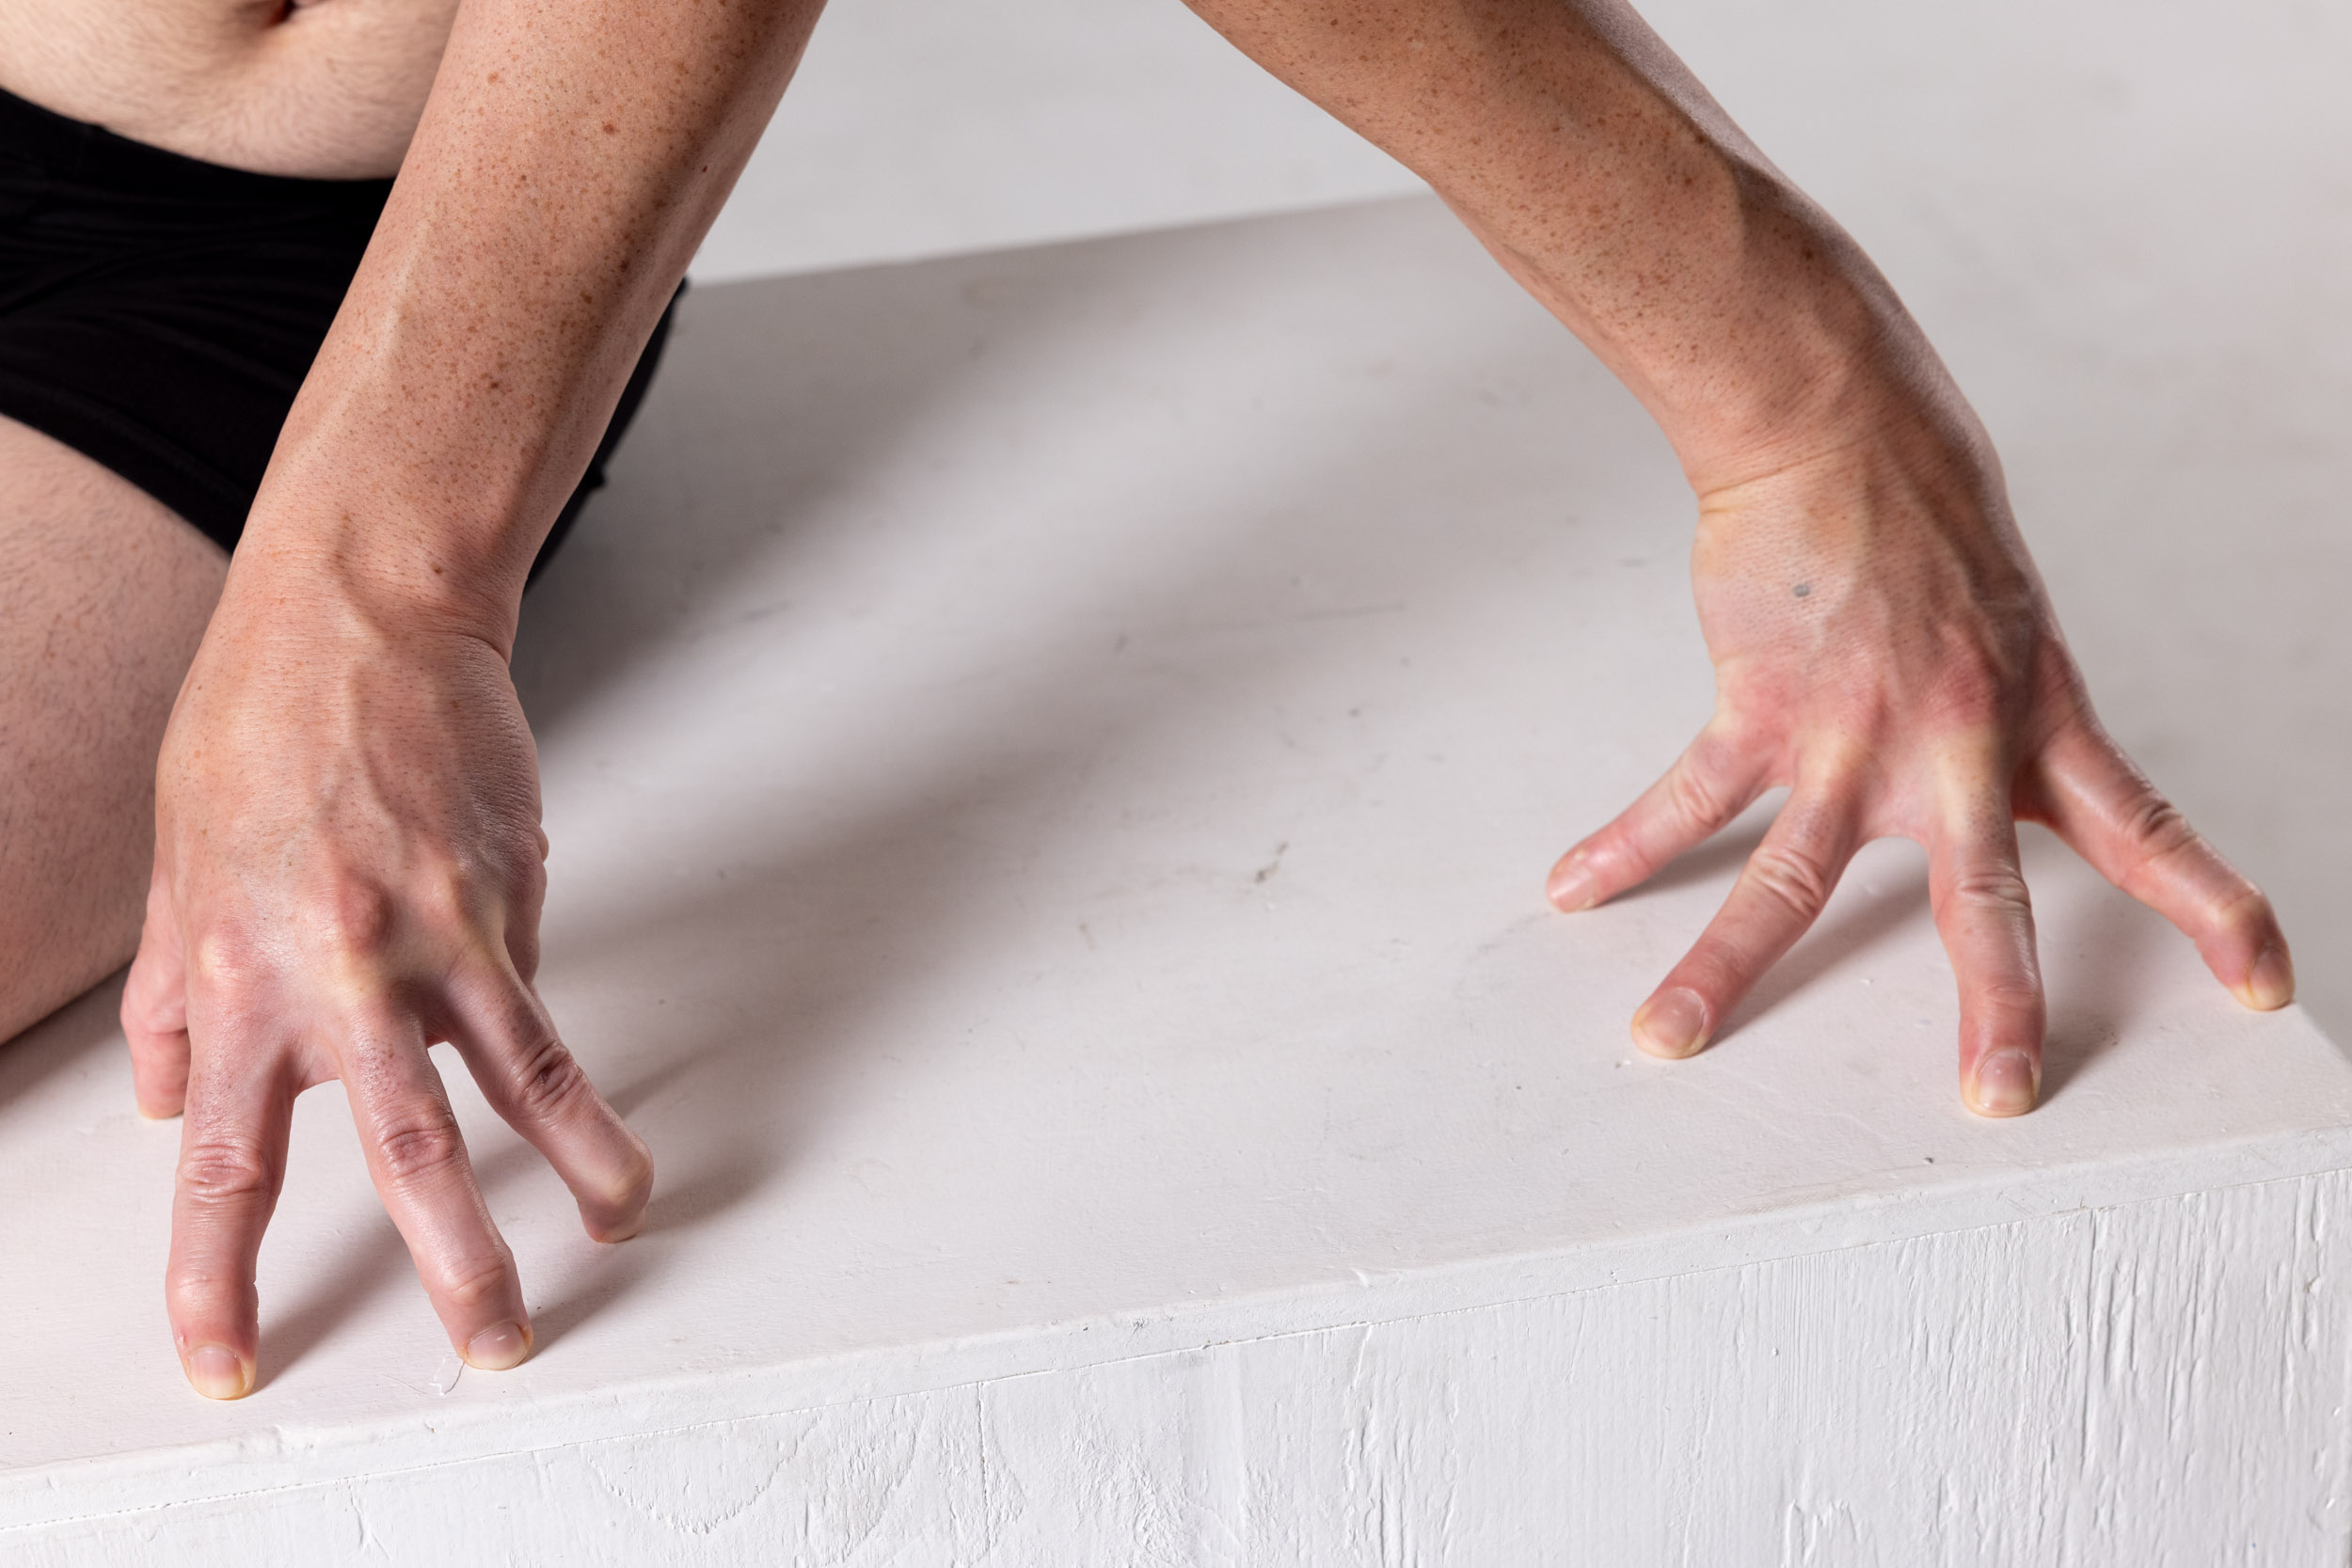
Explore 46 hand pose reference photos for drawing, including open palms, clenched fists, curled fingers, clasped hands, and challenging foreshortened poses. These photographic references can help you practice hand anatomy, gesture, proportions, and perspective.
Browse the gallery and select any photo to enlarge it for a closer study. Whether you're sketching quick gestures or working on a detailed hand drawing, focus on the shapes, angles, and overlapping forms that make each pose unique.
Hand-Reference Gallery
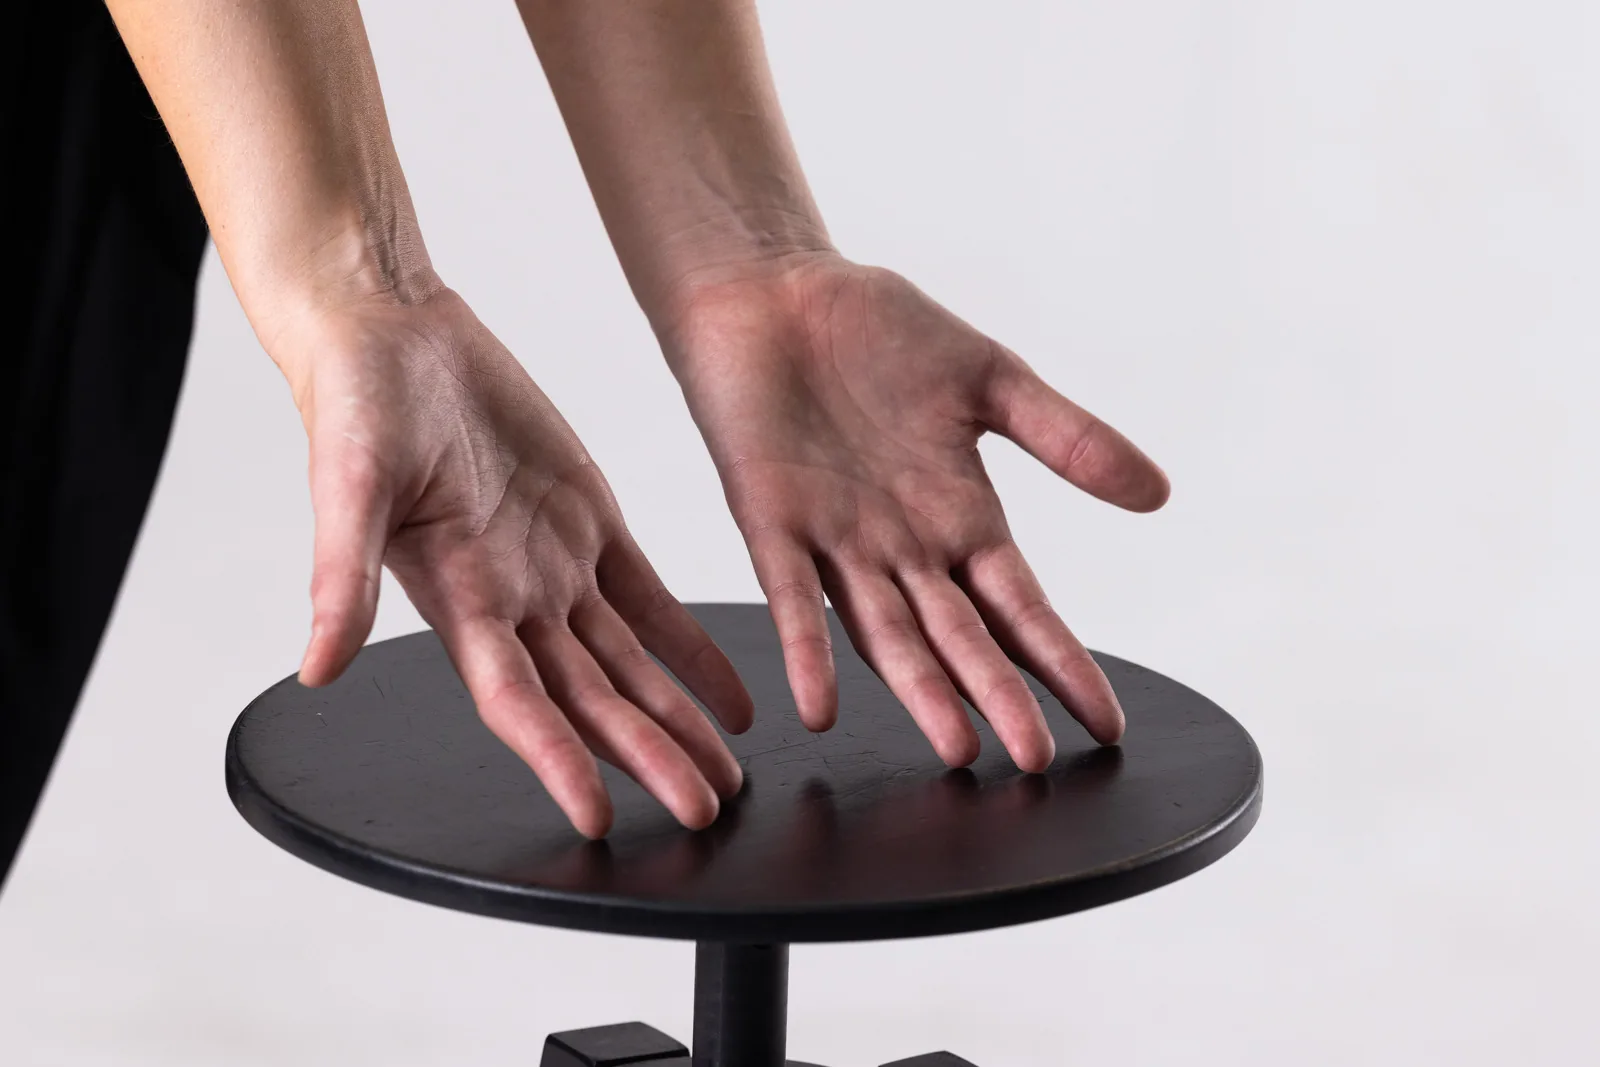
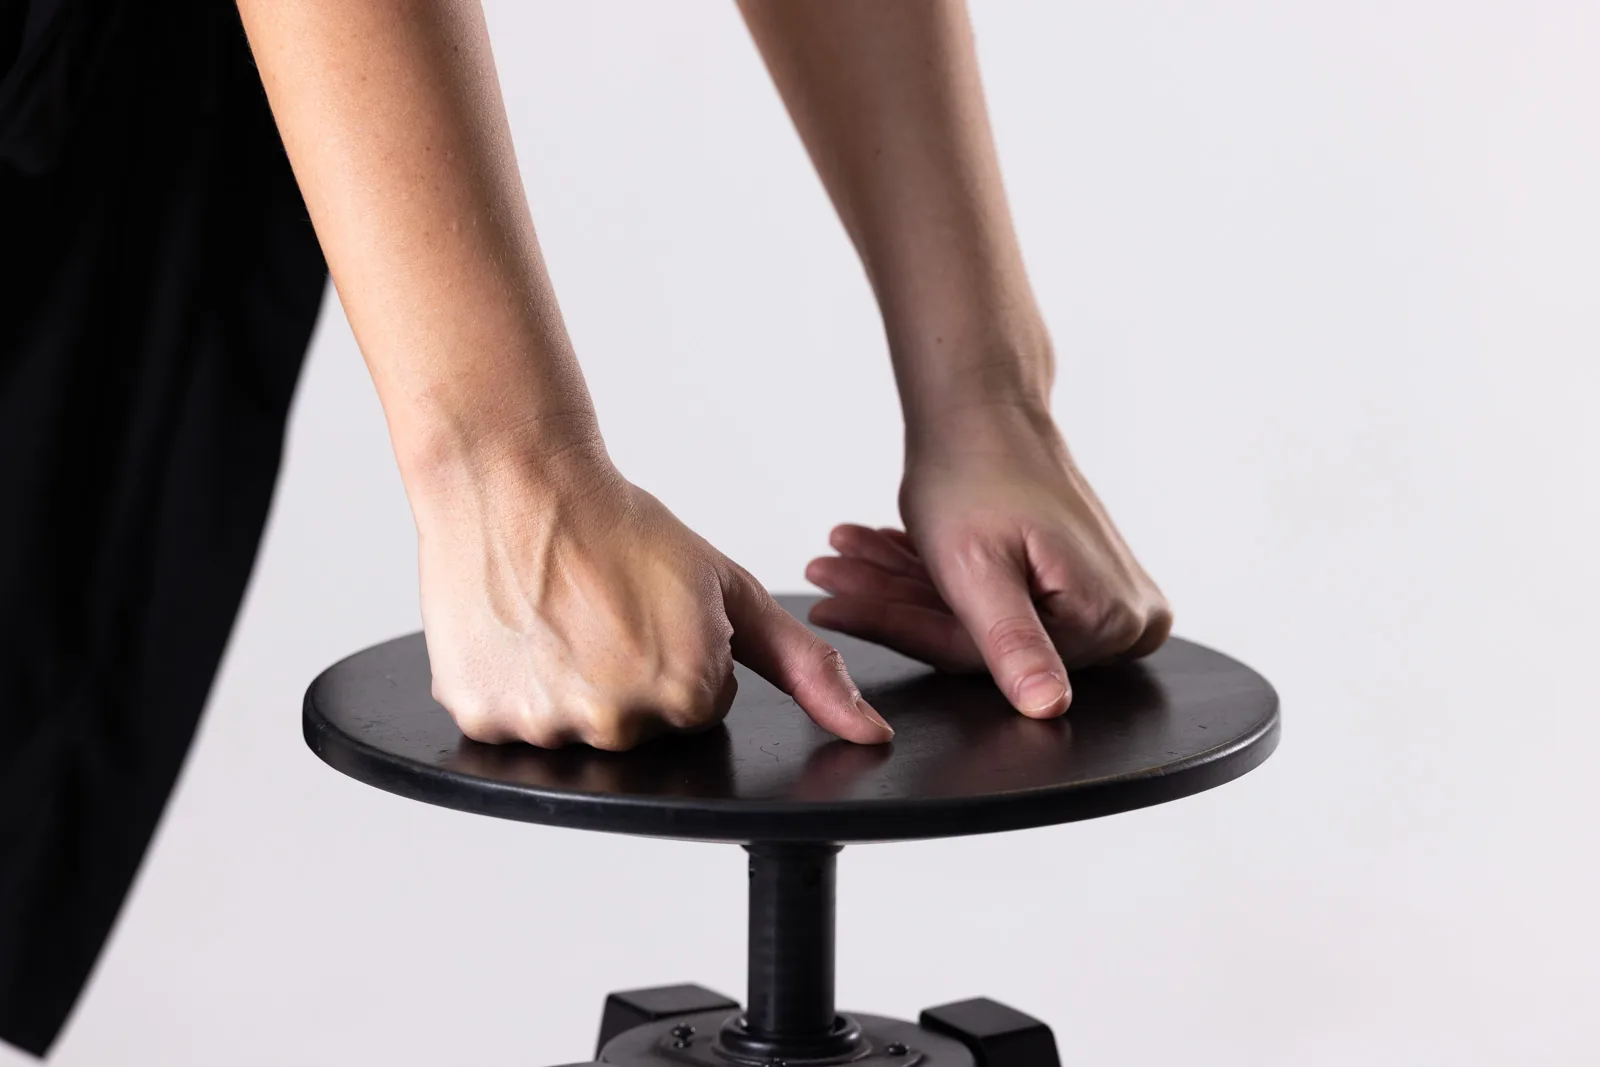
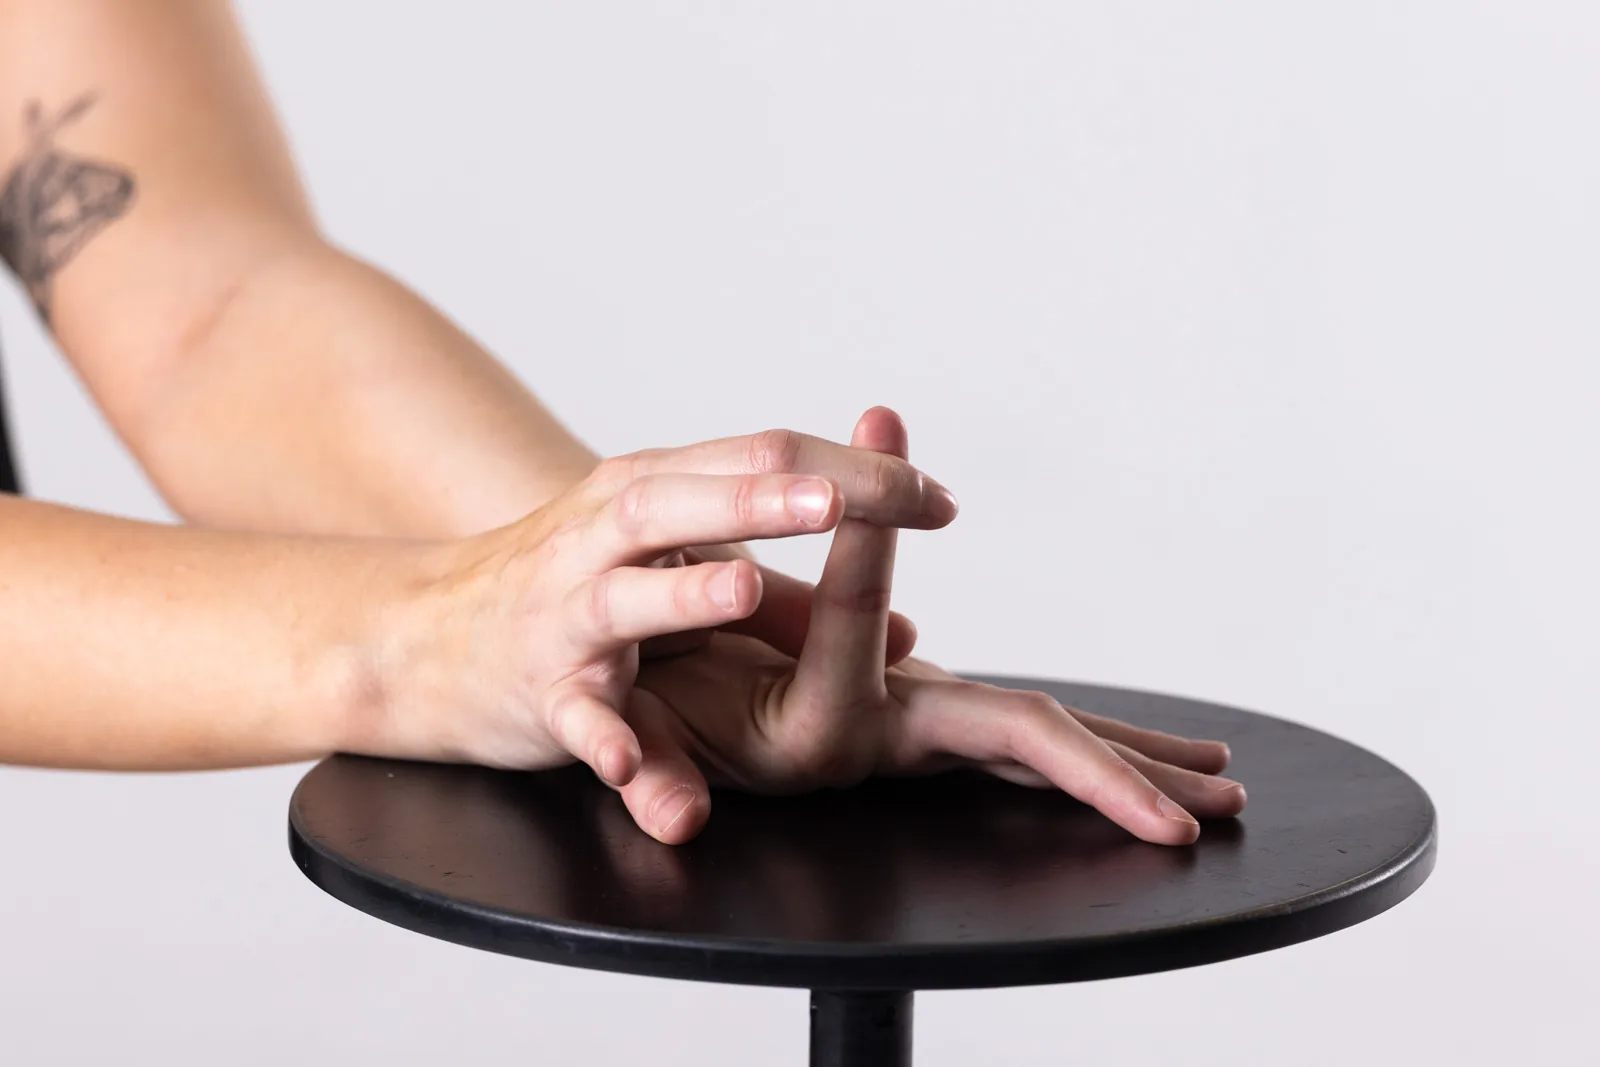
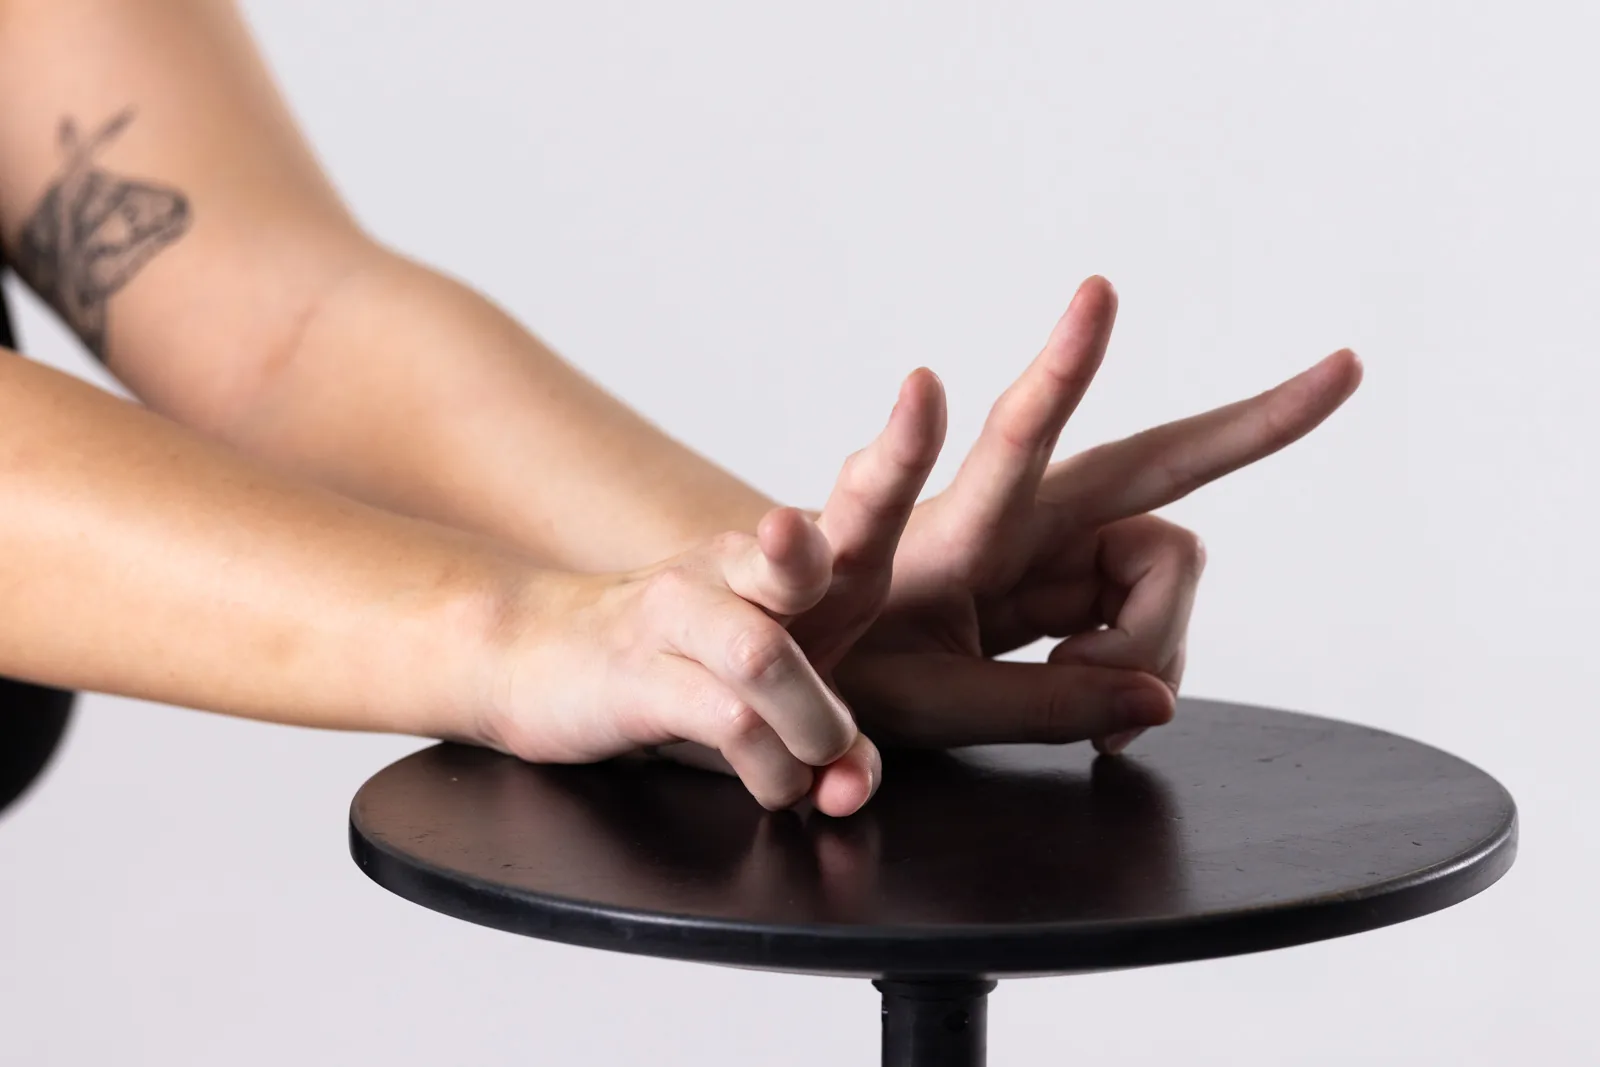
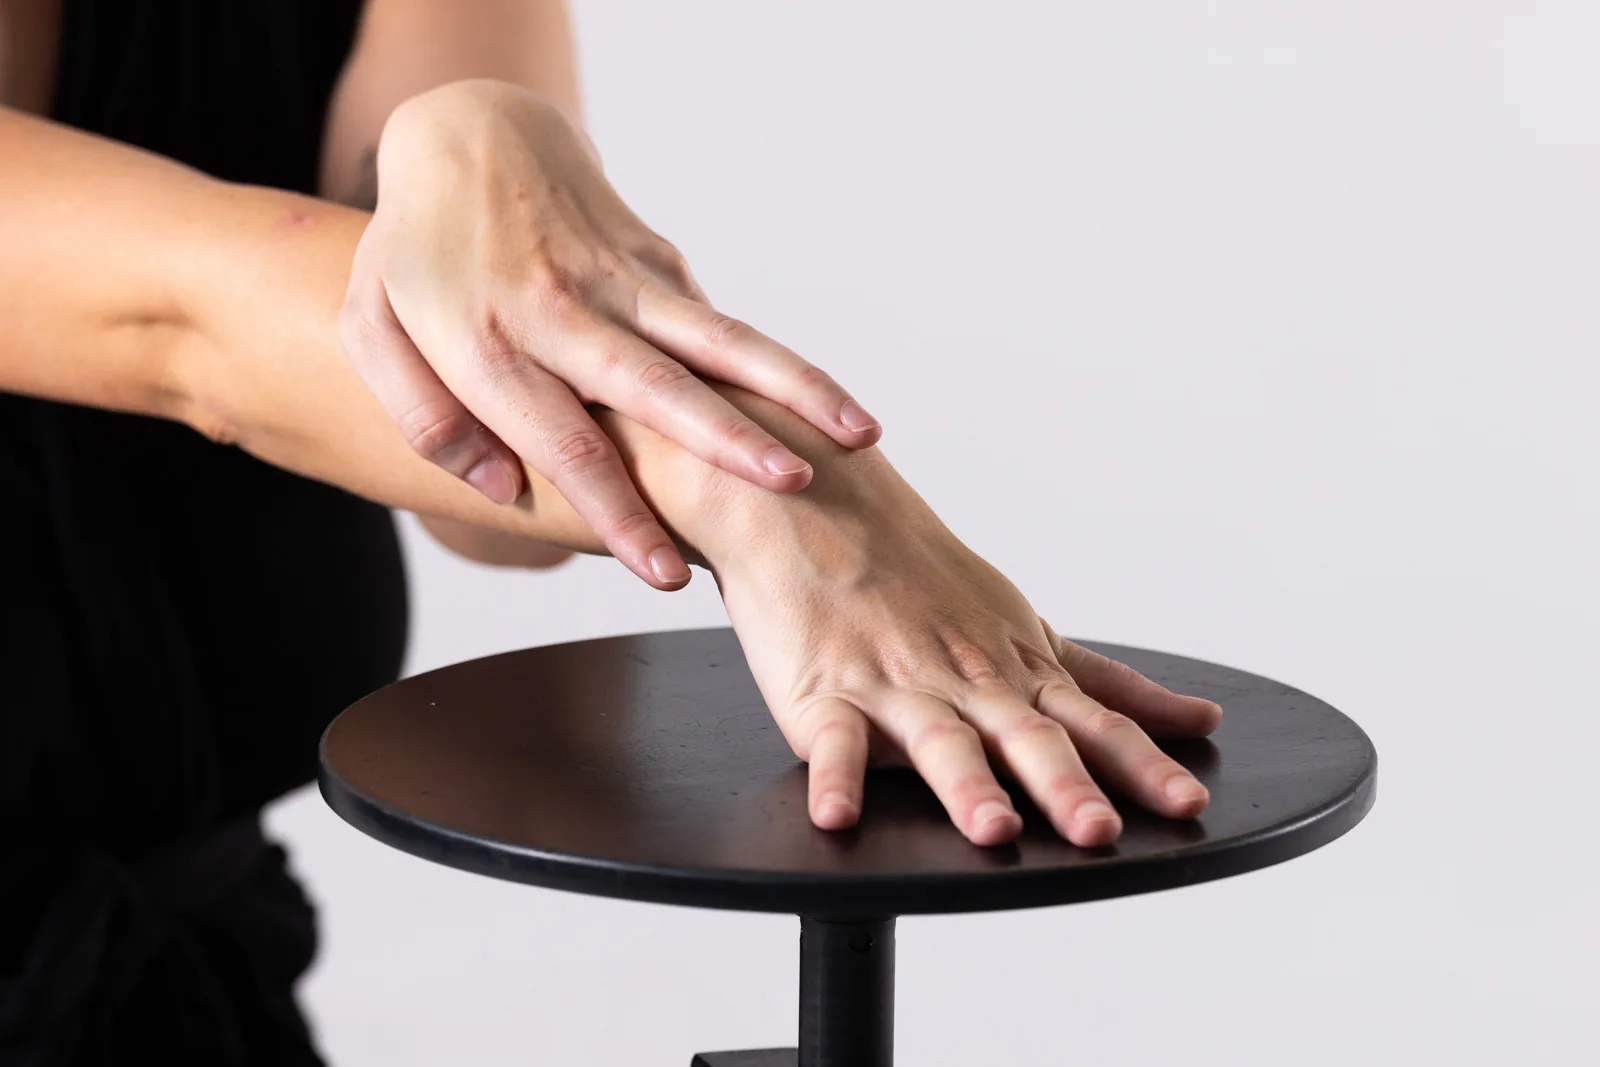
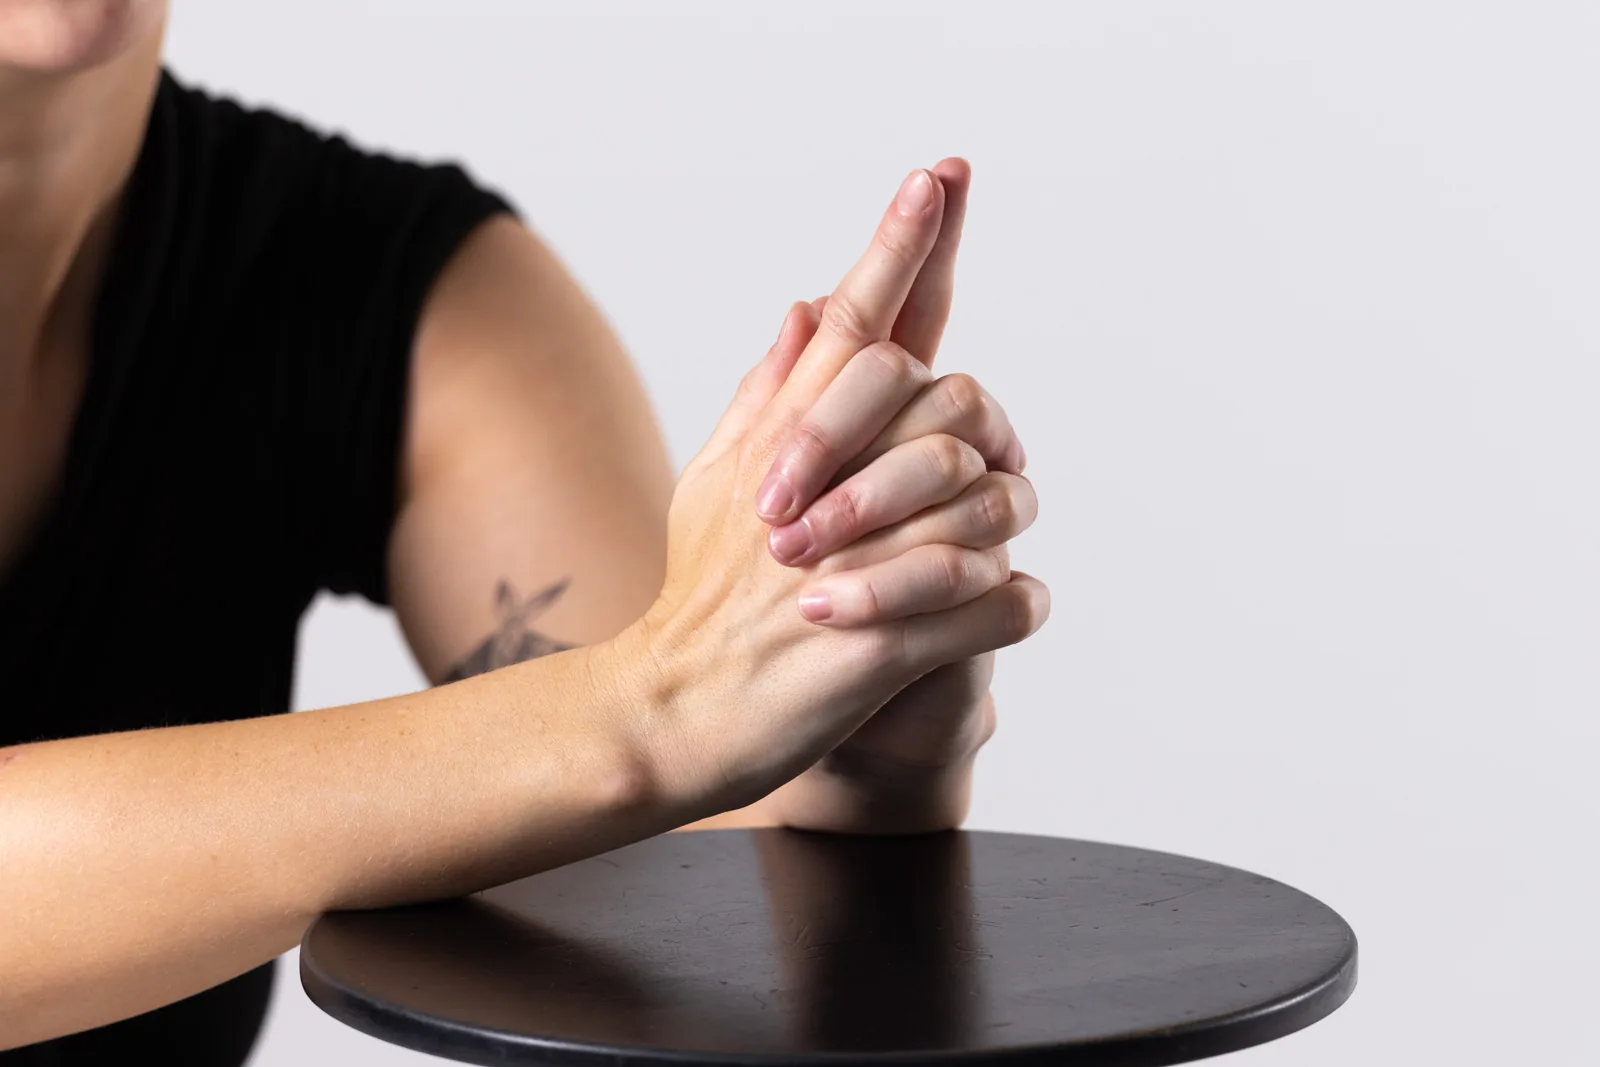
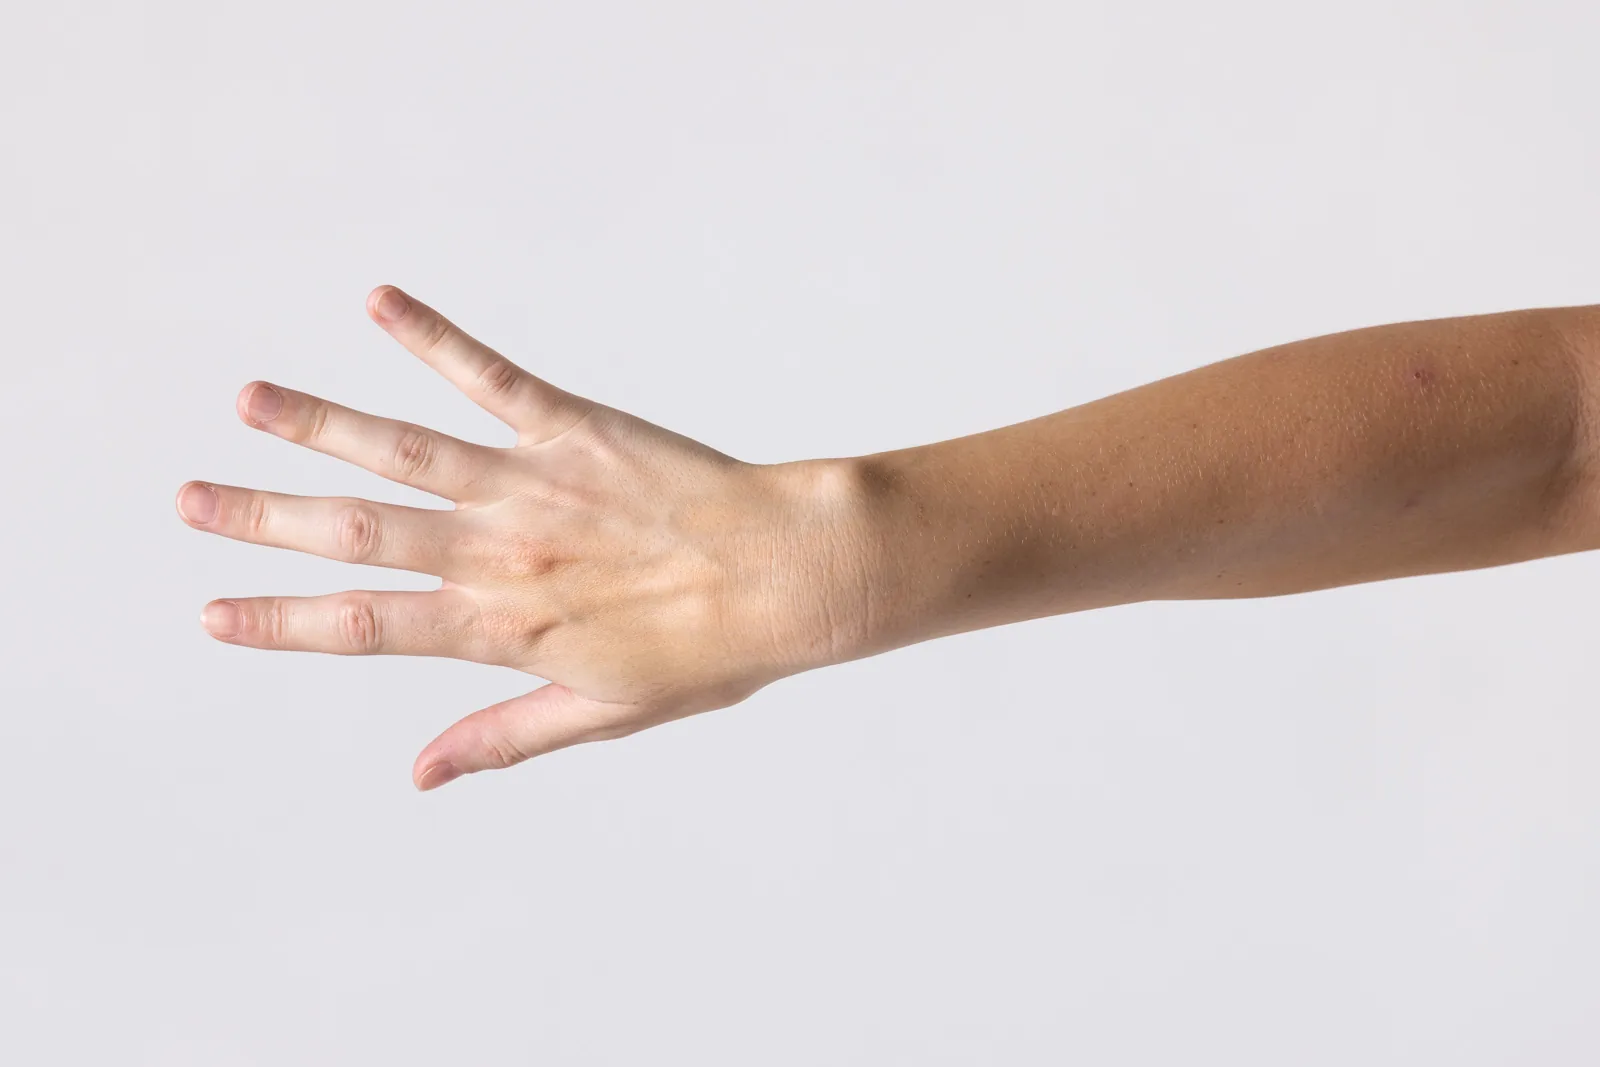
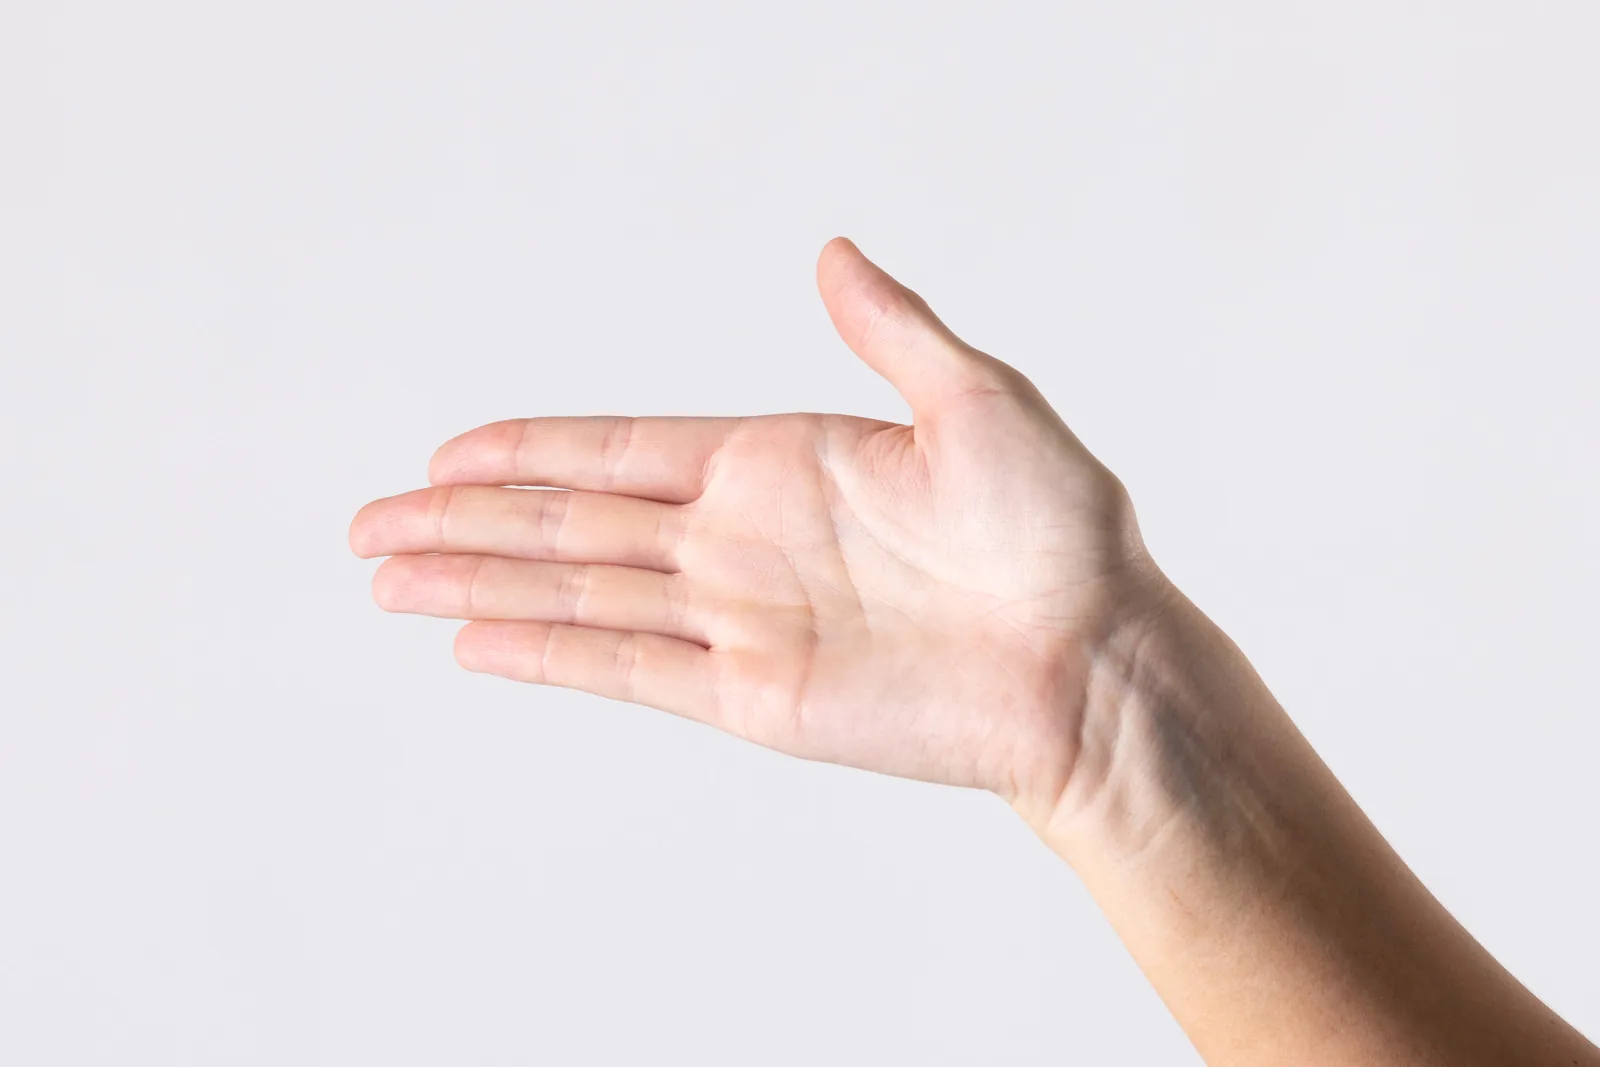
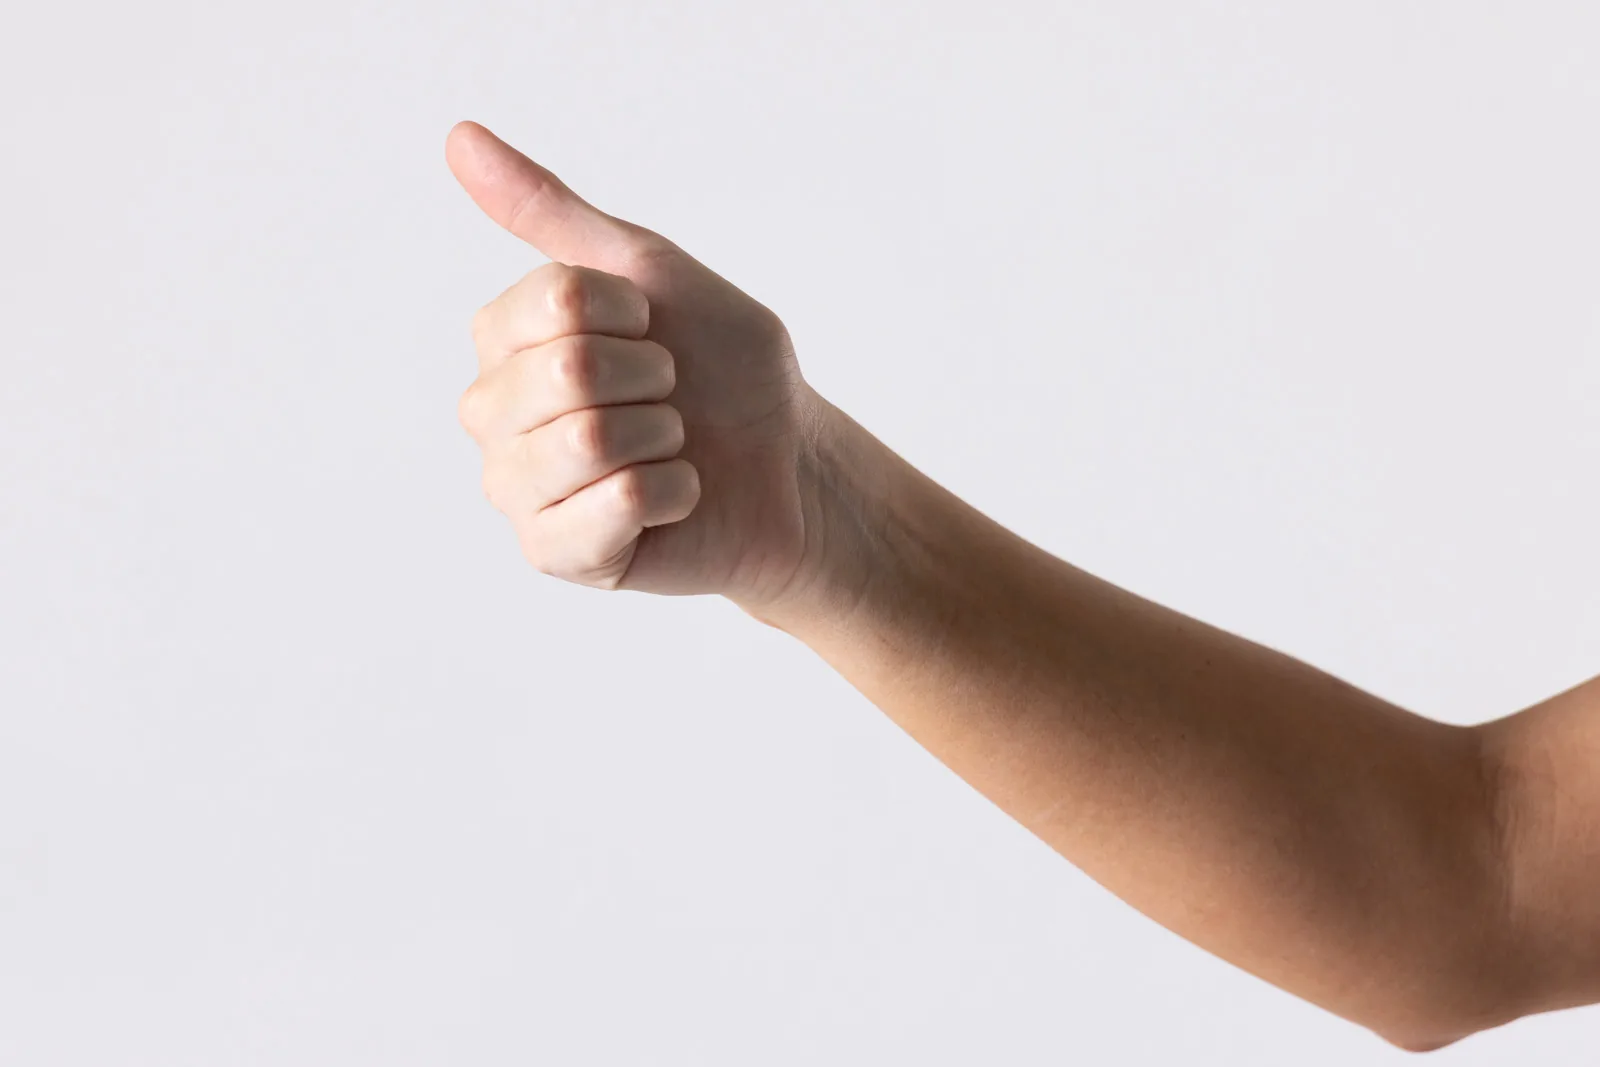
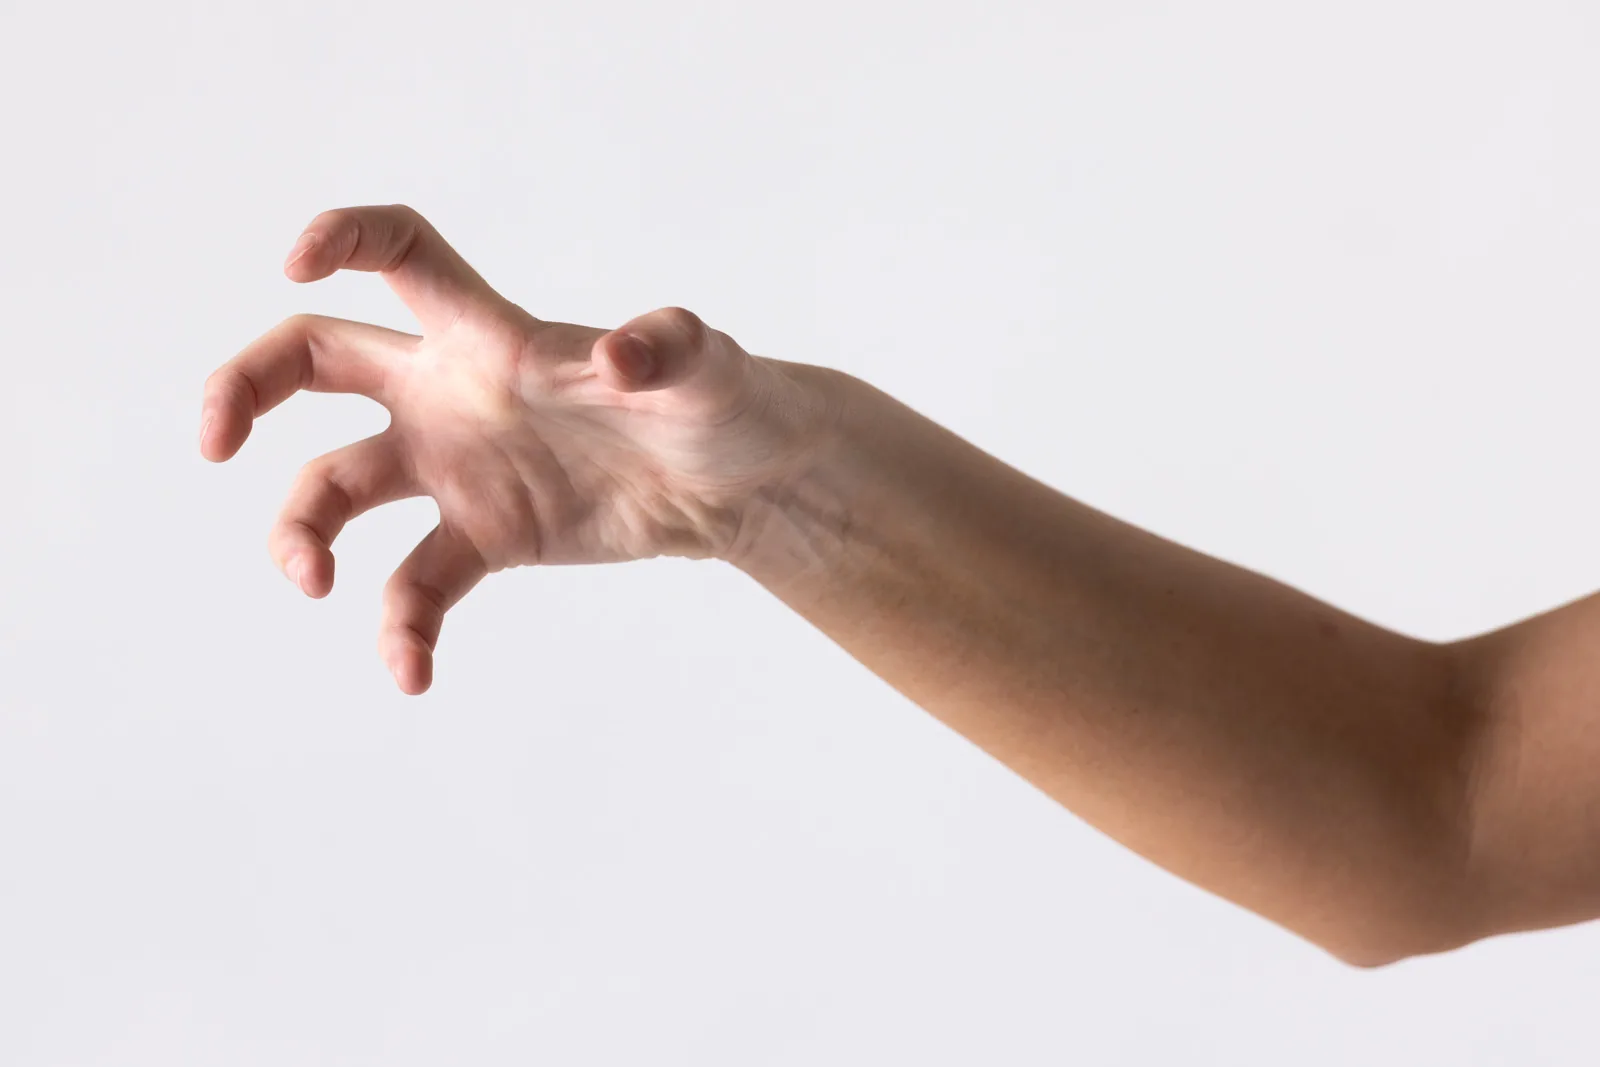
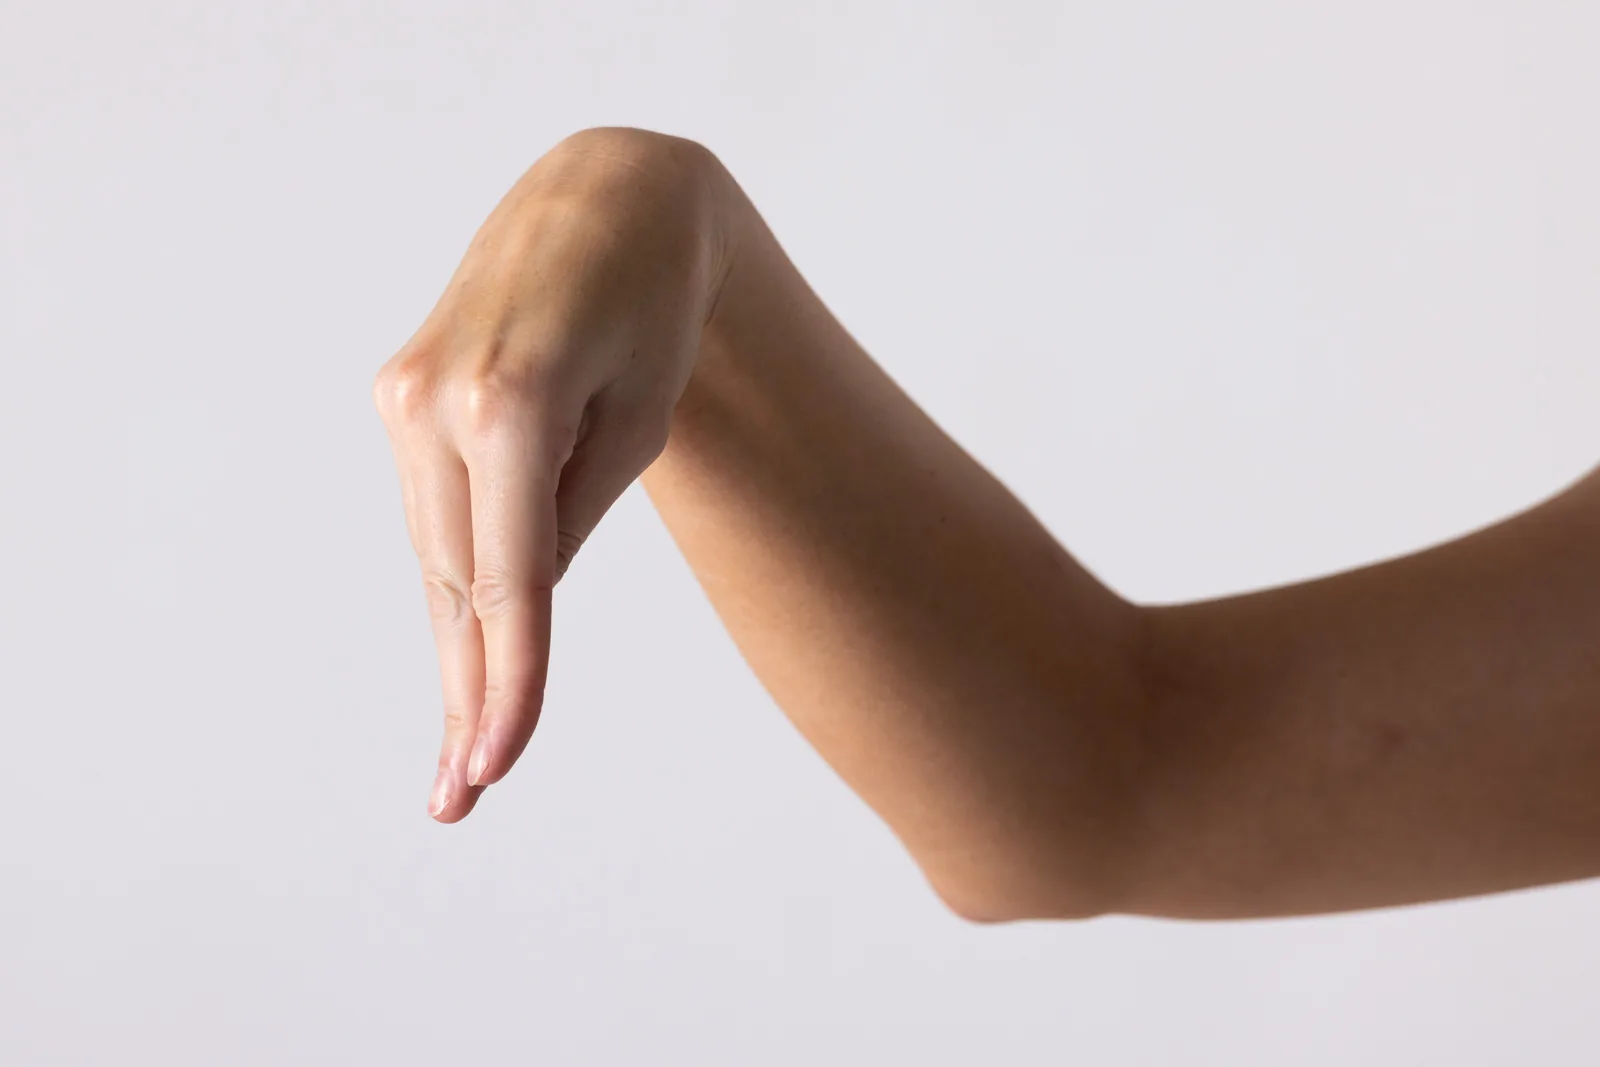
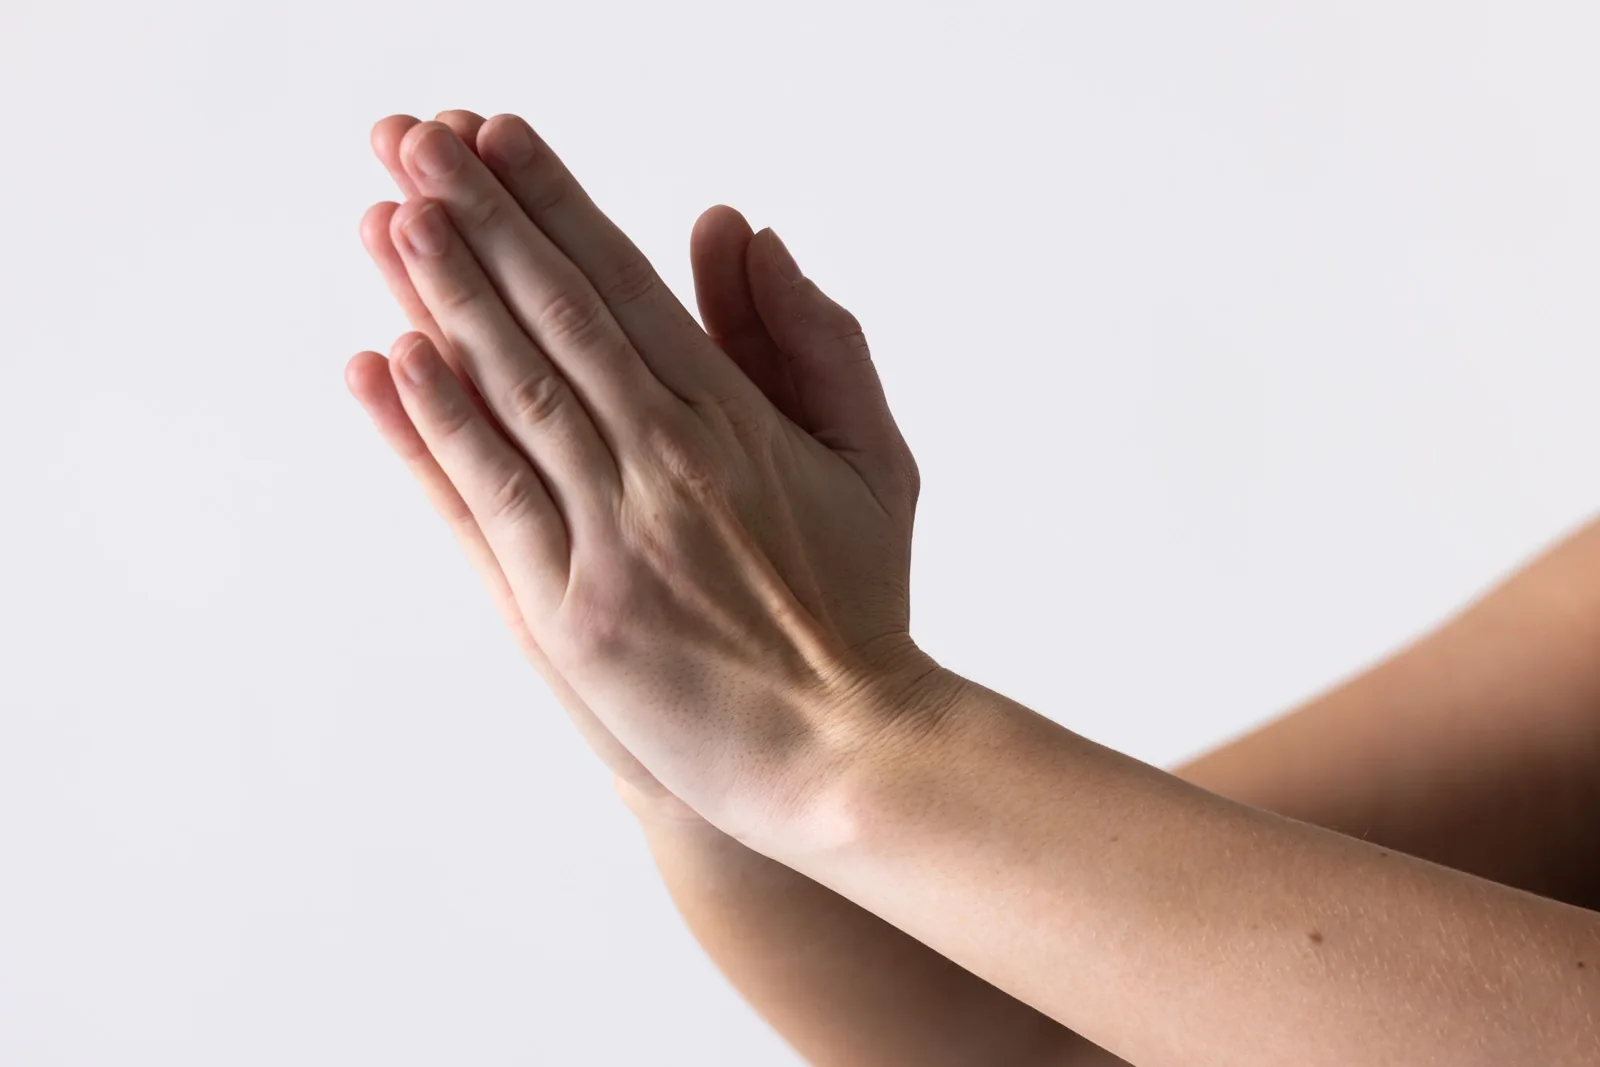
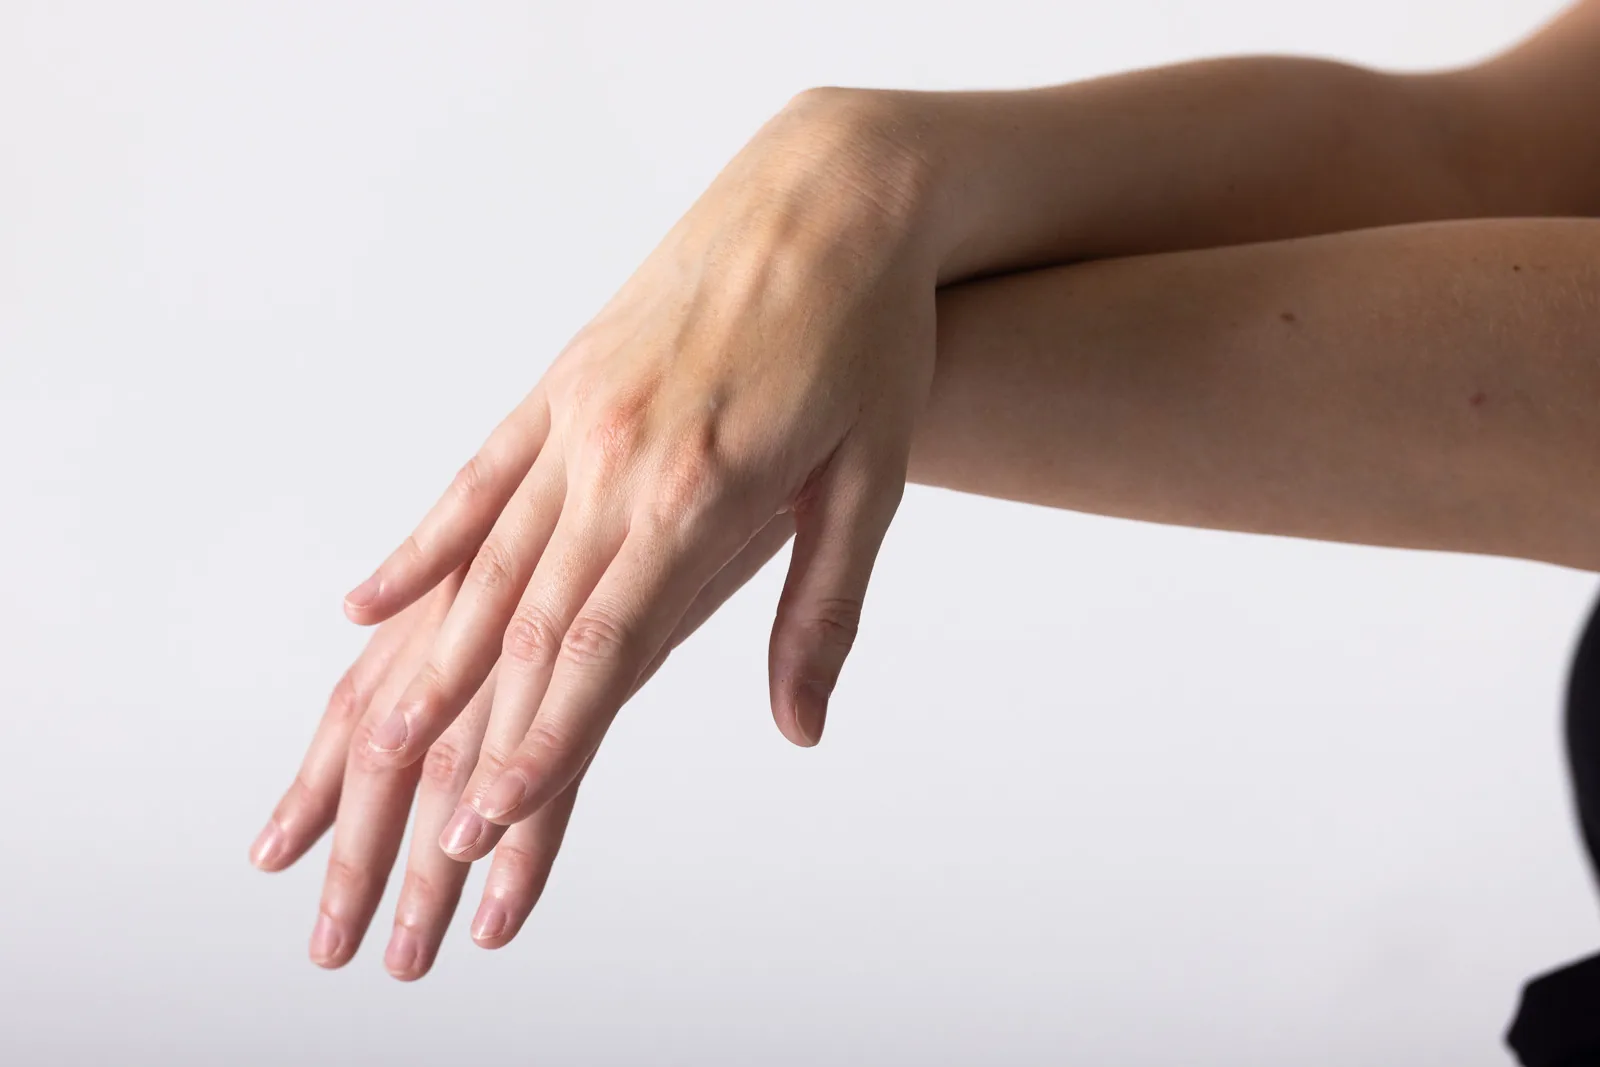
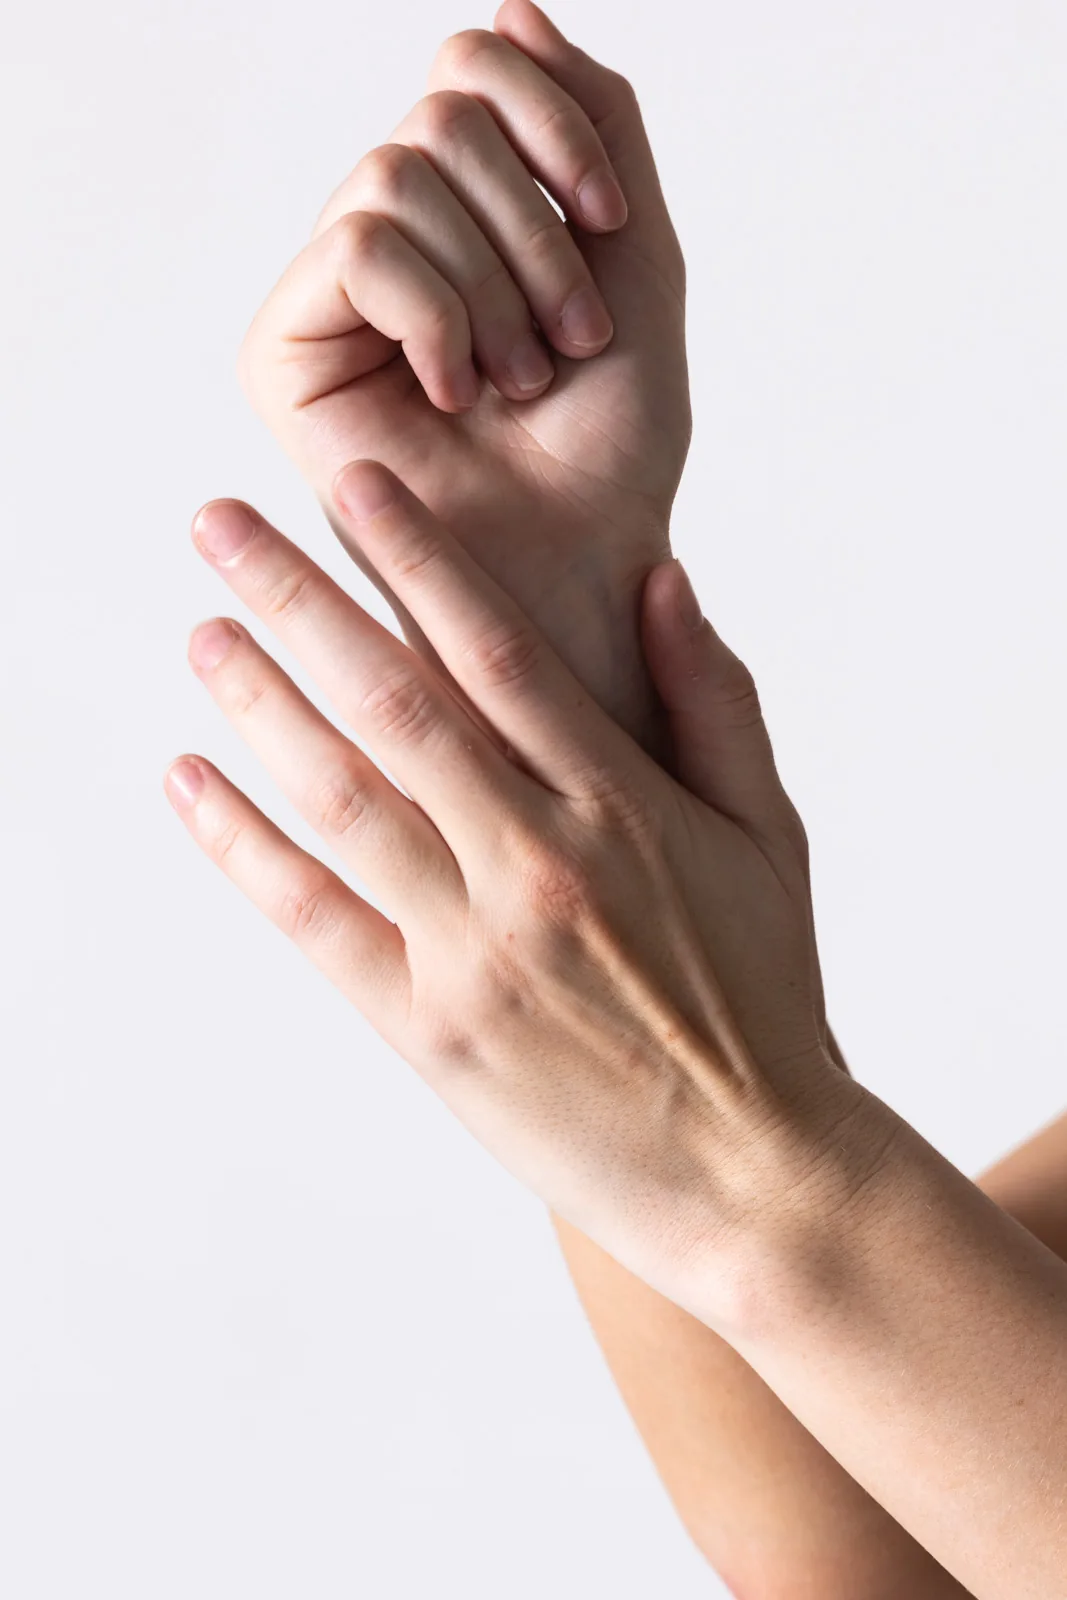
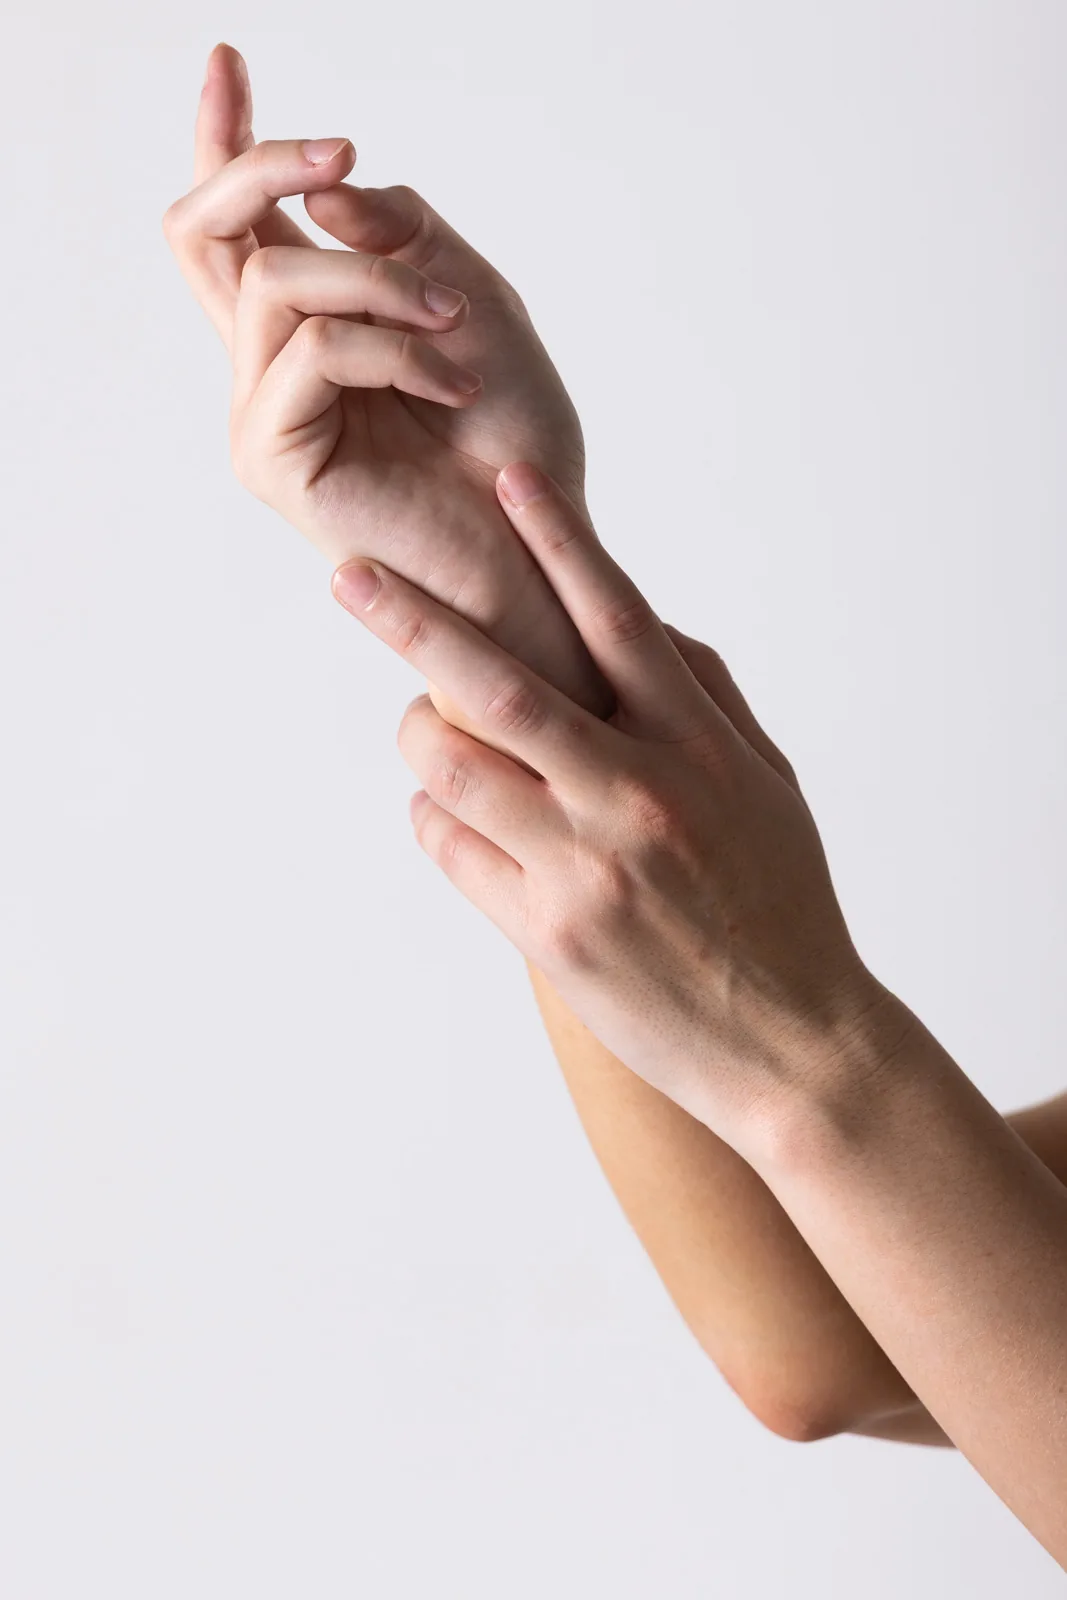
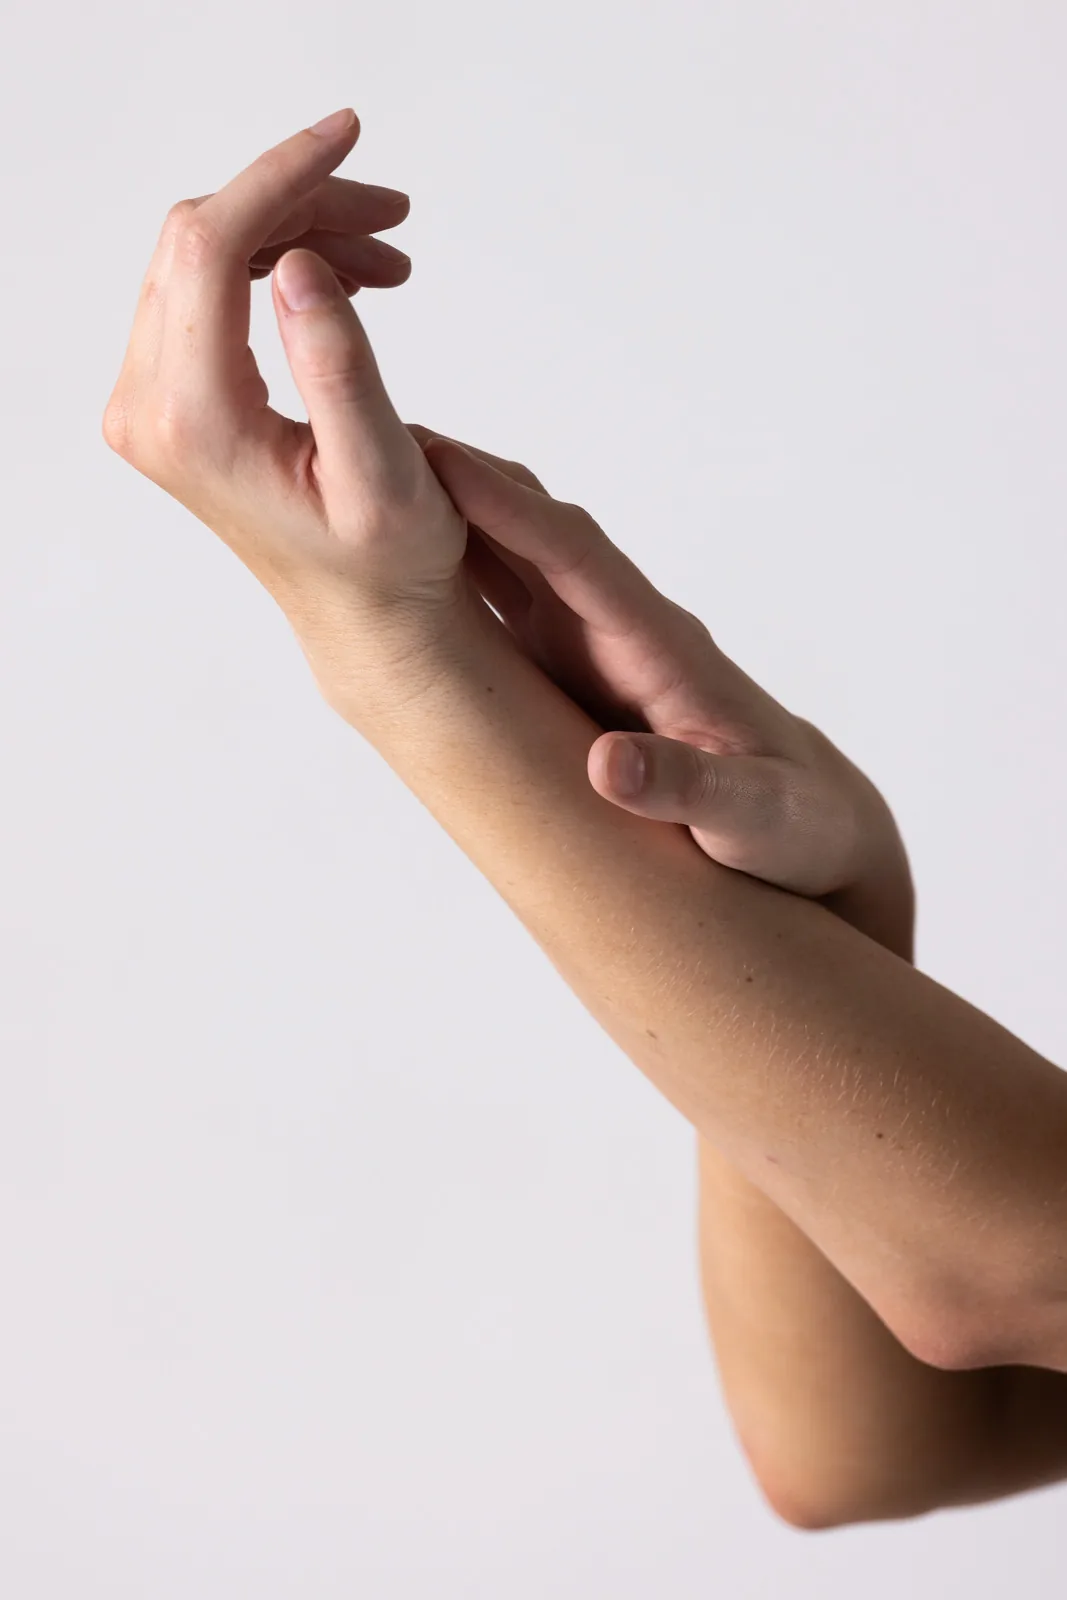
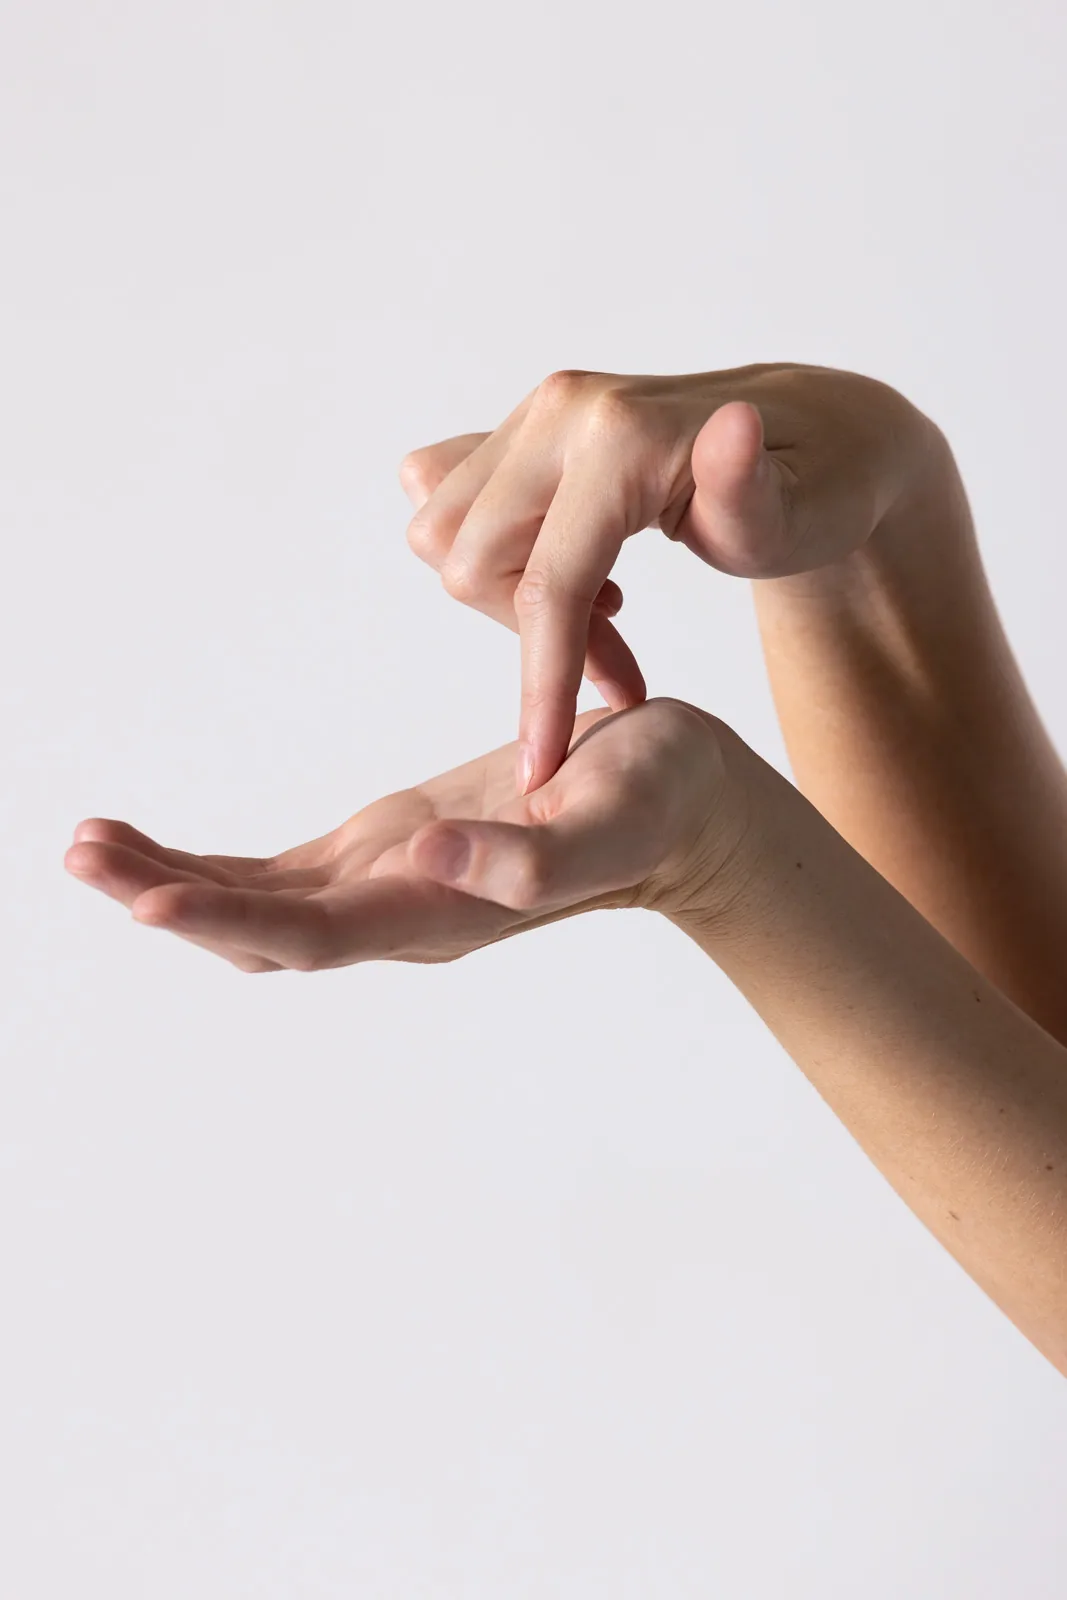
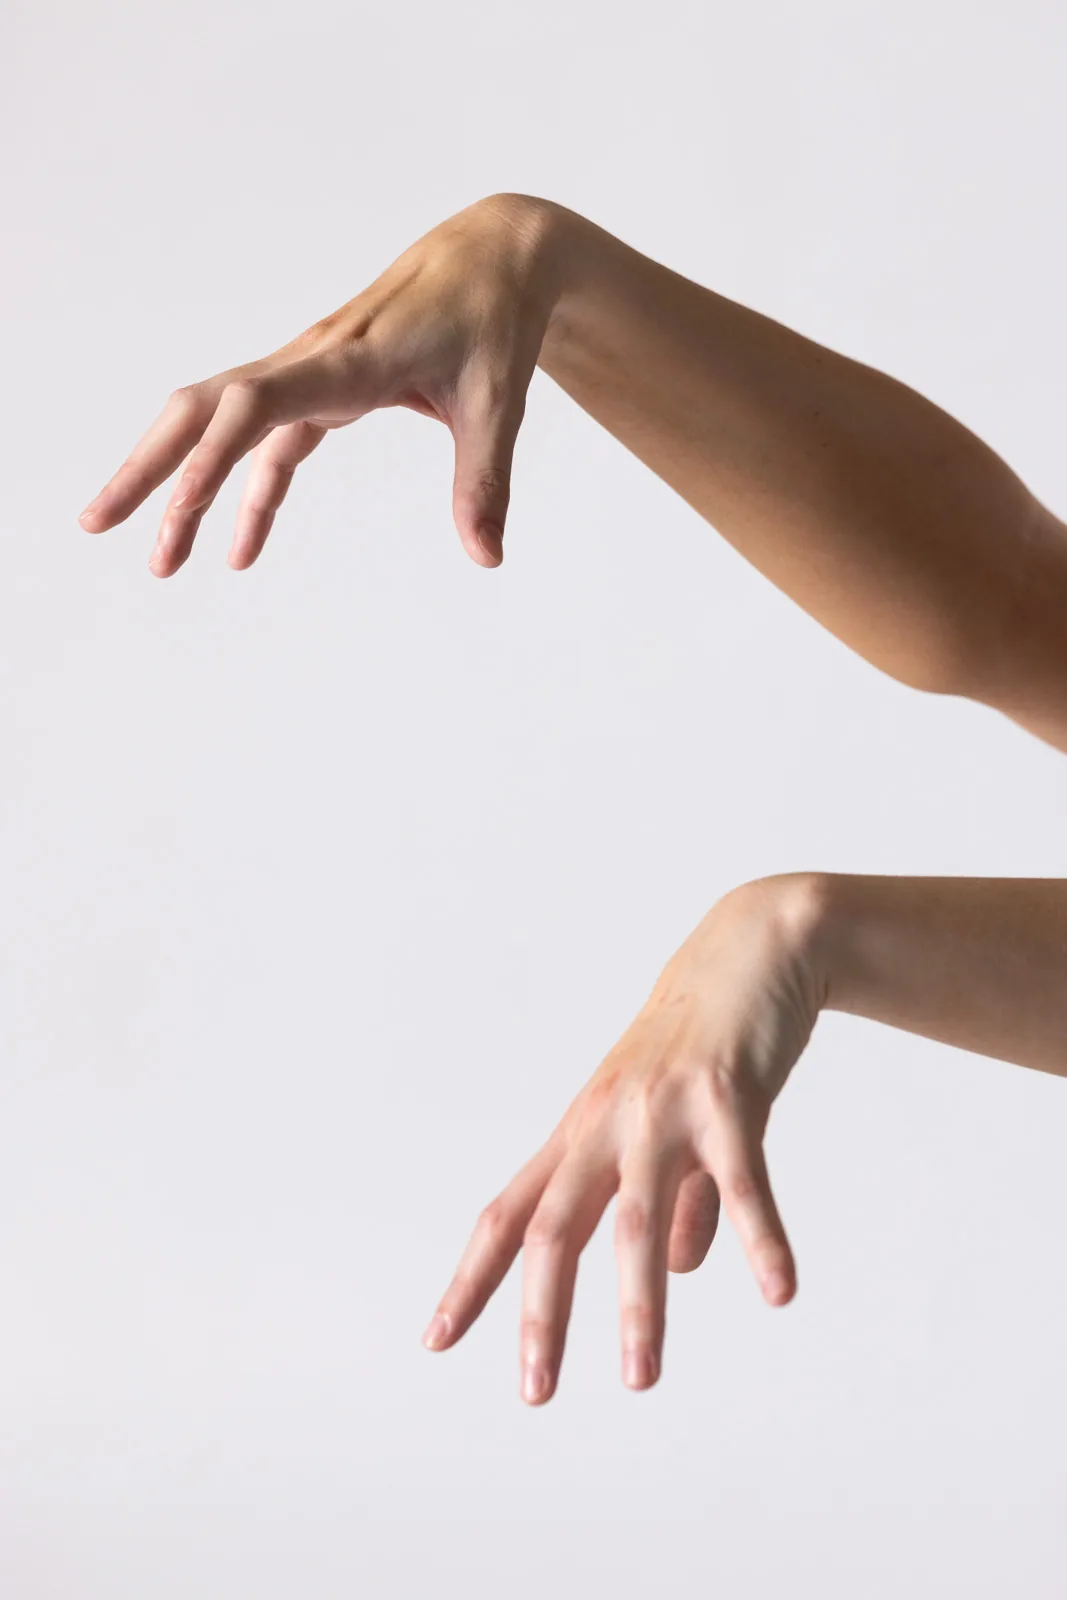
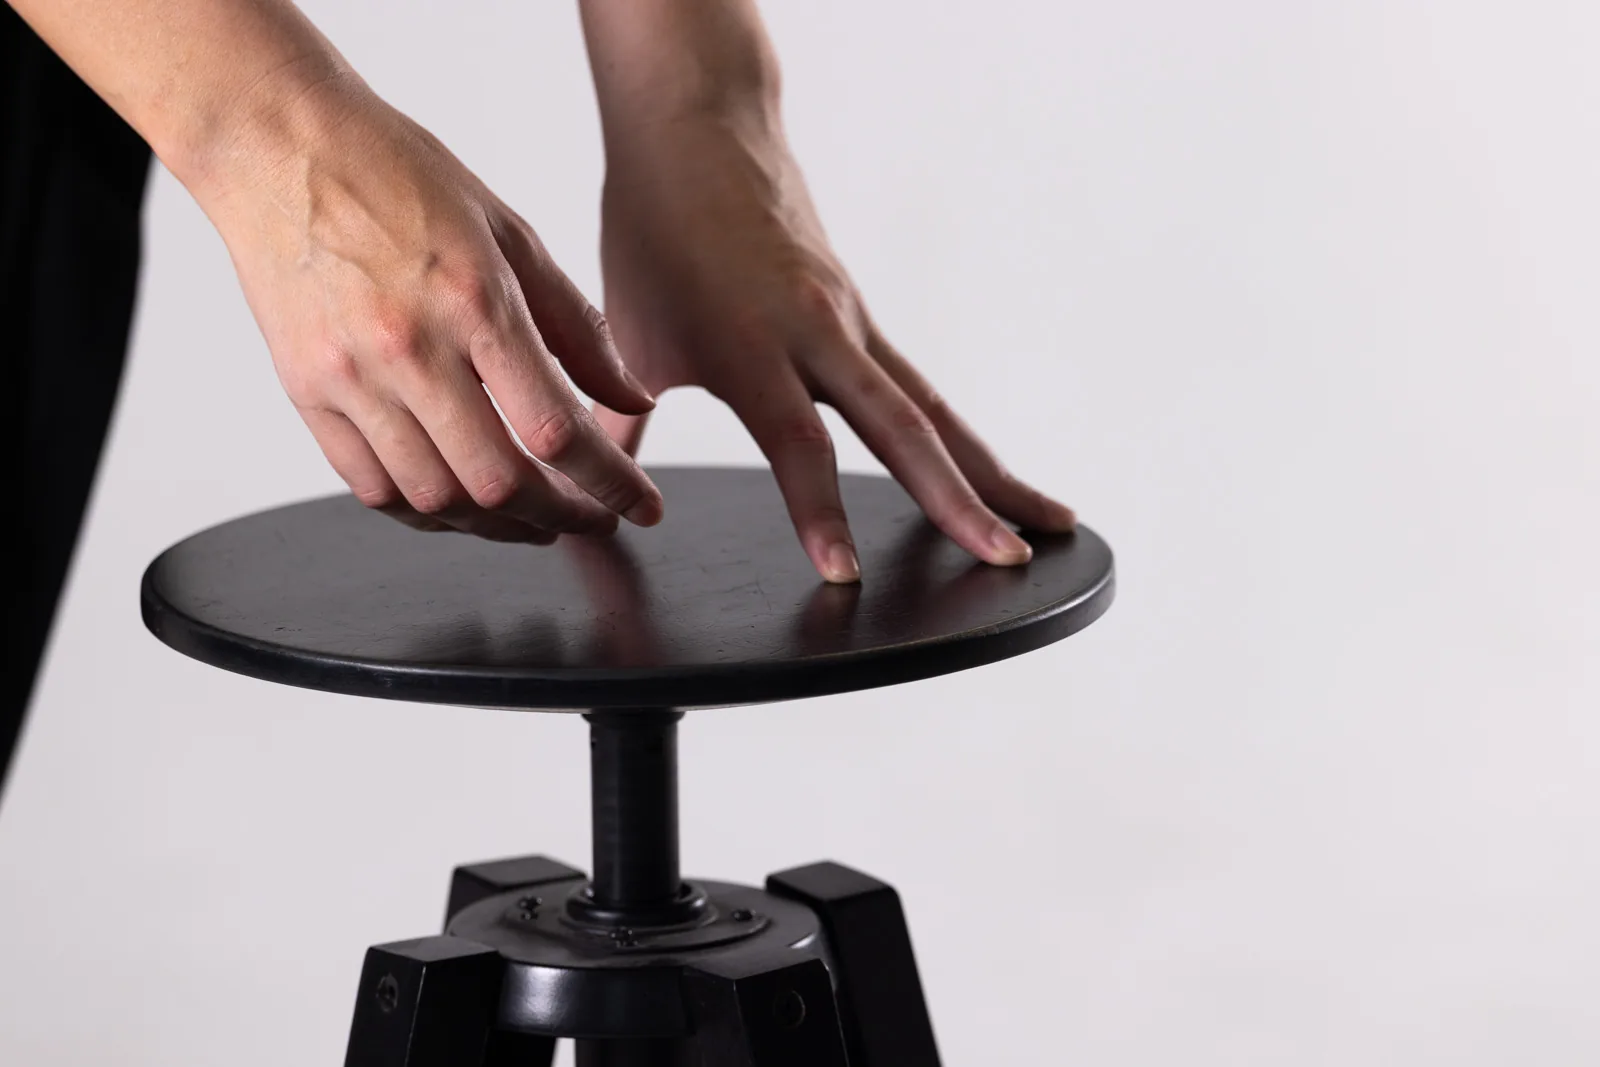
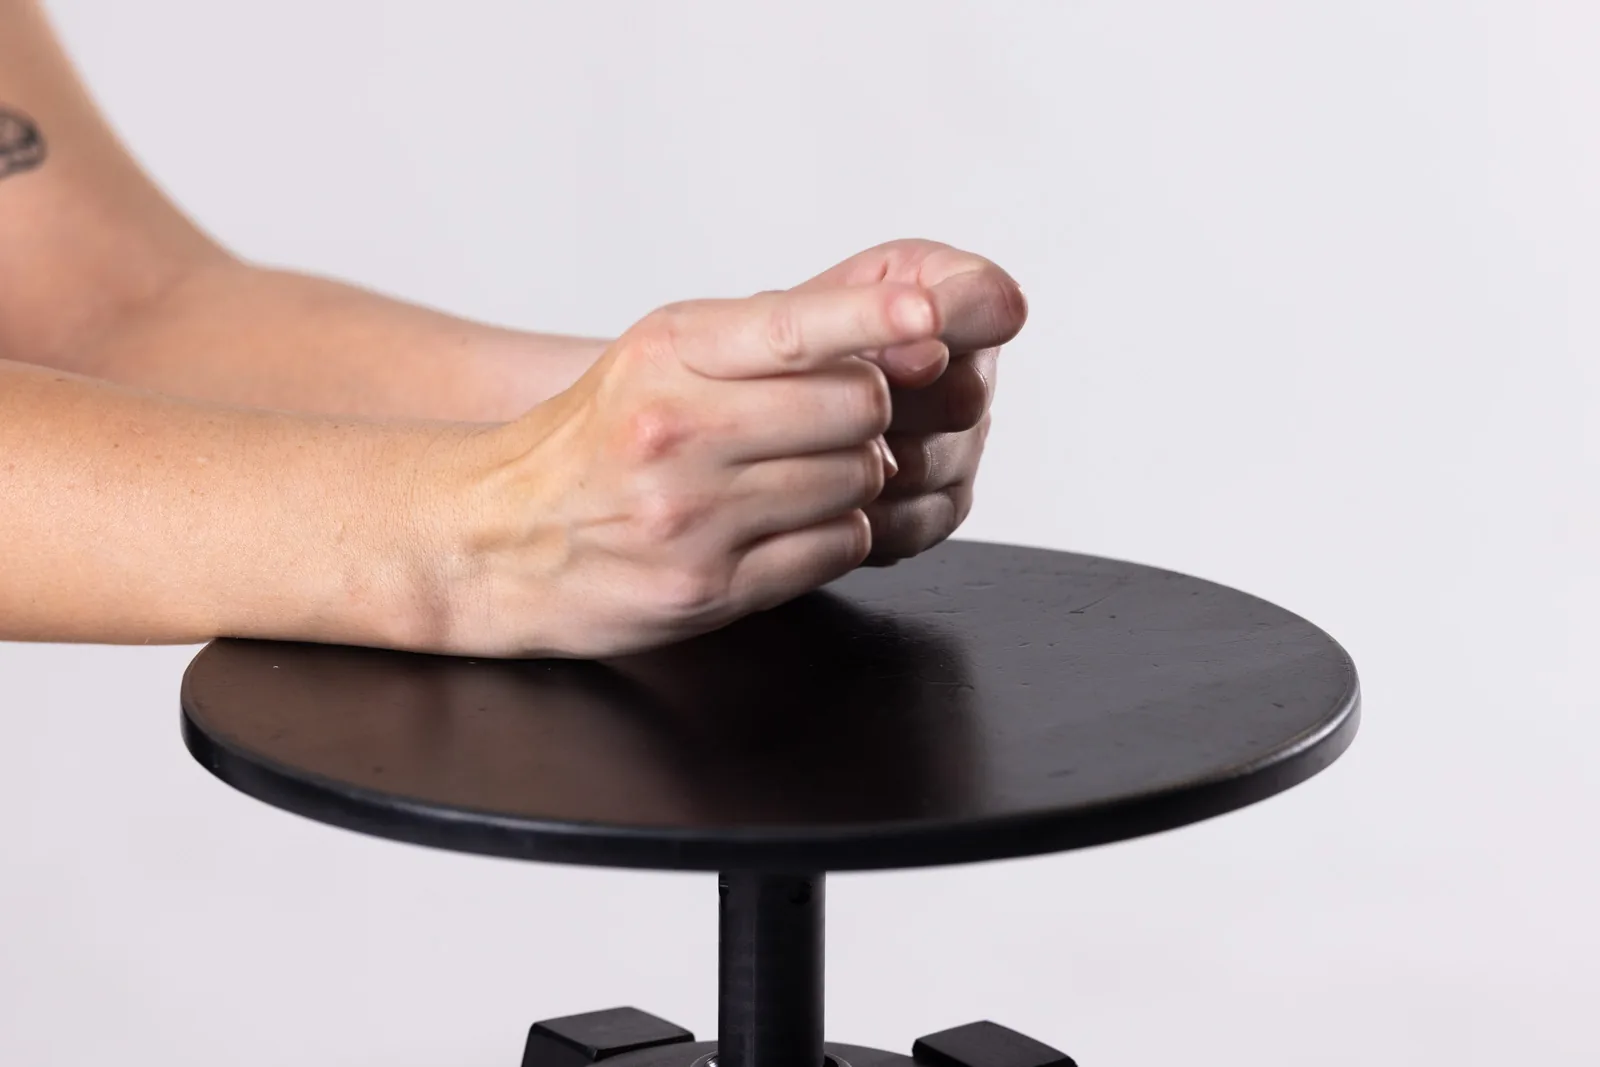
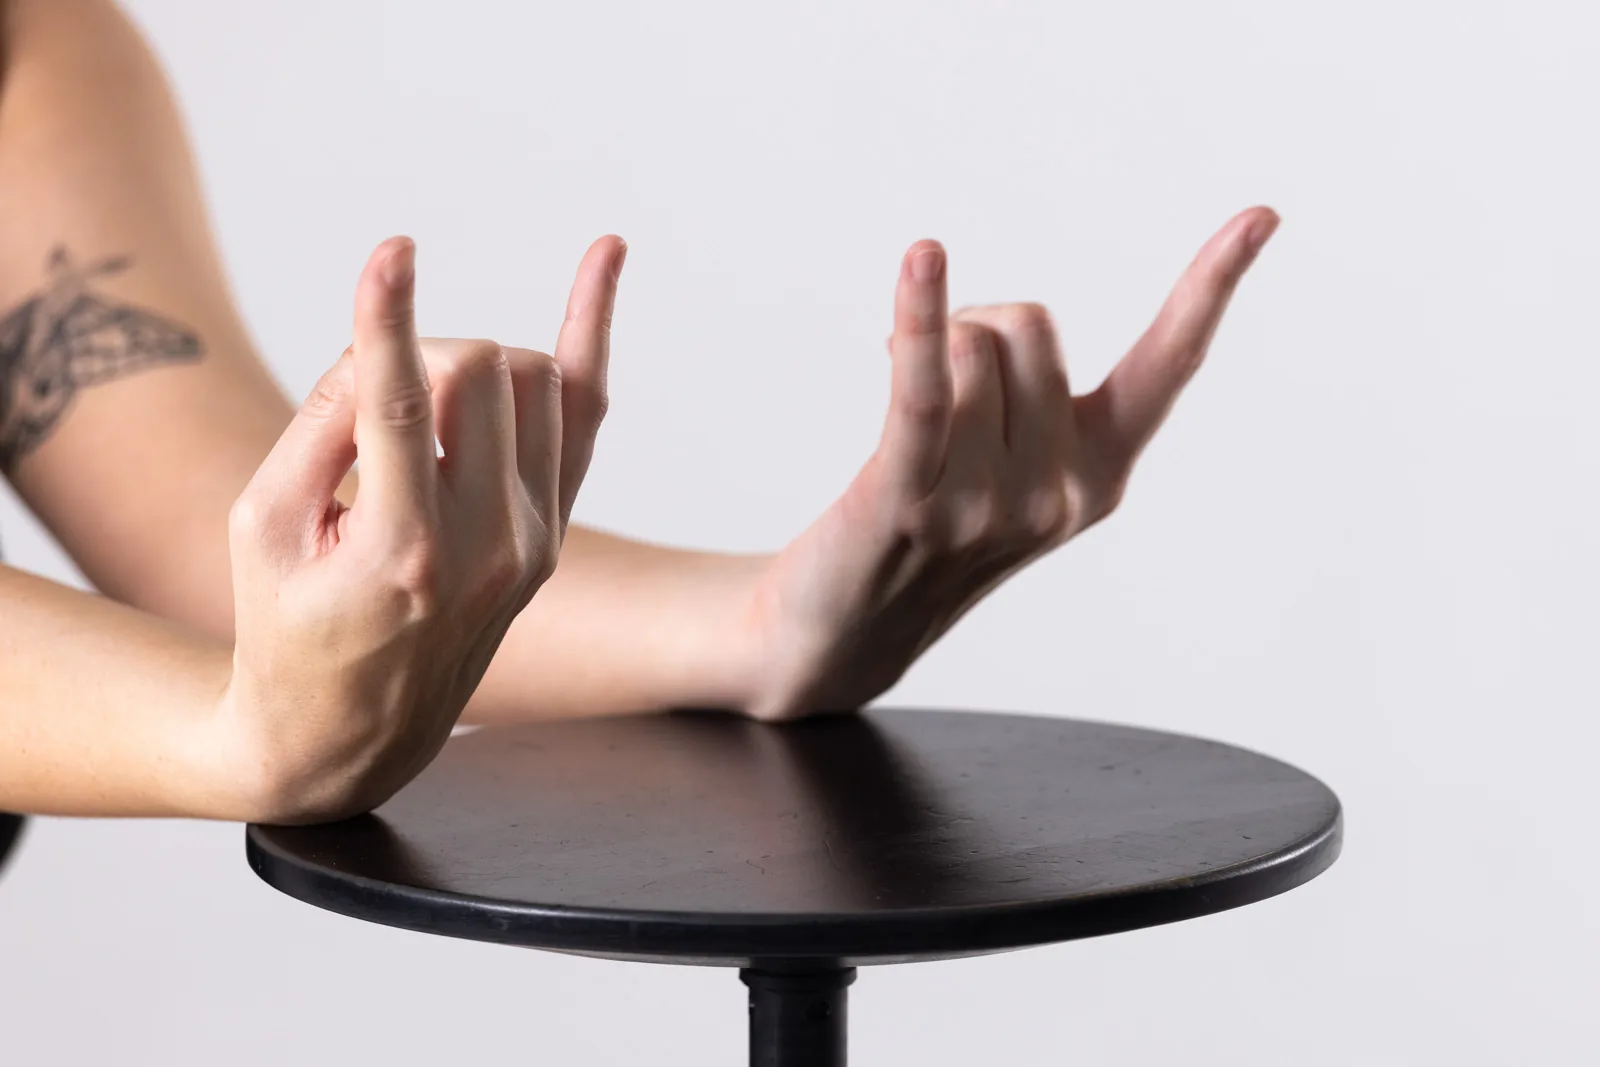
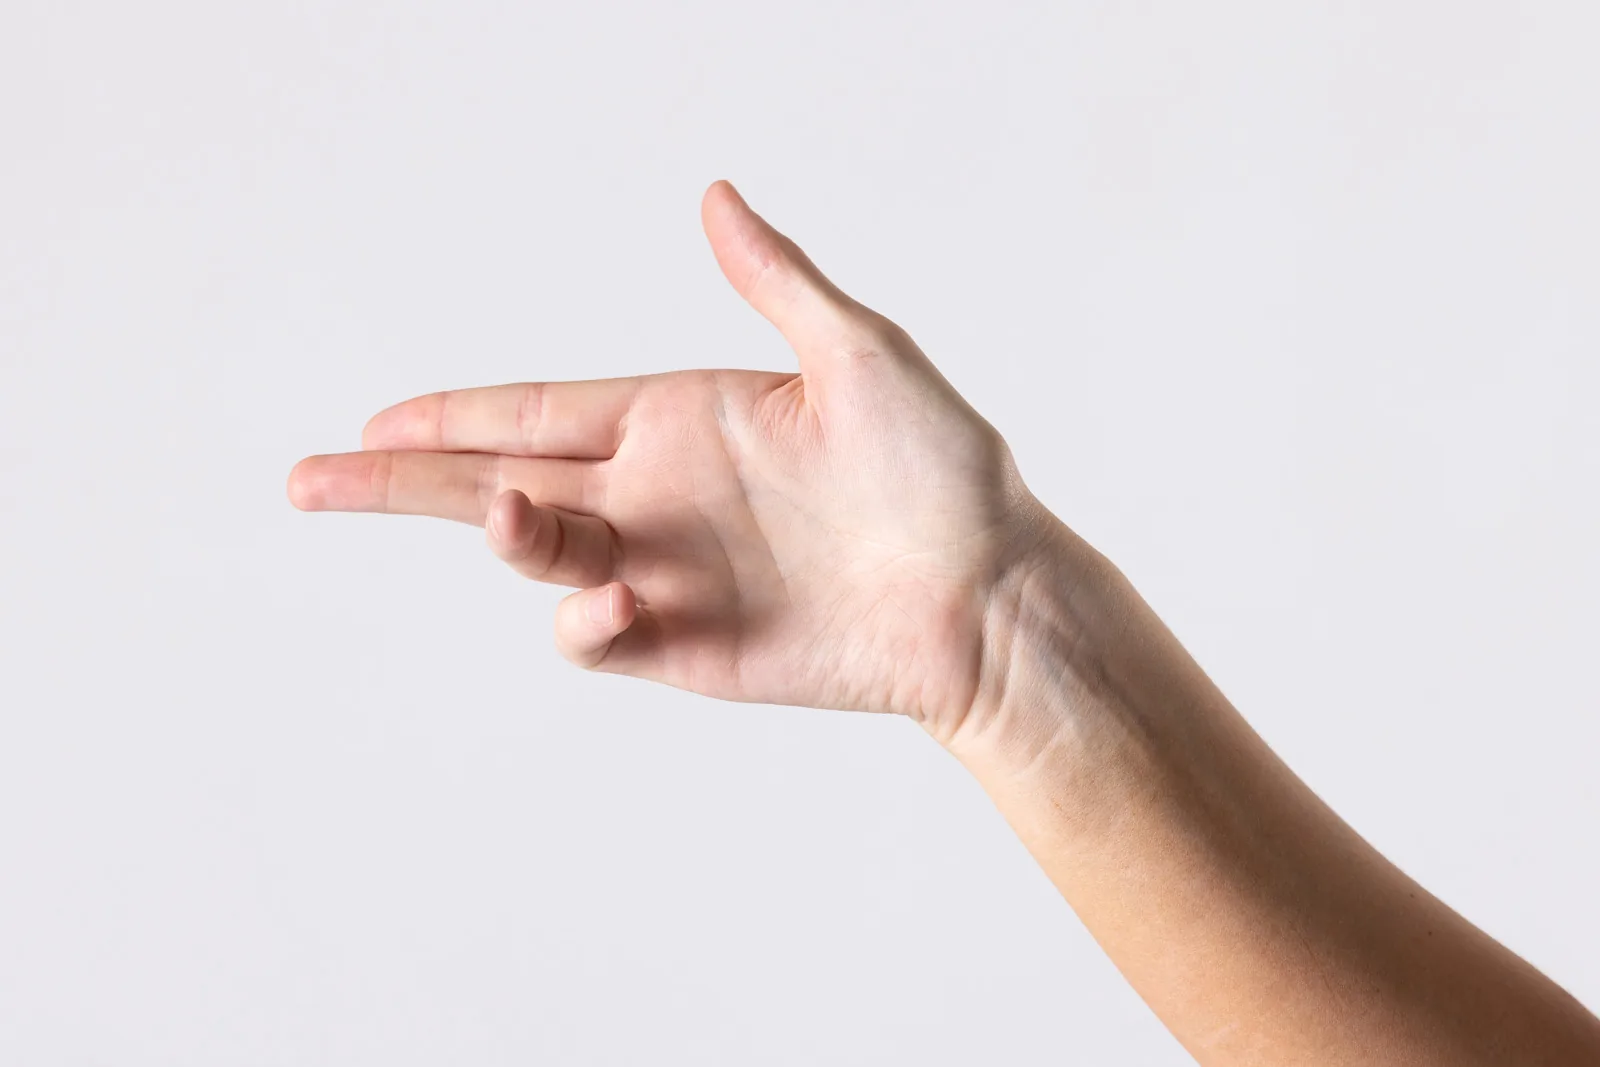
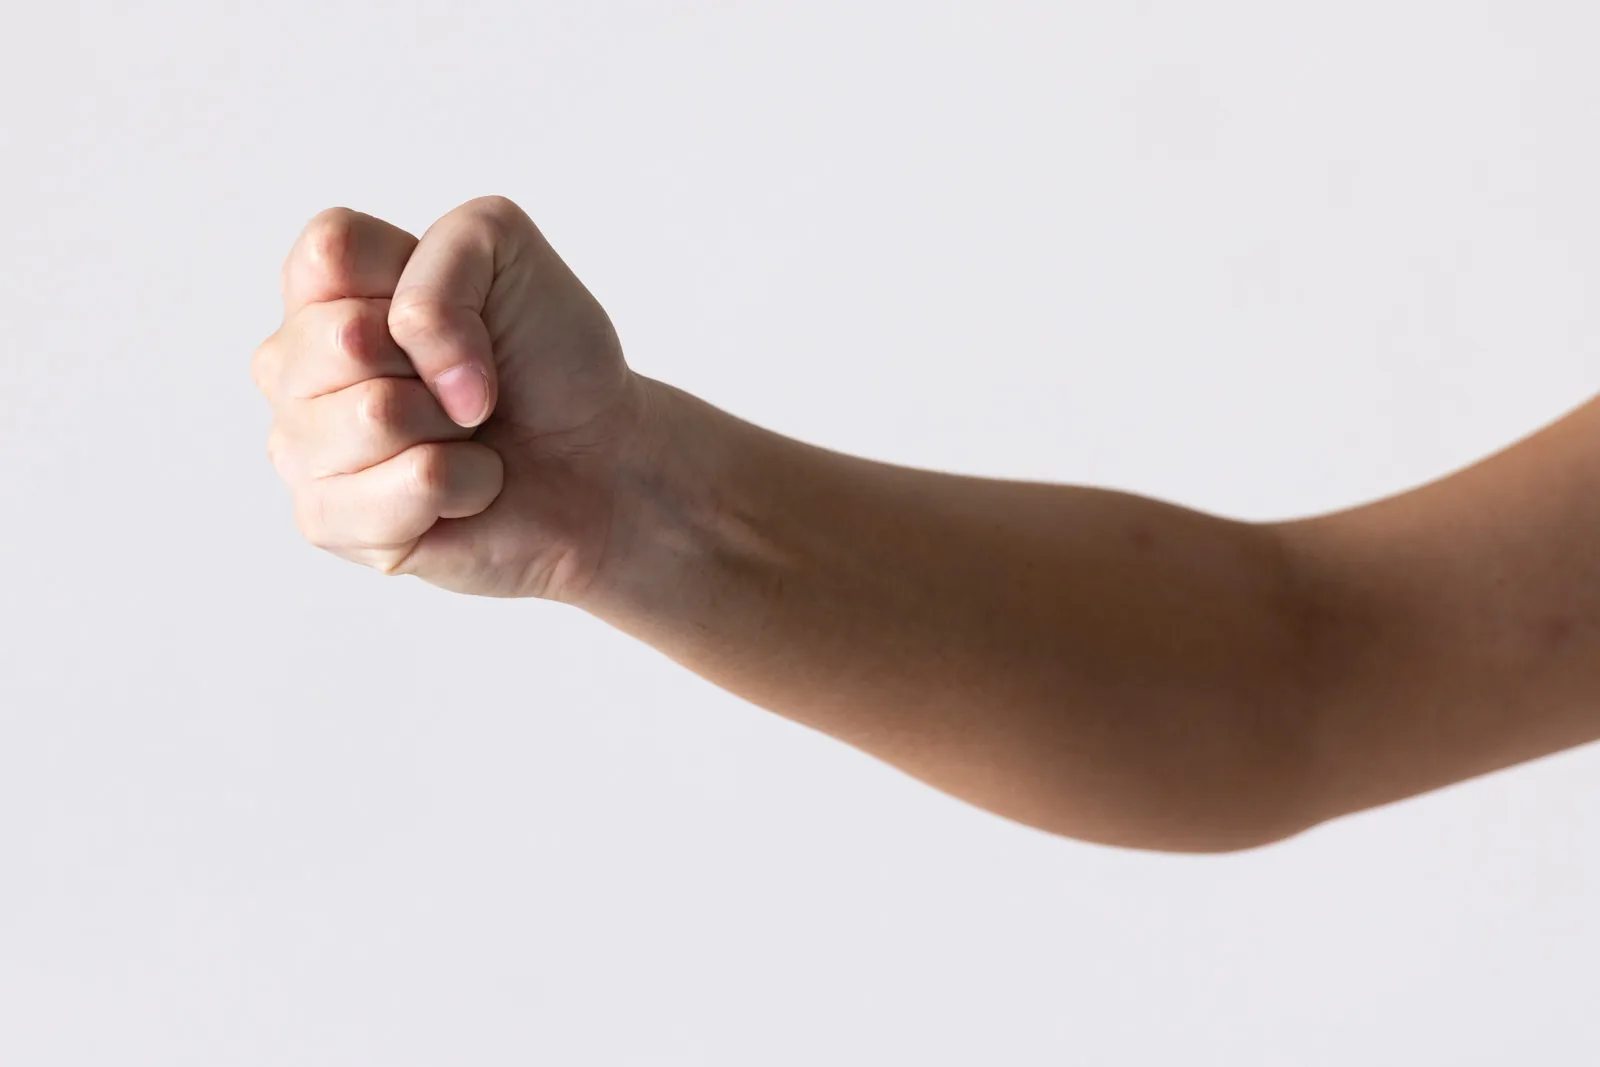








How to Draw Hands From Reference
- Find the gesture. Look for the flow from the wrist through the palm to the fingertips. Sketch that direction lightly before drawing individual fingers.
- Block in the palm. Use a simple box or wedge to establish its width, tilt, and depth. Add the thumb as a separate form attached to the side of the palm.
- Group the fingers. Mark their overall silhouette and the curve of the knuckles, then separate the fingers into simple segments. Compare their lengths and the spaces between them.
- Check overlaps and foreshortening. Notice which fingers sit in front of others and how forms shorten as they point toward you. Draw the shapes you see in the photo.
- Add a few landmarks. Place the knuckles, visible tendons, and major creases once the proportions feel right. Keep details lighter than the main forms.
10-Minute Practice Exercise
Choose three photos from the gallery: an open hand, a closed or curled hand, and a foreshortened pose.
- Minutes 0–3: Spend one minute on each pose, capturing only the gesture and overall silhouette.
- Minutes 3–7: Pick the most challenging pose for a four-minute study. Build the palm, thumb, and finger segments before adding details.
- Minutes 7–9: Compare your drawing with the photo. Adjust the palm angle, finger lengths, overlaps, and negative spaces.
- Minute 9–10: Sketch the same pose again, focusing on the biggest correction you identified.