Best Erasers for Drawing: 6 Tools for Figure Drawing
A practical guide to kneaded, plastic, precision, and electric erasers for graphite and charcoal drawing.
An eraser can do more than fix a misplaced line. In figure drawing, it can lift a highlight from a shaded shoulder, soften a construction line, clean up the edge of a silhouette, or help separate light from shadow. The best eraser depends on what you want to remove, how precisely you need to work, and the paper and drawing material you're using.
For quick gesture studies, you may barely need an eraser at all. Keeping imperfect lines can be more useful than interrupting a 30-second pose to correct them. For longer drawings, however, a few different eraser shapes can make a real difference.
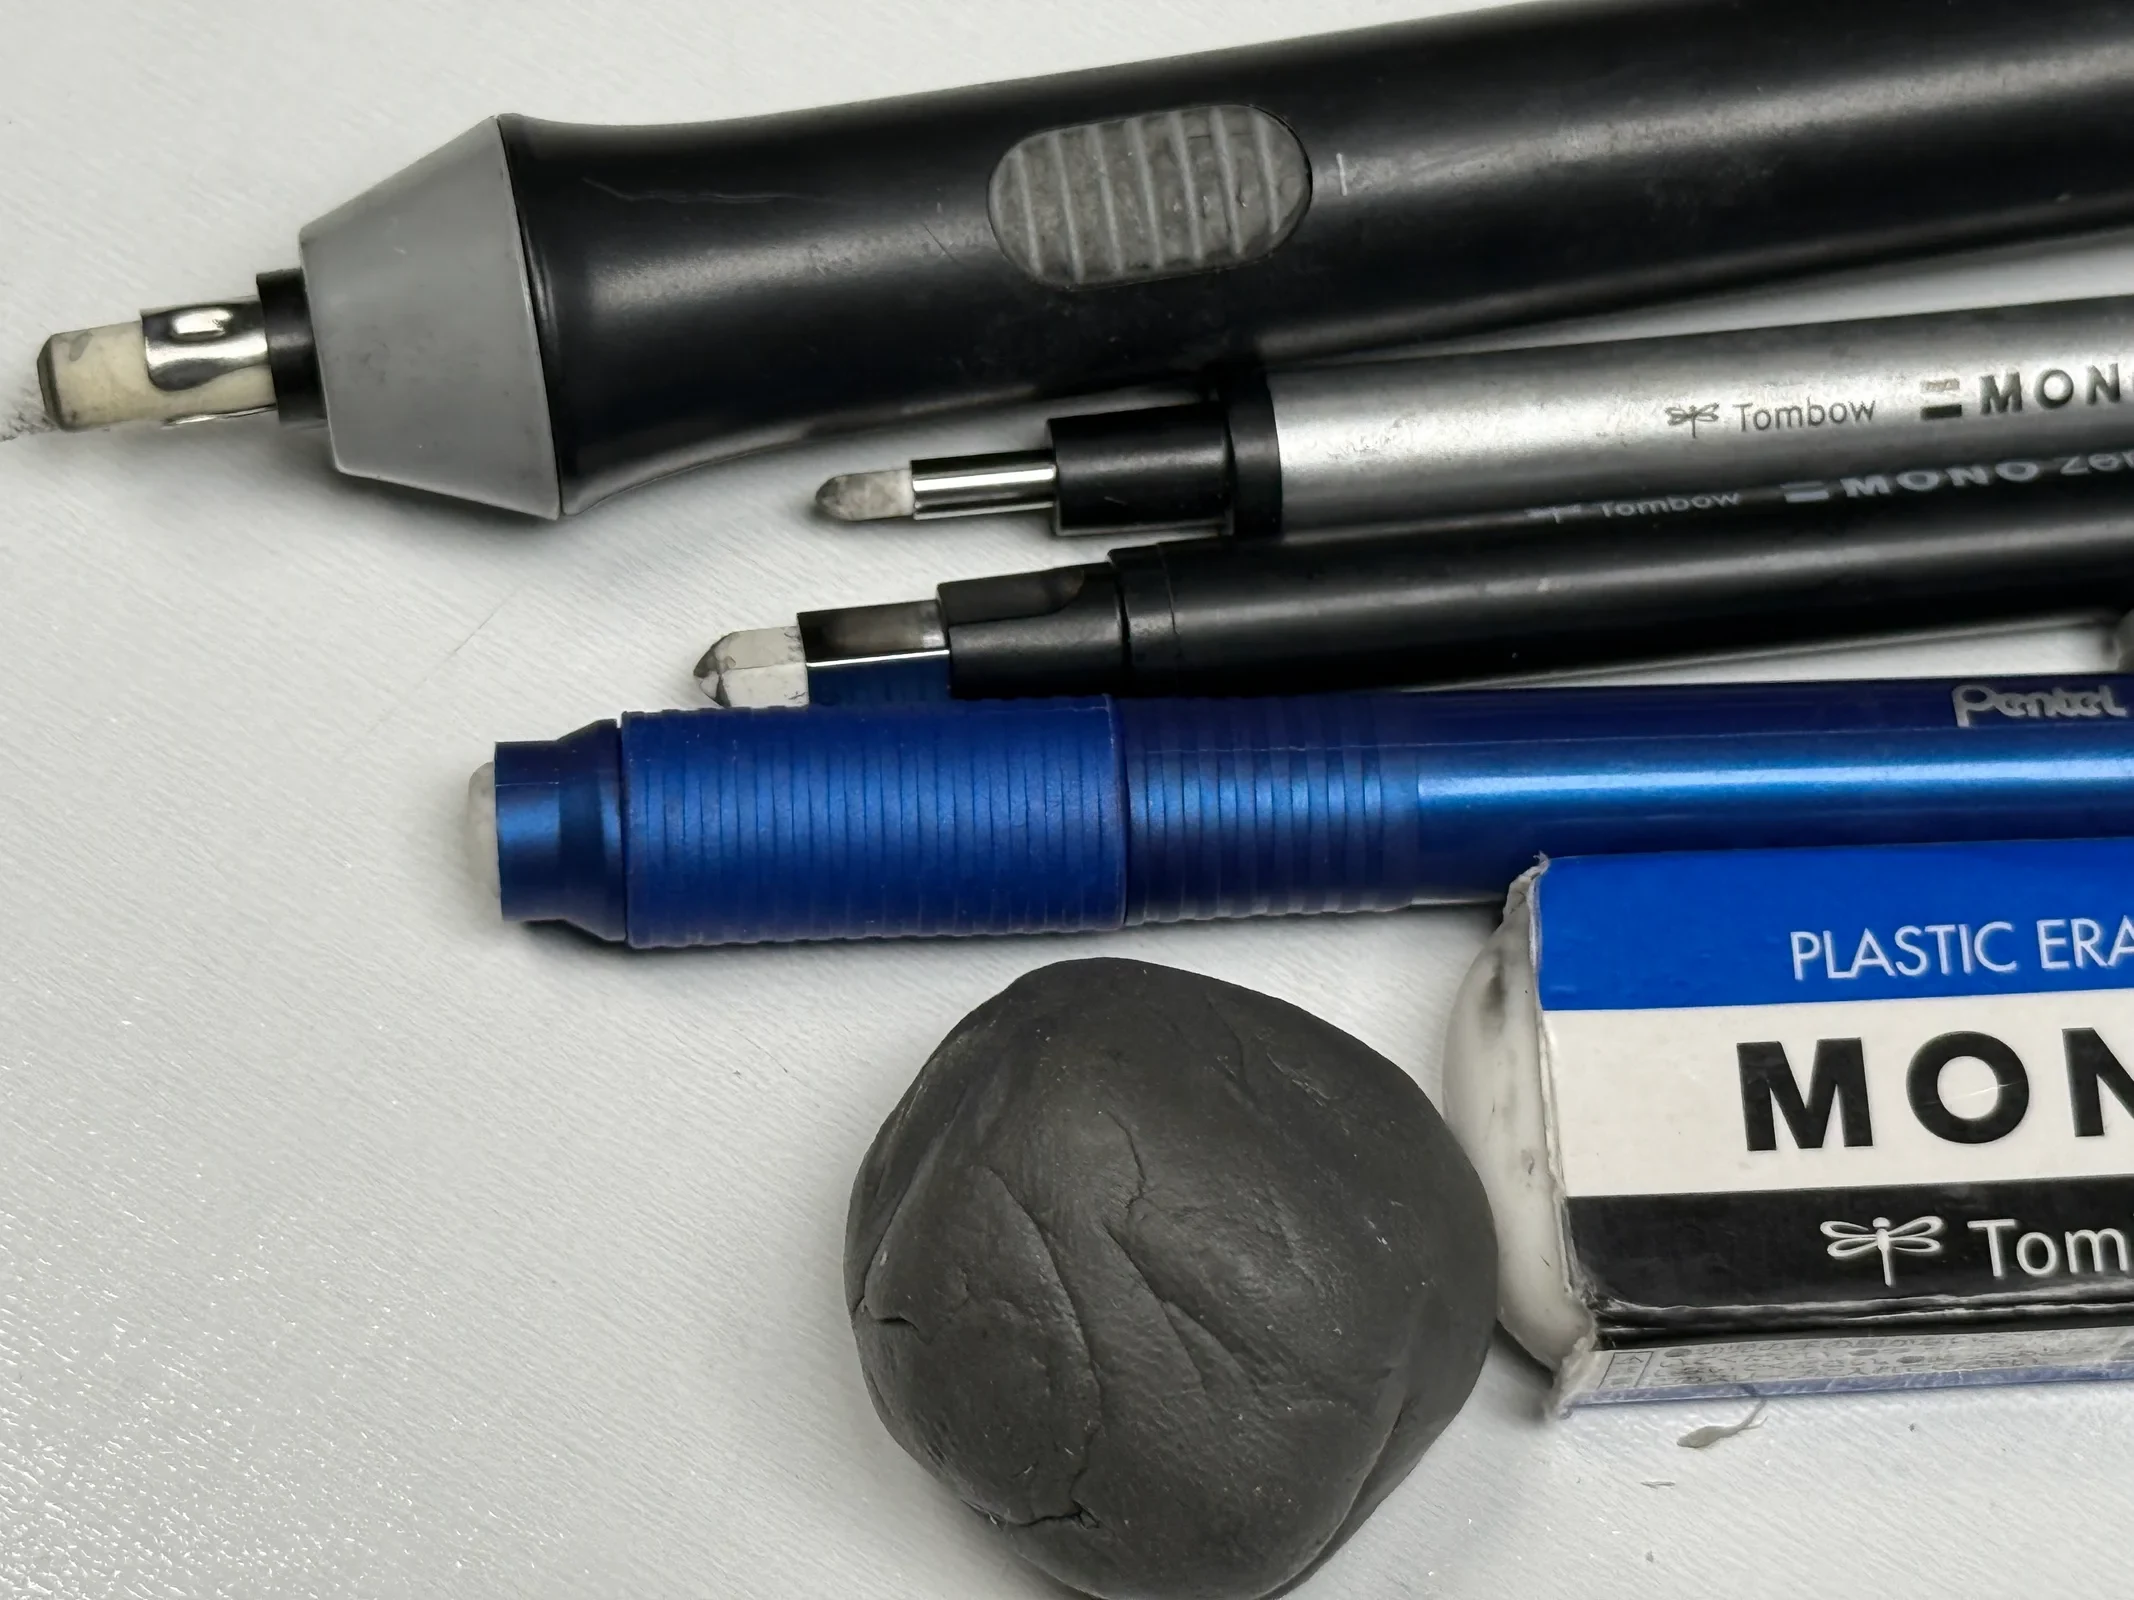
This guide compares six tools for different erasing tasks: a Derwent battery-operated eraser, two Tombow MONO Zero precision erasers, a Pentel Clic Eraser, a Tombow MONO plastic eraser, and a kneaded eraser. The suggested uses below are drawing guidance, rather than claims of hands-on product testing.
Some links in this article may be affiliate links. If you purchase through them, Pose Library may earn a small commission at no extra cost to you.
As an Amazon Associate I earn from qualifying purchases.
Quick Comparison: Choose by the Mark You Want to Change
| Eraser | Best for | Main drawback |
|---|---|---|
| Derwent Battery-Operated Eraser | Small highlights and targeted corrections | Powered erasing can remove material quickly. |
| Tombow MONO Zero Round-Tip | Precise spots and narrow highlights | A tiny tip is inefficient for clearing a large shaded area. |
| Tombow MONO Zero Rectangular-Tip | Thin edges and narrow strokes | Its purpose overlaps with the round version; beginners rarely need both. |
| Pentel Clic Eraser | Everyday sketchbook corrections | Precision depends on the exposed length and condition of the eraser. |
| Tombow MONO Plastic Eraser | General graphite cleanup | A broad contact area can remove neighboring marks you want to keep. |
| Kneaded Eraser | Lifting tone and softening marks | Less suitable for crisp, completely clean edges or deeply embedded lines. |
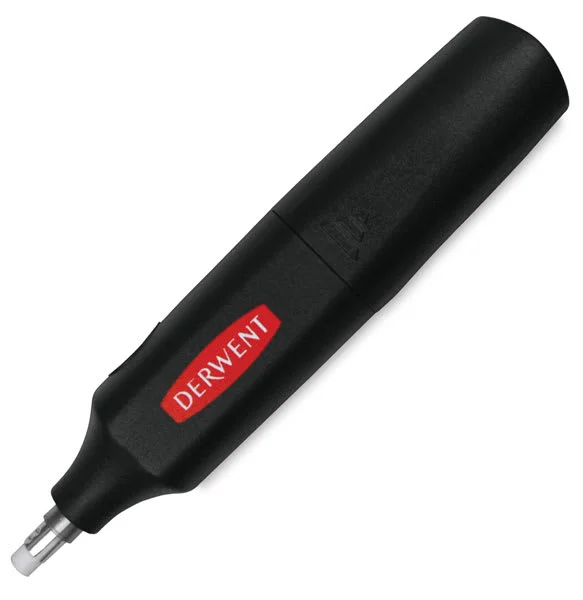
Image: BLICK Art Materials
Derwent Battery-Operated Eraser
- Best for
- Small highlights and targeted corrections
- Main drawback
- Powered erasing can remove material quickly.
- What you need
- Light pressure and replacement tips matched to the exact model.
An electric eraser rotates a small eraser tip instead of relying on a back-and-forth rubbing motion. This gives it a different role from the manual erasers in this guide.
Where it may help: Pulling small highlights out of graphite shading, correcting a tight area without sweeping over the surrounding drawing, or adding points of reflected light to a more finished study.
What to watch: Powered erasing can remove material quickly. Test the pressure on scrap paper first, especially on lightweight newsprint or a surface that has already been worked repeatedly. Check replacement-tip compatibility for the selected Derwent model before buying refills.
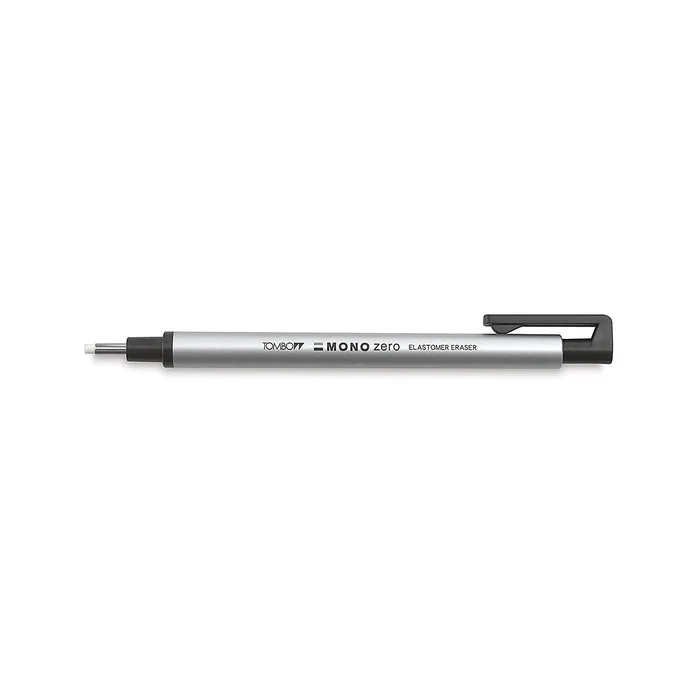
Image: BLICK Art Materials
Tombow MONO Zero Round-Tip
- Best for
- Precise spots and narrow highlights
- Main drawback
- A tiny tip is inefficient for clearing a large shaded area.
- What you need
- The round-tip model and matching round refills.
The round MONO Zero has a narrow eraser tip in a pencil-like body. Tombow specifies a 2.3 mm diameter tip, designed for small corrections rather than broad cleanup.
Where it may help: Lifting a narrow highlight along the bridge of a nose, refining an eye in a longer portrait study, or cleaning a small graphite mark near a contour.
What to watch: This is not the fastest choice for clearing a large shaded area. Fine tips can wear down with repeated use, so confirm refill availability for the exact model.
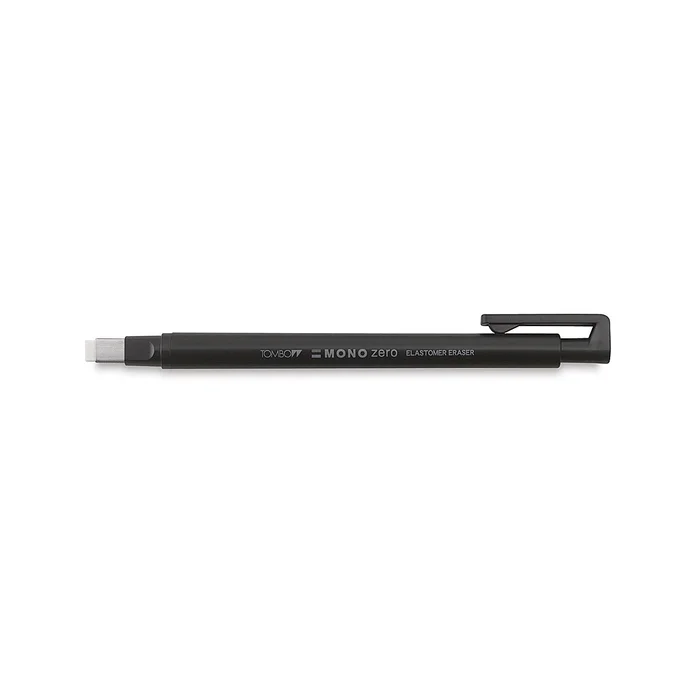
Image: BLICK Art Materials
Tombow MONO Zero Rectangular-Tip
- Best for
- Thin edges and narrow strokes
- Main drawback
- Its purpose overlaps with the round version; beginners rarely need both.
- What you need
- The rectangular-tip model and matching rectangular refills.
The rectangular MONO Zero offers a flat edge for narrow marks. Tombow specifies a 2.5 × 5 mm tip, giving it a different contact shape from the round version.
Where it may help: Erasing a slim strip, lifting a short highlight along a plane change, or cleaning a narrow border between a light and dark shape.
What to watch: A narrow eraser can still disturb adjacent graphite if the paper is delicate or the tip is pressed too hard. The round and rectangular versions overlap in purpose; you probably do not need both when starting out.
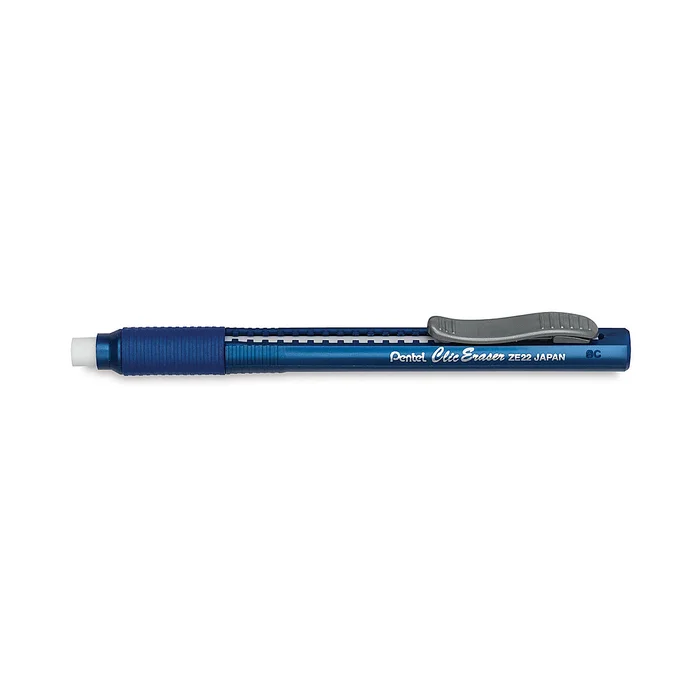
Image: BLICK Art Materials
Pentel Clic Eraser
- Best for
- Everyday sketchbook corrections
- Main drawback
- Precision depends on the exposed length and condition of the eraser.
- What you need
- A Clic holder and refills specified for the selected model.
The Pentel Clic Eraser has a retractable, pen-like body. It fits the middle ground between a tiny precision eraser and a broad block eraser.
Where it may help: Clearing short construction lines, refining a contour, and making small-to-medium corrections while holding a sketchbook.
What to watch: The exposed eraser length and the condition of its tip affect how precisely it works. The Blick image shows a single blue Clic eraser; the Amazon link is an assorted-barrel pack listed as ZE21BP3M. Check the selected holder and refill format before ordering.
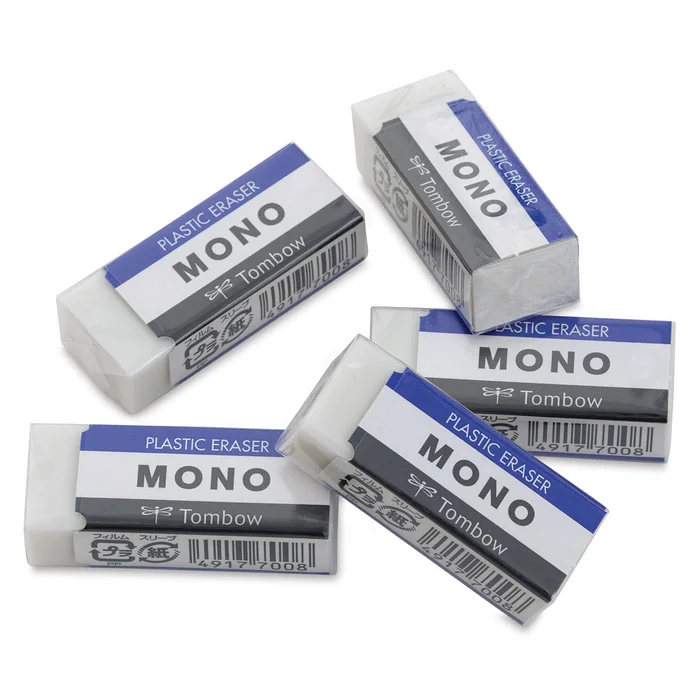
Image: BLICK Art Materials
Tombow MONO Plastic Eraser
- Best for
- General graphite cleanup
- Main drawback
- A broad contact area can remove neighboring marks you want to keep.
- What you need
- A clean edge and paper that tolerates erasing.
A rectangular plastic eraser gives you a larger contact area for removing ordinary pencil marks. The Tombow MONO block fills this general-cleanup role alongside the smaller precision tools.
Where it may help: Cleaning a page margin, removing guidelines after a proportion study, or erasing a larger graphite section than a MONO Zero can comfortably handle.
What to watch: A broad eraser can erase marks you meant to keep. Work from a clean edge, brush away crumbs gently, and avoid repeatedly scrubbing fragile paper.
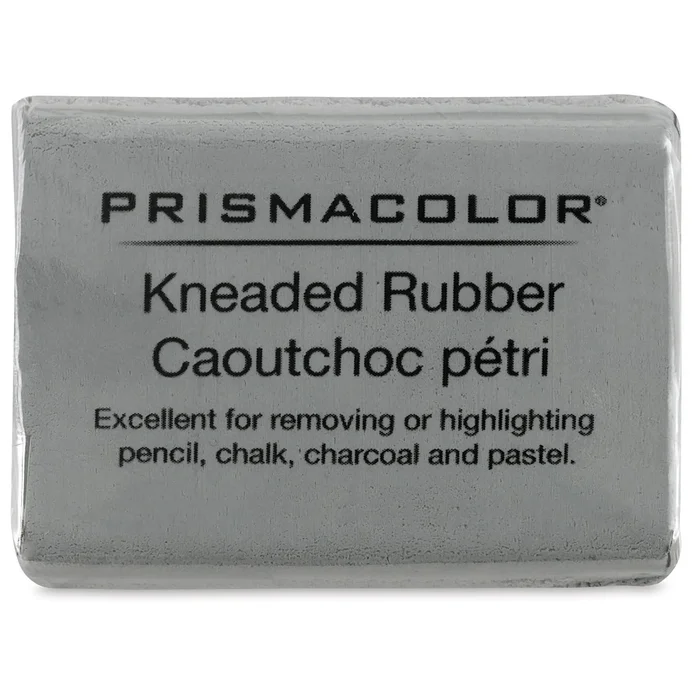
Image: BLICK Art Materials
Kneaded Eraser
- Best for
- Lifting tone and softening marks
- Main drawback
- Less suitable for crisp, completely clean edges or deeply embedded lines.
- What you need
- A clean, shapeable eraser suitable for your drawing medium.
The retailer thumbnail shows a Prismacolor kneaded eraser. The Amazon button offers a separate Faber-Castell kneaded eraser with a case, rather than the same product. Kneaded erasers can be shaped, flattened, or pointed with your fingers. Their flexible form makes them useful for lifting tone gradually rather than rubbing an entire passage back to white.
Where it may help: Lifting graphite or charcoal gradually, softening a shadow, or creating a broad highlight across the forehead, rib cage or shoulder. You can dab rather than scrub, which can help preserve a softly shaded passage.
What to watch: Kneaded erasers become loaded with drawing material and may eventually need replacing. They are often less effective than a firm eraser when you need to remove a deeply embedded line completely. Different brands and formulations can behave differently, so test yours on the same paper and medium you plan to use.
Which Eraser Should You Buy?
If you are just beginning figure drawing, start with one basic plastic eraser and, if you work with soft graphite or charcoal, a kneaded eraser. That pair covers broad cleanup and gentle value lifting without requiring a large collection.
If you frequently draw detailed highlights, add a MONO Zero. Choose round or rectangular based on the shape of marks you want to lift. If you prefer a pen-shaped tool for general corrections, the Pentel Clic Eraser may be more useful to you than a second precision model.
An electric eraser is an optional specialty tool, not a requirement for learning to draw.
How to Use an Eraser as a Drawing Tool
Think of erasing as subtractive drawing: first establish a middle or dark value, then lift selected areas to describe the light.
For example, in a longer torso study, shade a simple mass across the rib cage. Use a kneaded eraser to lift the broad light-facing plane. Then use a precision eraser sparingly for a sharper accent, such as a small highlight near a bony landmark. The goal is not to make every light area pure white; it is to organize the values so the form reads clearly.
With a quick gesture, the priorities are different. Use your time to find the line of action, weight, balance and major masses. Save most erasing for the review afterward.
Paper and Drawing Medium Matter
Graphite on smooth paper: Plastic and precision erasers can be useful, but heavy pressure may polish or damage the surface.
Graphite on textured drawing paper: A kneaded eraser can lift some tone while preserving a softer appearance; complete removal may be difficult if graphite sits deep in the tooth.
Charcoal: Kneaded erasers are especially useful for lifting and shaping values, although results vary by charcoal, paper and how heavily the marks were applied.
Pastel and colored pencil: Erasability varies considerably. Test a corner or spare sheet before trying to remove a finished passage.
Newsprint: Its inexpensive, lightweight surface is good for gestures but can be damaged by aggressive erasing.
Compare surfaces in Best Sketchbooks for Gesture Drawing Practice, or choose your drawing tool with Best Pencils for Figure Drawing.
A 10-Minute Figure Drawing Exercise with Erasers
Choose a Pose Library photo reference with clear light and shadow. Use the same pencil and paper for the whole exercise.
- Minutes 0–2: Draw a loose gesture and the largest shapes. Resist correcting every line.
- Minutes 2–5: Build a simple middle value over the main form and add the largest shadow mass.
- Minutes 5–7: Shape a kneaded eraser into a flat edge and gently lift the broad light-facing planes.
- Minutes 7–9: Use a MONO Zero or another firm eraser to create one or two narrow highlights. Compare the crisp and soft edges.
- Minute 9–10: Review the result. Did the lifted lights clarify the form, or did they fragment it into too many spots?
Repeat on another pose with less erasing. The comparison can help you decide when an eraser genuinely improves the drawing.
Frequently Asked Questions
What is the best eraser for graphite drawing?
For general cleanup, a quality plastic eraser is a practical starting point. For gently lifting shaded values, a kneaded eraser offers more control over the amount removed.
Can I use an eraser on charcoal?
Yes, but the result depends on the charcoal and paper. A kneaded eraser can lift and shape many charcoal marks, while deeply worked-in material may remain visible.
Do I need an electric eraser?
No. It is an optional tool for targeted highlights and corrections. Most figure drawing practice can be done with a basic eraser and a kneaded eraser.
Should I erase construction lines during gesture drawing?
Usually not during a very short timed pose. Keep drawing through the figure, then decide what to simplify or correct afterward.
Are the two MONO Zero erasers interchangeable?
They serve similar precision tasks, but their round and rectangular tips create different contact shapes. Choose according to the kind of line or highlight you want.
Final Thoughts
For most artists, the useful question is not “Which eraser is the strongest?” but “What kind of mark do I want to change?” A kneaded eraser can lift a broad plane of light, a plastic block can clean up a sketch, and a precision tool can pick out a small accent. Each has a place, but none replaces observation and drawing practice.
Start with the tools you already own. Use them to study light, structure and form from Pose Library references, and add a specialty eraser only when your drawings give you a reason.